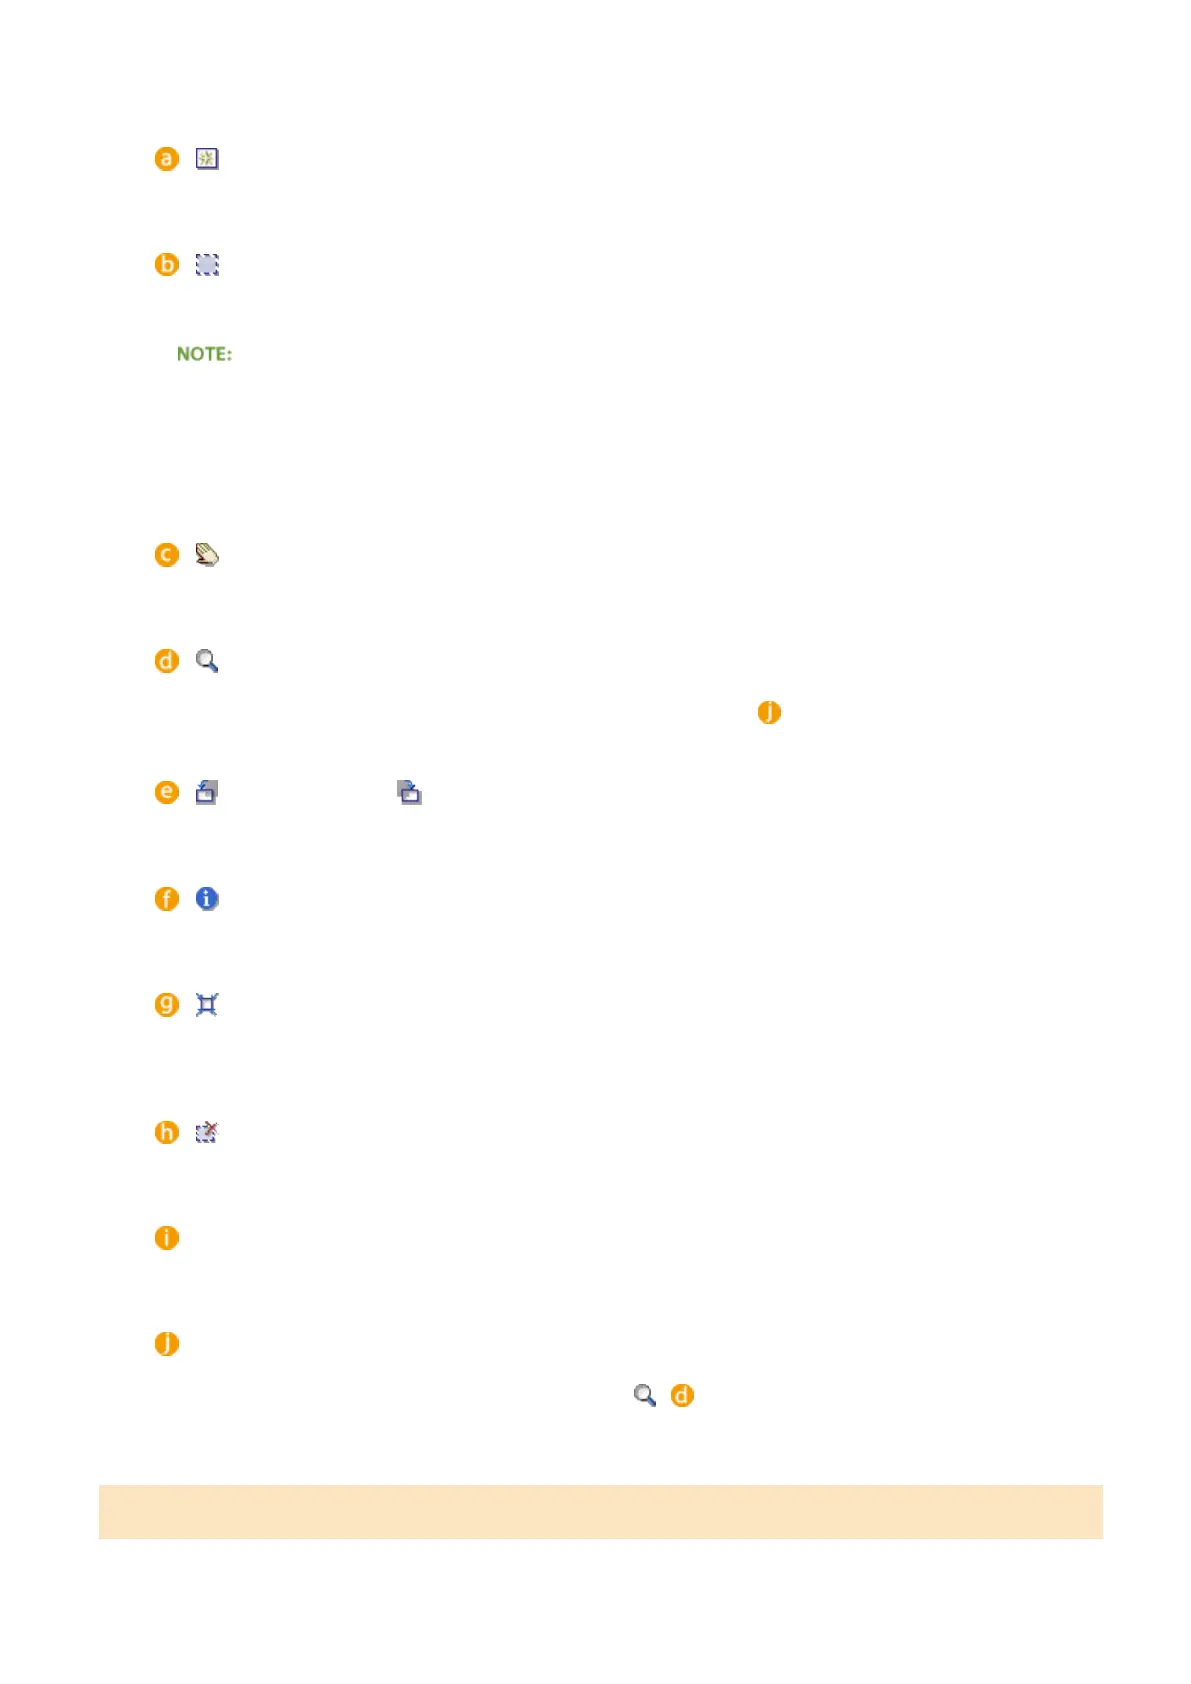
(Clear)
Clears the preview image.
(Crop)
Species the cropping area with the cropping frame. Click and drag the area you want to crop. The cropping
area is indicated with a dotted line. You can move the cropping frame or change its size with your mouse.
Setting multiple scanning areas
● You can specify cropping areas in the document so that each of them can be scanned as separate images.
Drag the cropping frame to specify the areas you want to scan. You can specify up to 10 areas. Click [Scan]
to scan the areas in the cropping frames as separate images.
(Move the Image)
Drags the image to move the visible part of the image when a preview image is enlarged.
(Zoom)
Enlarges the entire preview image. Left-click the image to zoom in. Right-click the enlarged image to zoom
out. To enlarge a part of the image to check the details, use [Zoom] (
).
(Left Rotate) / (Right Rotate)
Rotates the preview image 90 degrees to the left or right.
(Information)
Displays the current settings of the scanned image, such as the color mode and size of the scan area.
(Auto Crop)
Automatically sets the cropping frame that ts the scanned document. Each time you click the icon, the
cropping frame is reduced.
(Clear Crop Frame)
Clears the selected cropping frame.
[Select All Crops]
Selects all of the cropping frames on the image.
[Zoom]
Enlarges the image in the cropping frame. The smaller the cropping frame, the larger the image is displayed.
You can check the details that are dicult to see with ( ). To return the image to its original size, click
[Undo].
Specifying Settings for Documents and Color Mode
Specify the document input method (the platen glass or feeder), document size, color mode, and other settings.
Using the Machine as a Scanner
318