8.2.12 BA ROLLANT 240 - 250 - 254 - 255 - 000 299 119 5
Setting up the baler
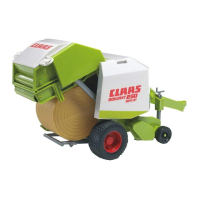
Threading the twine ROLLANT 254/255 with
CLAAS Control Terminal
Thread the twine as indicated through positions 1 to 9,
making sure that each is threaded through the
separate eyelets.
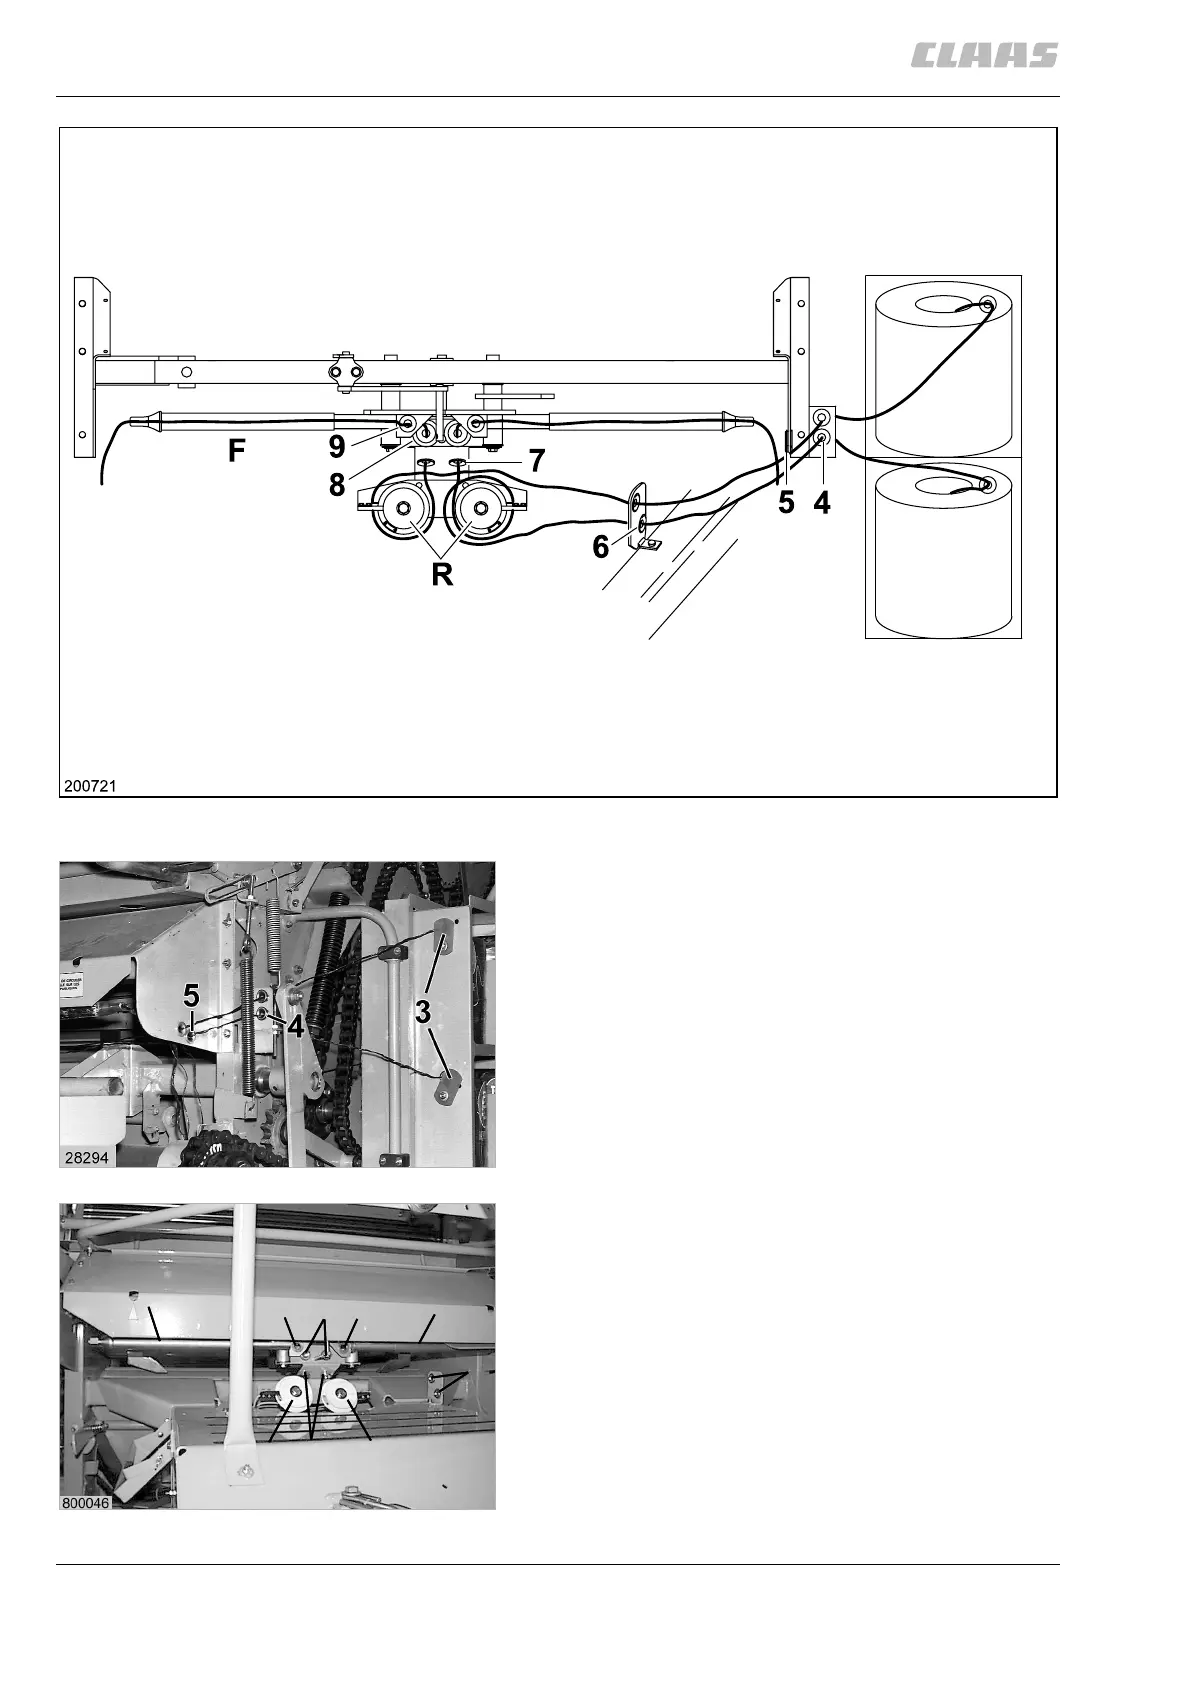
3 = Twine eyelets on twine box
4 = Twine eyelets
5 = Twine eyelets
6 = Twine eyelets (on the platform)
7 = Twine eyelets on twine tightener
8 = Twine eyelets
9 = Twine eyelets
Wrap the upper twine counterclockwise once around
the roller (R).
Wrap the lower twine clockwise once around the roller
(R).
Now thread the twine through the twine tubes (F).
This can be done with the aid of a length of wire.
24
25
F
R
R
9
8
9
6
7
F
26

 Loading...