User's Manual
70
●
When selecting
MD&Alarm
, the MD and Alarm checkboxes will be cleared
respectively.
●
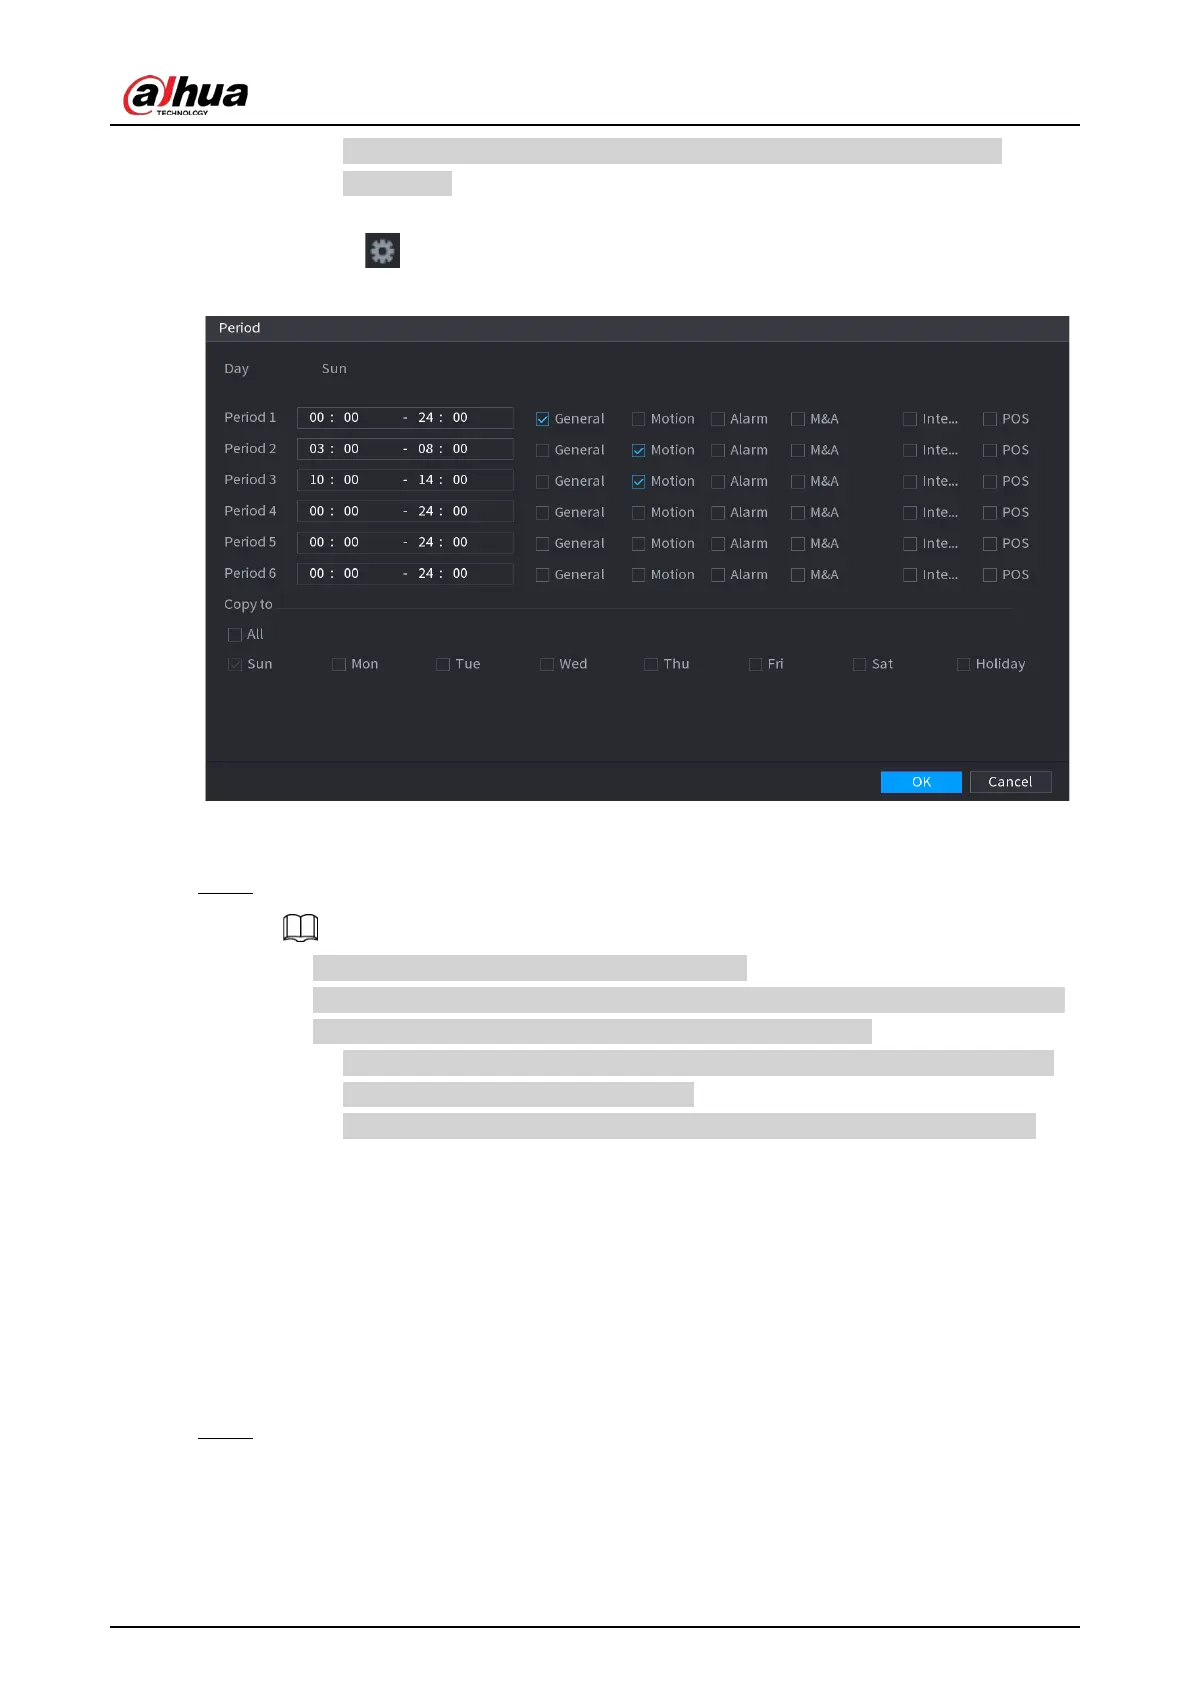
Define the period by editing. Take Sunday as an example.
1) Click .
Figure 5-29 Period
2) Enter the time frame for the period and select the event checkbox.
3) Click
OK
to save the settings.
Step 4 Click
OK
to complete the settings.
●
Click
Copy
to copy the settings to other channels.
●
After configuring the recording schedule settings, you need to perform the following
operations to start recording according to the defined schedule.
◇
Enable the alarm event and configure the settings for the recording channel. For
details, see "5.10 Alarm Events Settings".
◇
You need to enable the recording function, see "5.9.1 Enabling Record Control".
5.1.4.10 Configuring Snapshot Storage Schedule
You can configure the storage schedule for the snapshot such as channels to take snapshot, alarm
settings, and the armed period.
You can also configure snapshot storage settings by selecting
Main Menu > STORAGE >
Schedule > Snapshot
.
Procedure
Step 1 After you have configured the video recording settings, on the
Record
page, click
Next
.
 Loading...