E-4
(3) Replacement of the Image Transfer Roller
1. Remove the Imaging Cartridge.
☞ E-5
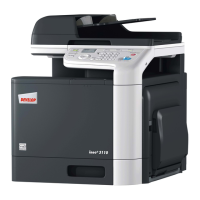
2. Place the levers of the bushings (white) on the
right and left ends of the Image Transfer Roller
toward this side and remove the Image Transfer
Roller from the Image Transfer Roller holder.
4136E018AA
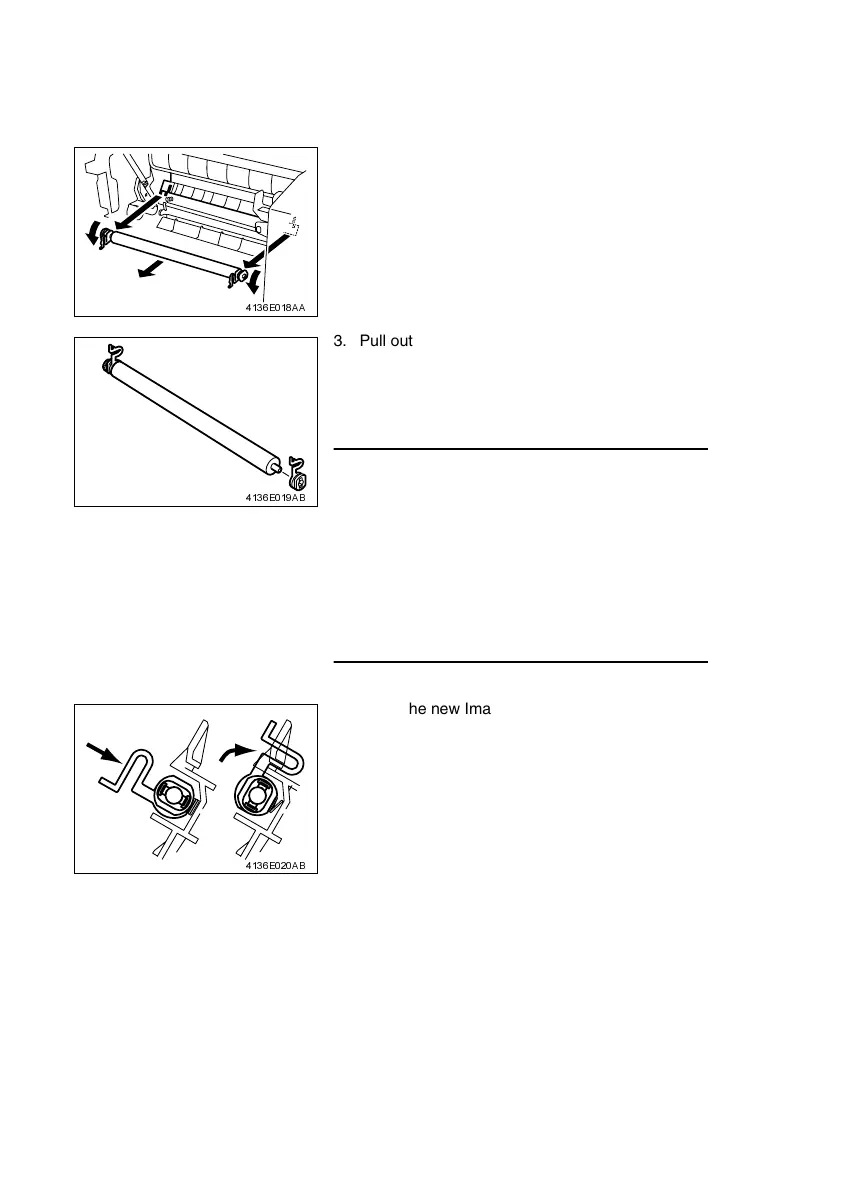
3. Pull out the bushings on the right and left ends,
and the gear, from the Image Transfer Roller
removed from its holder. Install the bushings and
the gear to the new Image Transfer Roller.
NOTES
• Do not touch, or dirty with chemicals or toner, the
surface of the Image Transfer Roller, as indenta-
tions in and dirt on the surface of the Image Trans-
fer Roller adversely affect the quality of the printed
image.
• When handling the Image Transfer Roller, hold
onto the shaft and bushings of the roller.
• Do not place a new Image Transfer Roller directly
on the floor or other surface.
4136E019AB
4. Insert the new Image Transfer Roller into the
Image Transfer Roller holder and place the levers
of the bushings into the original upward positions.
4136E020AB