D-16
(2) Removal of the PH Unit
NOTES
• NEVER attempt to replace the PH Unit with power being supplied to the printer.
Doing that could lead to exposure to the laser beam, resulting in blindness
• NEVER attempt to disassemble or adjust the PH Unit.
Doing that could lead to exposure to the laser beam, resulting in blindness.
1. Remove the IR Unit.
☞ D-15
2. Remove the Fusing Unit.
☞ E-8
3. Remove the Exit tray.
☞ D-7
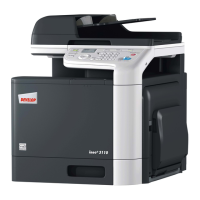
4. Remove the four screws, unhook the four tabs,
and then remove the Upper Cover.
4980D012AB
5. Disconnect one flat cable from the Controller/
Mechanical Control Board.
NOTE
• Use utmost care not to snap off the flat cable.
4980D005AA
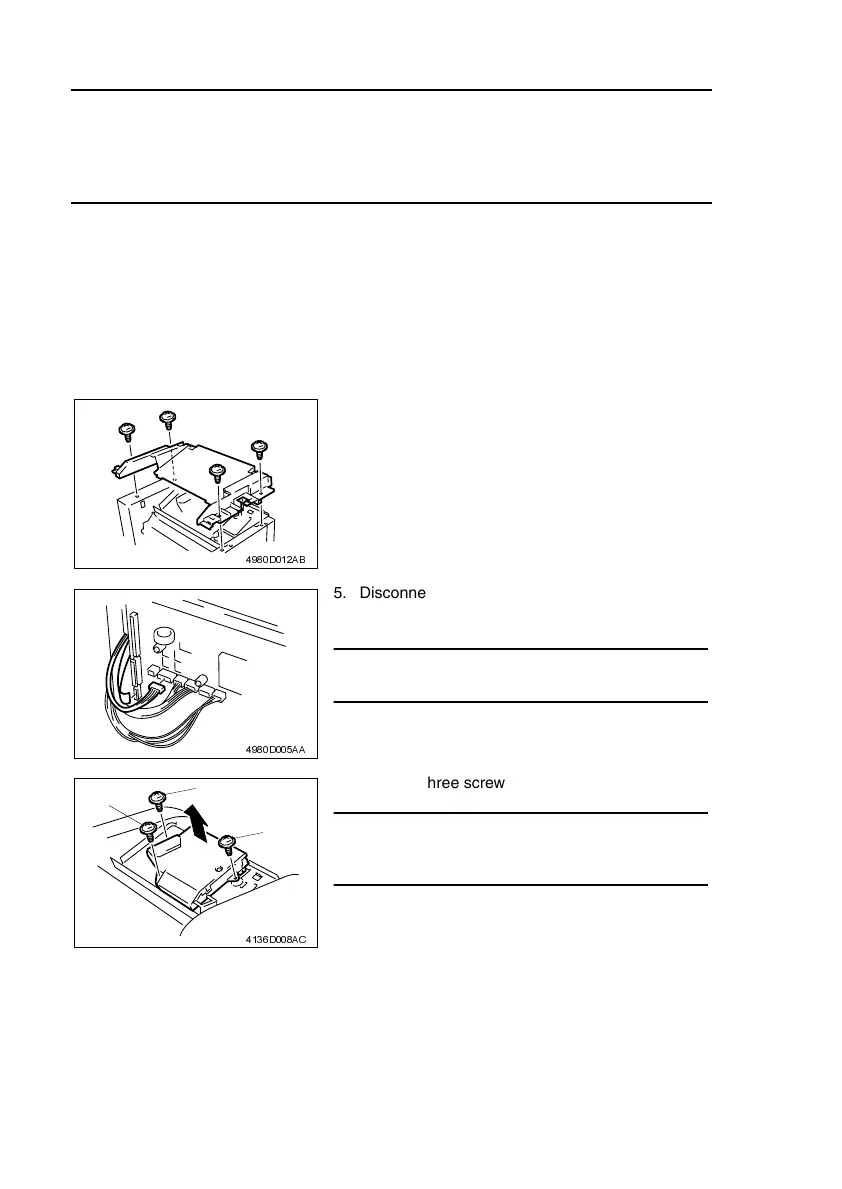
6. Remove three screws and the PH Unit.
NOTE
• When reinstalling the PH Unit, tighten the screws
in the numerical order shown in the illustration.
4136D008AC
2
3
1