E-8
(3) Replacement of the Fusing Unit
NOTE
• Immediately after turning off the printer, the area around the Fusing Unit is extremely hot.
Therefore, in order to reduce the risk of burns, wait until the unit has cooled down before
performing any operation.
<Removal Procedures>
1. Remove the Rear Cover.
☞ D-7
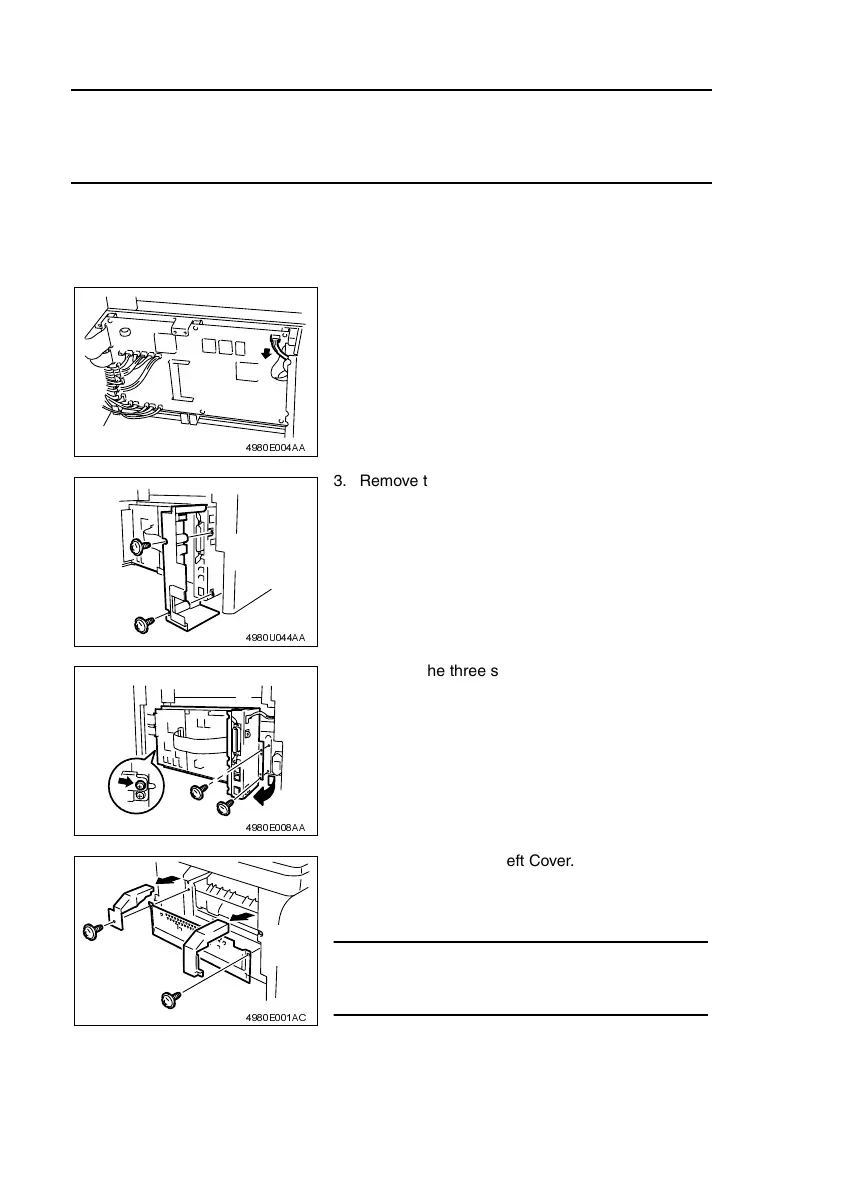
2. Unplug one connector on the Controller/Mechani-
cal Control Board.
4980E004AA
3. Remove the two screws, and then remove the
Left Rear Cover.
4980U044AA
4. Remove the three screws, and then remove the
Circuit Board and Metal Bracket.
4980E008AA
5. Remove the Upper Left Cover.
6. Remove the two screws, and then remove the
Upper Right Cover and Protective Metal Bracket.
NOTE
• The Protective Metal Bracket is tightened together
with the Upper Right Cover.
4980E001AC