3. Plug the AC connector on the power supply into a standard AC outlet, ranging from
100 VAC to 250 VAC, 50-60 Hz. A full recharge may take four hours.
The back of the analyzer may feel warm during charging. The power supply can
remain connected to the analyzer after charging completes. You cannot overcharge
the battery pack.
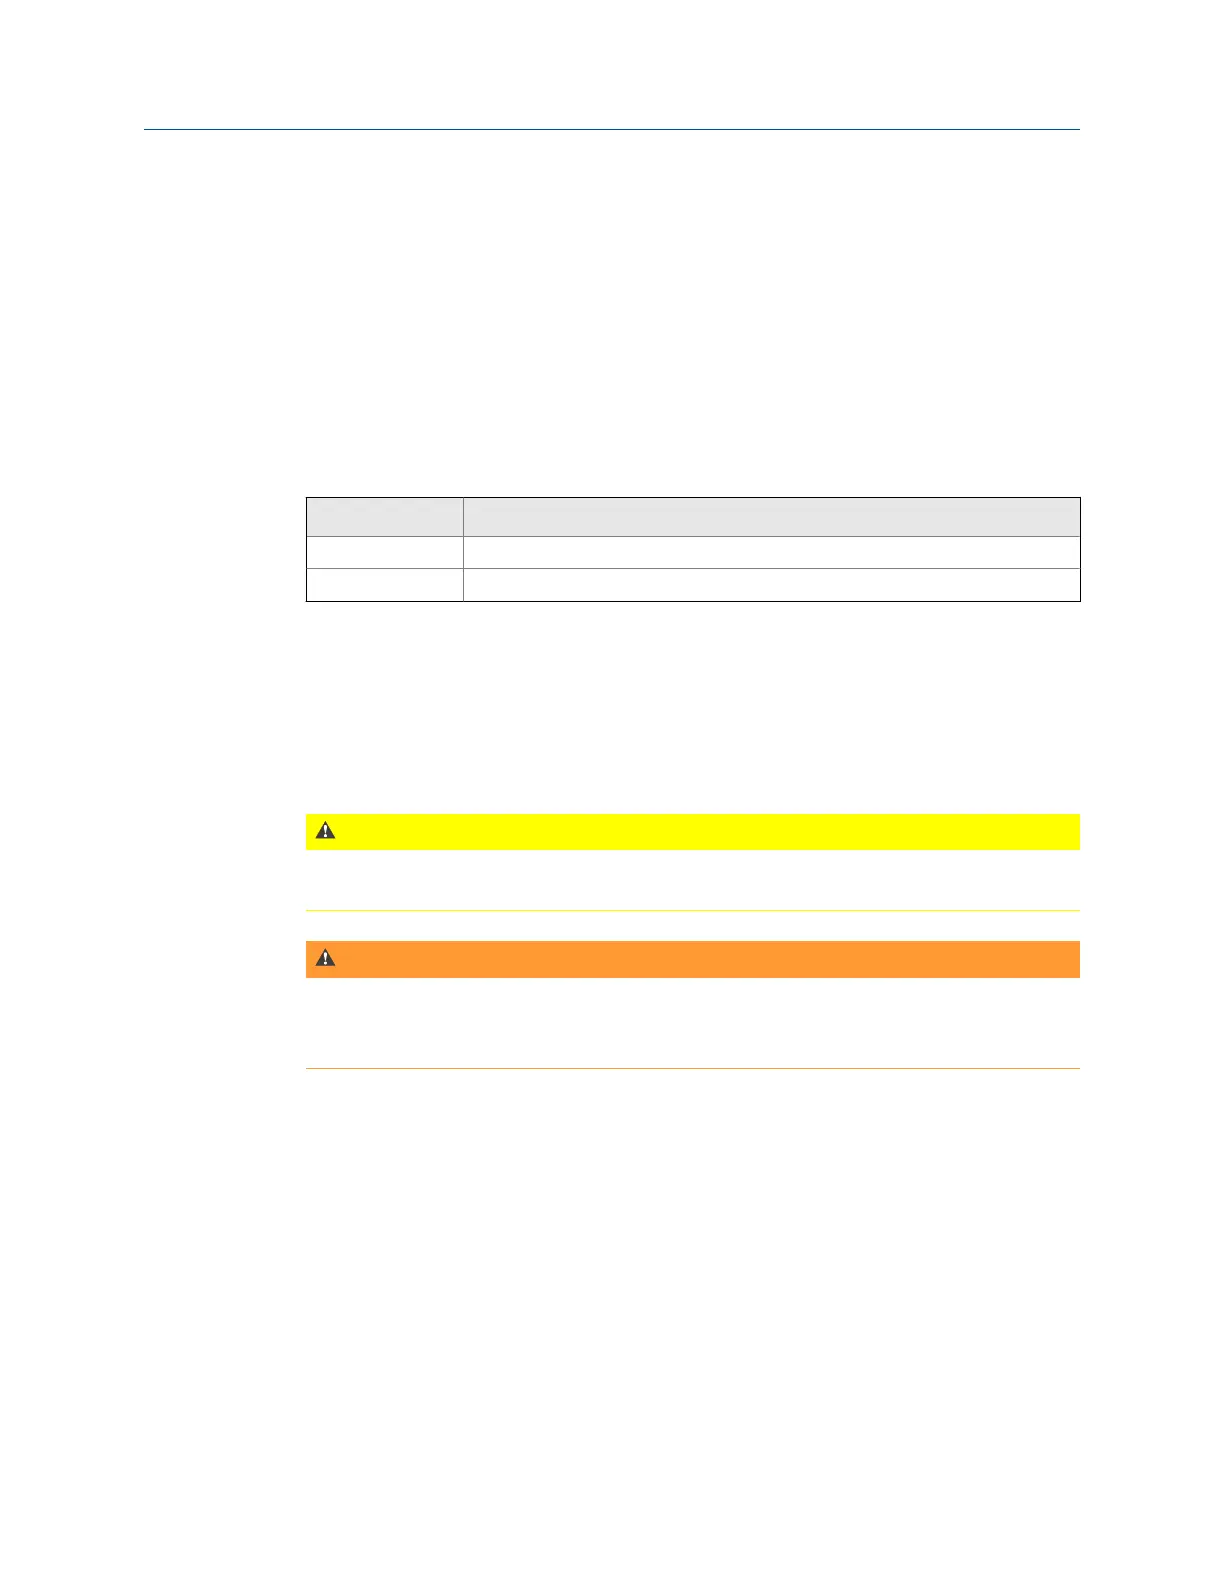
2.7.5 Battery LED indicates charging status
The Battery LED on the front of the analyzer shows the progress when charging the battery
pack. The LED is located to the right of the Power key.
Color Battery pack status
Amber Charging
Green Fully charged
2.7.6 Remove or change the battery pack
The analyzer gives you unlimited usage by changing the battery pack with a fully charged
spare battery pack. When you change the battery pack, the data saved in the analyzer is
not affected.
CAUTION!
Do not remove or change the battery pack with the power supply connected to the analyzer.
Damage may occur to the analyzer or the battery pack.
WARNING!
• Use only Emerson's battery packs with the CSI 2140. The analyzer will not function if a
non-Emerson battery pack is used.
• Remove or change the battery pack only in a non-hazardous area.
Procedure
1.
Turn off the analyzer and remove the power supply, if connected.
2. Set the analyzer face down on a level surface.
3. Lift up the stand.
4. On the back of the analyzer, remove the six screws that attach the battery pack to
the analyzer.
5. Carefully remove the battery pack from the battery compartment.
6. Insert the new battery pack and ensure it aligns with the contacts inside the battery
compartment on the analyzer.
7. Insert and tighten the six screws on the back panel.
Introduction to the analyzer
14 MHM-97432 Rev 7