9
Subdirectory Path
(optional)
For Computer SMB
To store scanned documents simply in the shared folder specified for Name of
Shared Directory, leave this box blank.
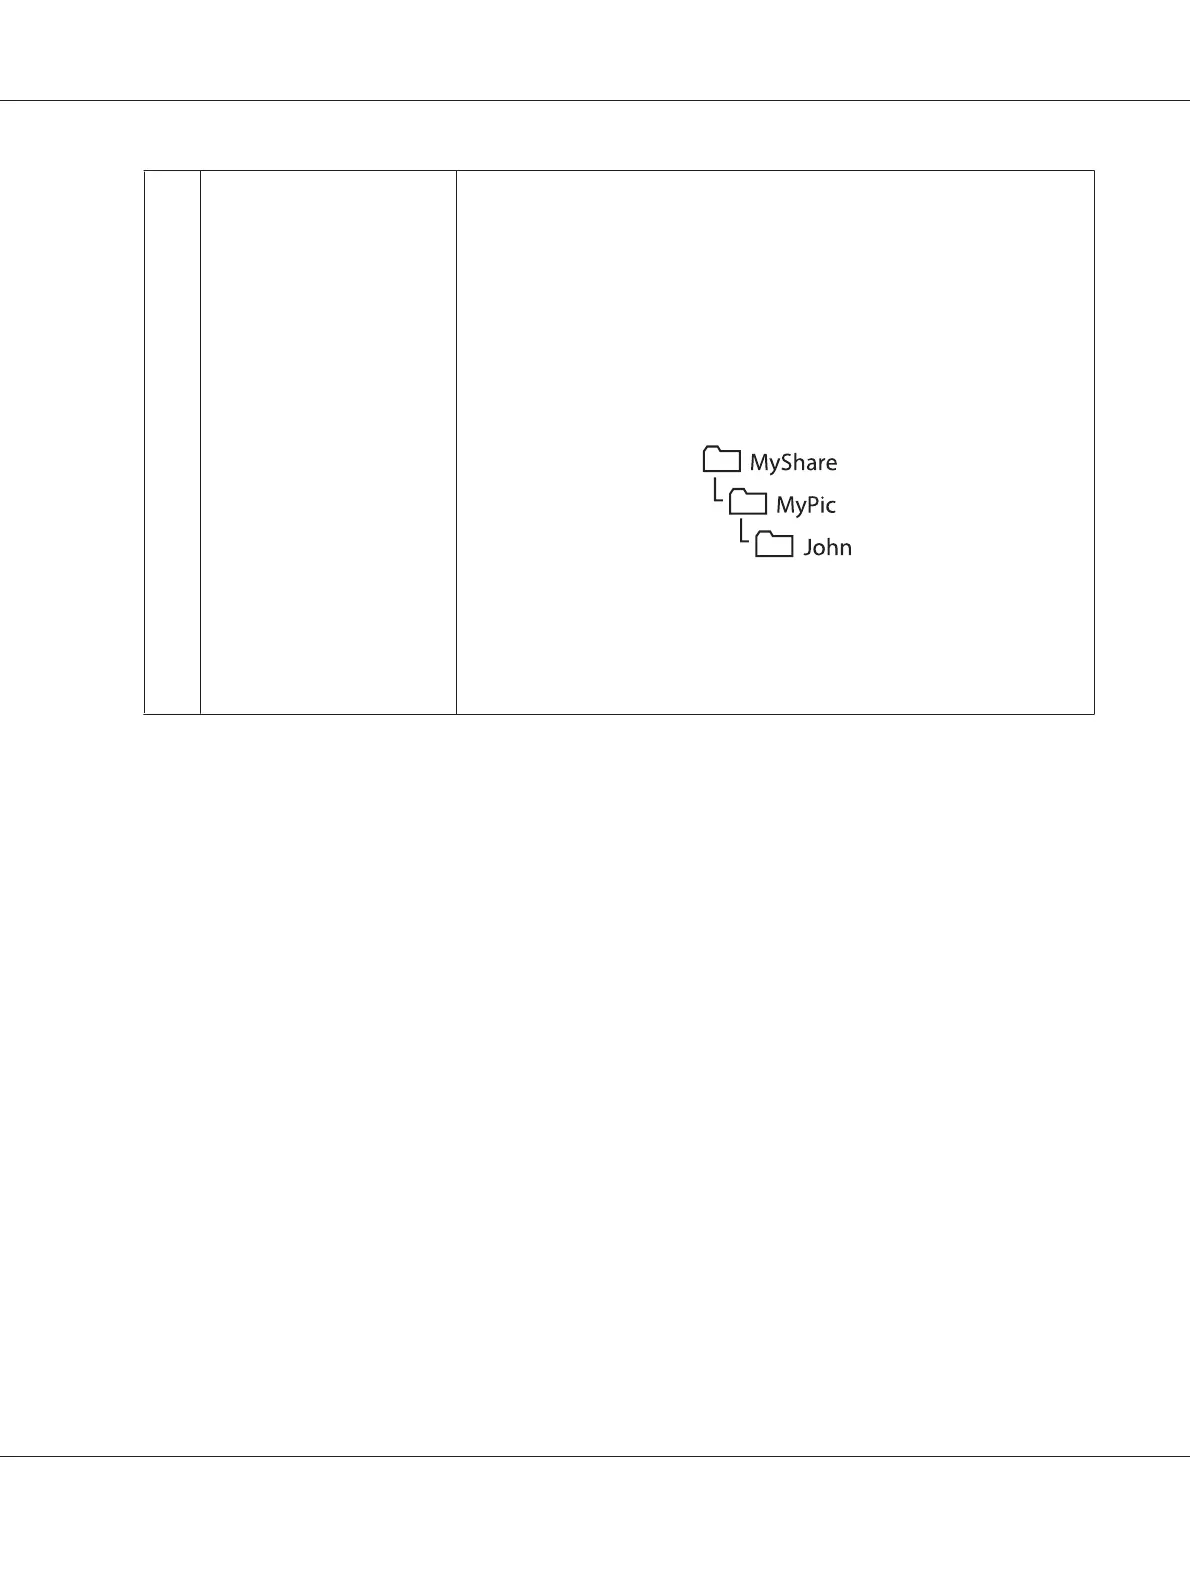
To store scanned documents in a subfolder within the shared folder, enter the
path to the subfolder as shown in the example below.
Example: Shared folder name: MyShare, Second-level folder name: MyPic,
Third-level folder name: John
You should now see MyShare\Mypic\John in your directory.
In this case, enter for Subdirectory Path (optional) as follows:
\MyPic\John
For Server FTP
Enter the path to the FTP server where you want to store scanned documents.
When you are finished with printer configuration, go to “Sending the Scanned File to the Network” on
page 210.
Using the Address Book Editor
1. Click Start — All Programs — EPSON — your printer — Address Book Editor.
Note:
❏ The window to select a device appears when multiple fax drivers are installed on your computer.
In this case, click the name of the desired printer listed in Device Name.
❏ The Enter Password window appears when Panel Lock Set is set to Enable. In this case,
enter the password you specified, and click OK.
2. Click OK on the “Retrieval Successful” message window.
AL-MX200 Series User’s Guide
Scanning 207