Virtual Media Server 441
Working with the Virtual Media Server
Before you begin working with the Virtual Media Server, you will want to open the Pixel Map Preview
display from the home screen or by using [Tab] [1][0]. For manipulating the pixel maps, you can use
either the encoders or the ML Controls, which can be opened from the home screen, by using [Tab]
[5], or by using the quick access tools.
Note: For any output, the Server Channel must be set to a level along with any layers you
are using.
Note: You can use Park and Address Check for Virtual Media Server outputs.
Server Channel Controls
When working with the Server Channel, the following controls will be available:
{Intensity}
{Pan} and {Tilt} - used to adjust layers within the frame.
{Color} - filters color for all layers.
{FoView} - field of view, or perspective.
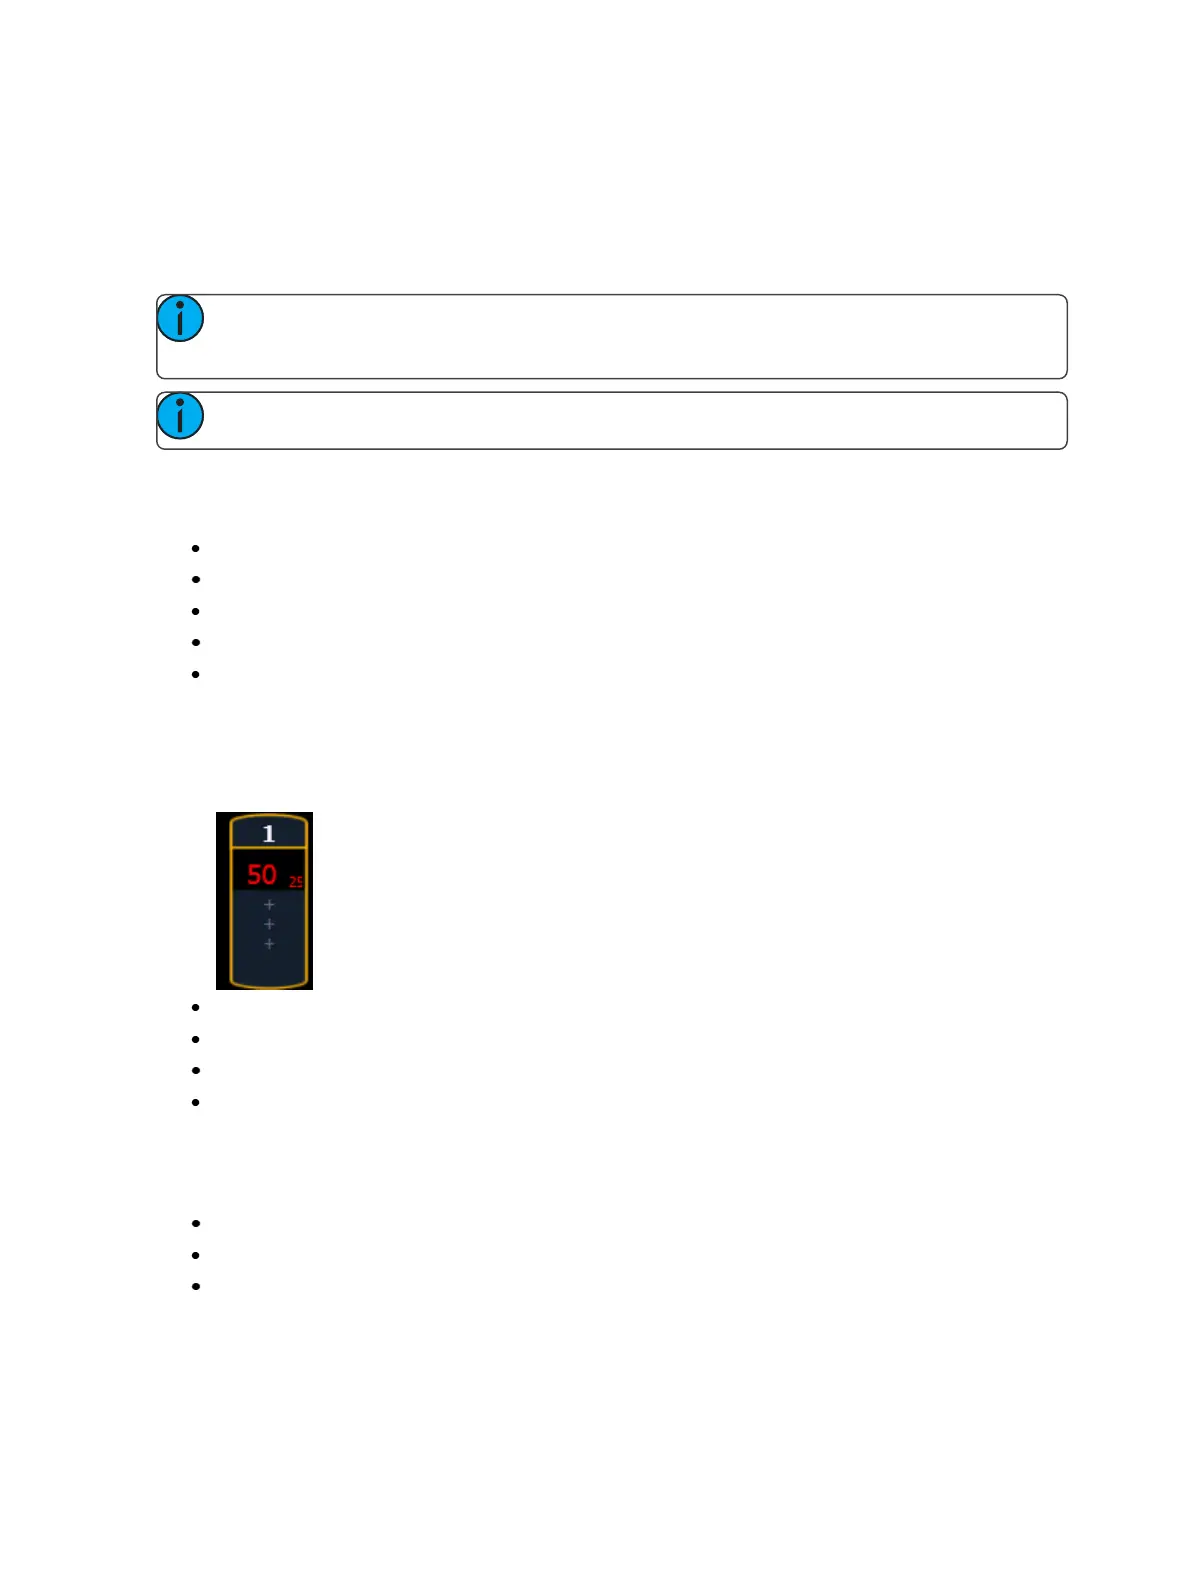
{Crossfade} - used to adjust the priority when devices in the pixel map are also used as desk
channels. -100 gives the pixel map priority, and +100 give the desk channel priority. At 0 (the
default) the output is calculated HTP for intensity and LTP for NPs.
The Virtual Media Server crossfade parameter level will display in subscript beside the intens-
ity.
{Blend} - is a smoothing function for crossfades. It is a linear parameter that defaults to zero.
{Scale} - adjusts Scale of all layers.
{Aspect Ratio} - adjusts aspect ratio of all layers.
{XYZ Rotation Controls} - rotation control for all layers
Layer Channel Controls
When working with the Layer Channels, the following controls will be available:
{Intensity}
{Pan} and {Tilt} - used to adjust the image of the individual layer within the frame.
{Color} - filters the color of the content. For example, if all the colors are set to full, the content
will play all colors normally. However if blue is at 0, then only the red and green pixels of the
content will play. The color and gel pickers can be used to select color filtering quickly.