81
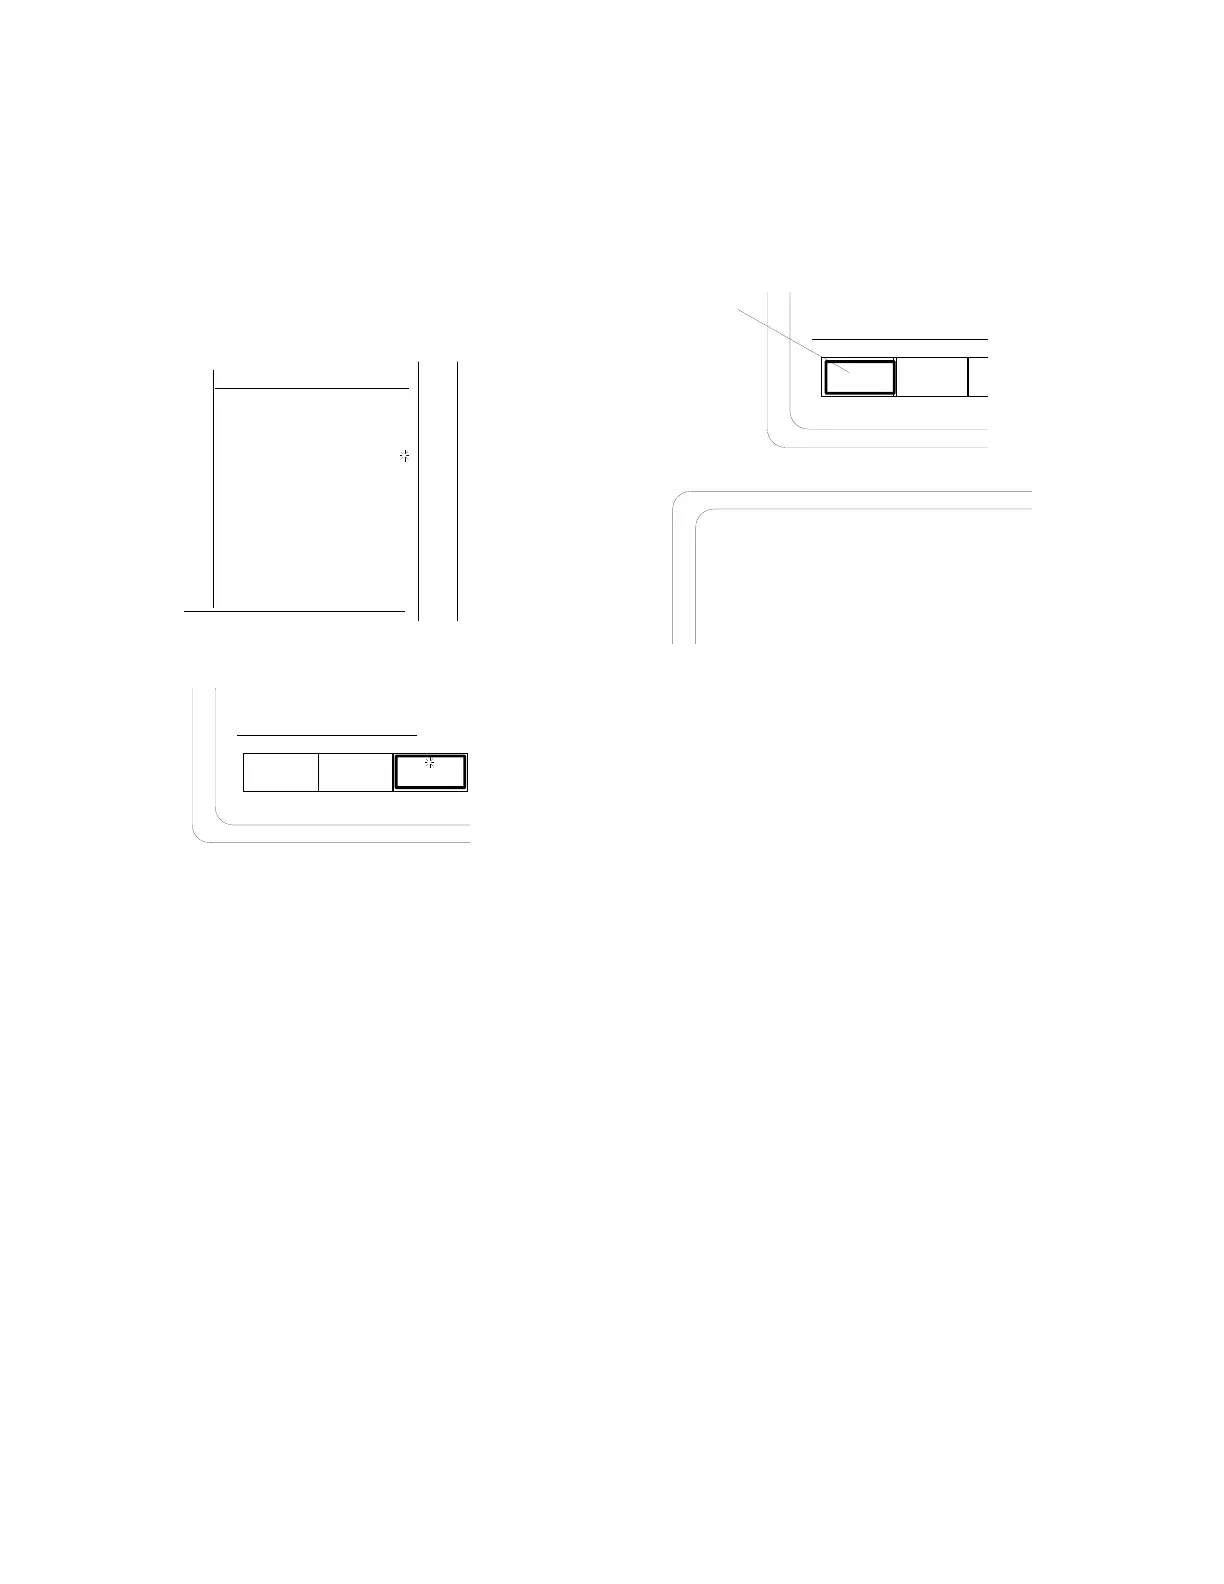
3. Set the "Format Sel:" to TONE RMT. The
base transmitter is activated when the
SYNTH is turned on by pressing the BURST
key. The level of the fixed 1 kHz tone and
"Synth:" field will vary depending on the
base specifications.
4. With the cursor located within the Display
zone ("Meter:" field), press the RF DISPLAY
softkey. Monitor the base frequency, power
and deviation.
RF
DI SPLAY
AC
VOLLTS
RF
SCAN
RF
Display
Audio Sum: 0.500 V pk
Fixed 1kHz:
Synth:
Format Sel: TONE RMT
Code:
External: 0.000 V
x
0.500 V
~
0.500 V
DTMF: 0.000 V
x
- - - - - - - - - - - - - - - -
Meter: RF DISPLAY
Mon Freq: 816.500 MHz
Freq Err: + 47 Hz
Dev: 3.5 kHz
Input Lvl: -70.5 dBm
CONT
x
OFF
BURST
~
4-5 Analyzer Setup for Printing
The analyzer must use null modem cable to
properly print with any serial printer. Do not use
a standard serial cable; it will not work!
This is due to the fact that the RS-232 port also is
used as a control port to remotely operate the
analyzer in computer controlled applications.
Different cables are required to activate each
function.
To set up the port for printer operation press the
SPF key. When in this screen, move the high-
lighted cursor to RS232 SETUP and press the
softkey labeled
display table. This table gives you
the ability to configure the RS-232 output from
the analyzer. Move the cursor to each field and
choose the appropriate softkey entry to match the
printer setup.
 Loading...