Chapter 3: ProView 2900 Control Interfaces Installation Instructions
© Harmonic Inc. Manual p/n 101543/Ver 1.0 3-2 ProView 2900 Series/SW Version 1.94
3.1.3. Inventory Check
Before installing the unit, ensure that all the equipment has arrived and check for damage
according to the following list:
Item Quantity
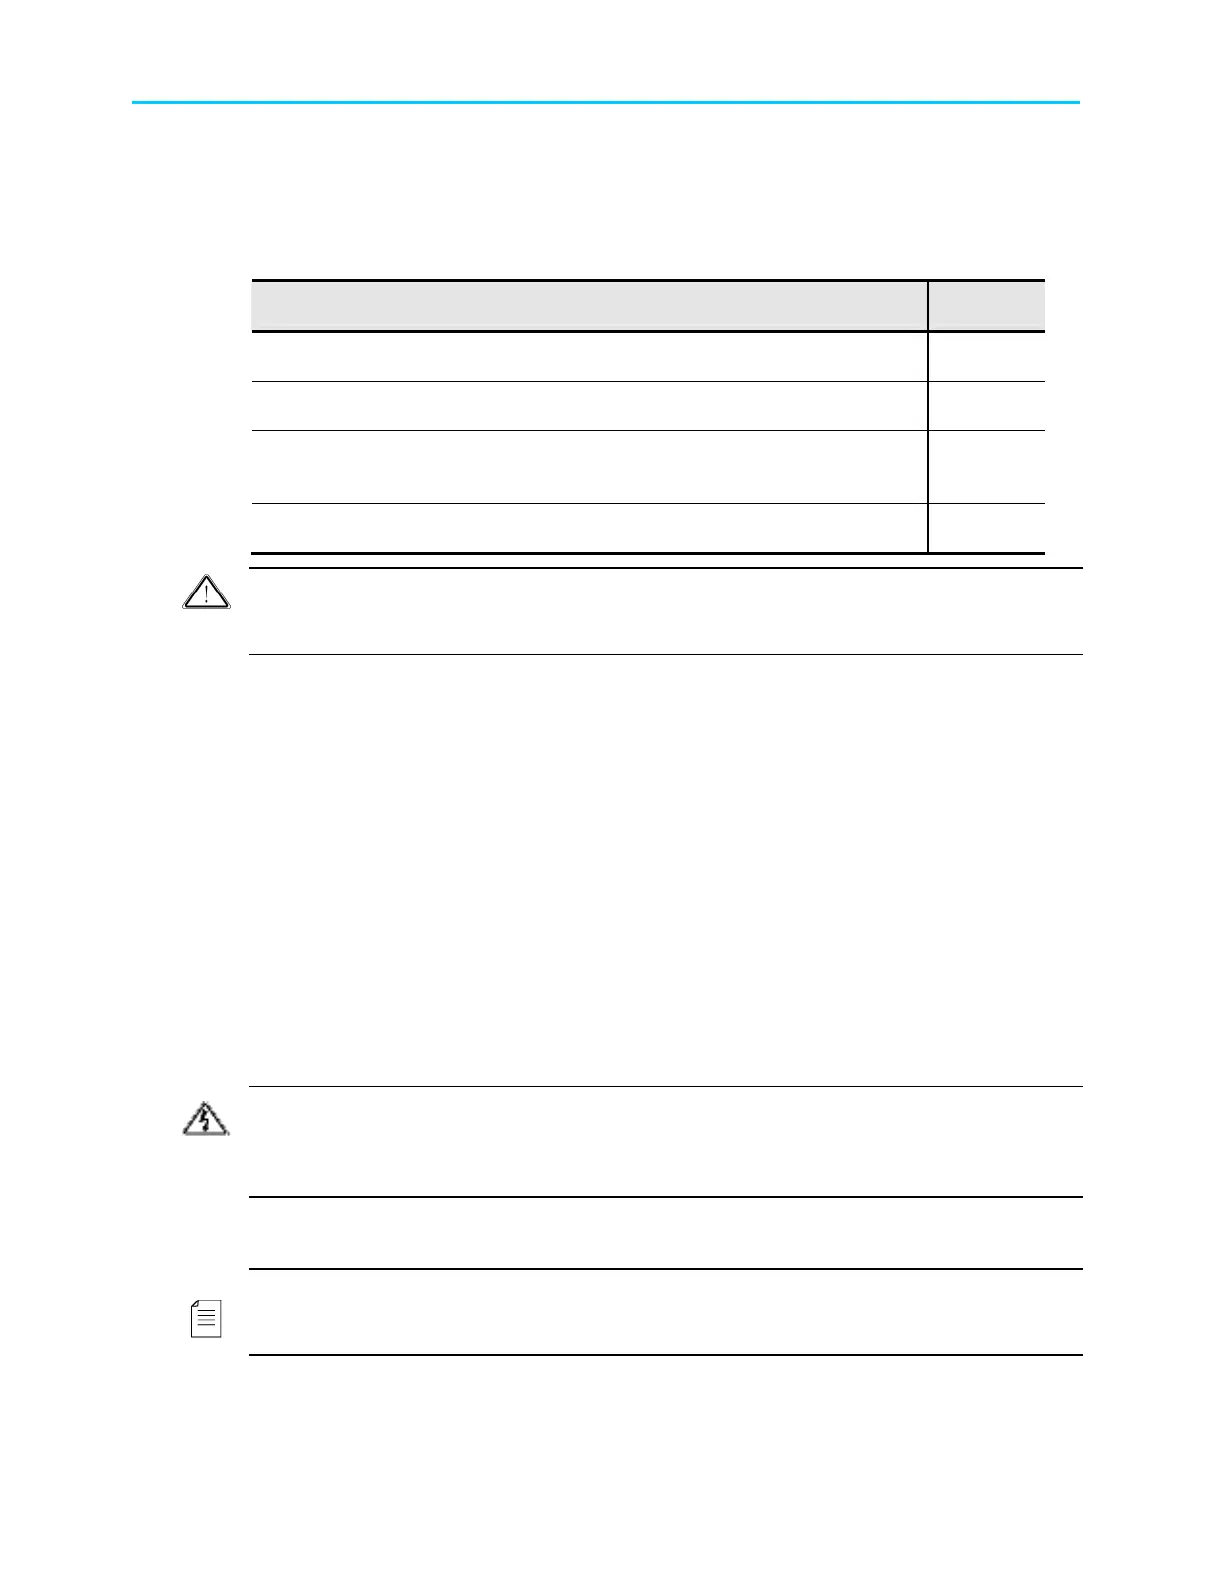
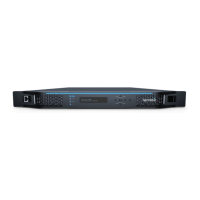
ProView 2900 Professional Integrated Receiver Decoder 1
Power cable 1
Installation Guide, ProView 2900 Professional Integrated Receiver
Decoder
1 CD
Breakout cable if applicable 1/2
CAUTION
If anything is missing or damaged, do not continue with the installation and report to your
Harmonic support representative.
3.2. Installation Instructions
This section explains the mechanical installation of a ProView 2900 unit.
3.2.1. Power Supply to the Unit
To ensure correctly and safely operation of the unit, the following are required:
• Adding to the system a UPS (Uninterrupted Power Supply) and an AVR (Automated
Voltage Regulator) is highly recommended.
• It is recommended to install the unit within 1.5m (approx. 5 feet) from an easily accessible
grounded AC outlet.
• Install the main power supply by a qualified electrician, according to power authority
regulations. Make sure all powering must be wired with an earth leakage, according to
local regulations.
• When the unit is rack-mounted, ensure that the rack is correctly grounded.
DANGER:
To avoid electrocution, ensure that the rack has been correctly grounded before switching on
the PVR-7000 device. When removing the unit, remove the grounded connection only after
the unit is switched off and unplugged.
3.2.2. Installing the Unit in a Rack
NOTE:
For rack installation, ensure that a designated 19" rack is fully prepared for installation.
Ensure sufficient space behind the rack for easy access for installation and maintenance.
The following sections detail the installation of a ProView 2900 unit in a 19" rack using the
dedicated mounting slides.