11
OTHER FUNCTIONS
11
11-15
Cloning function (Continued) ■
D Transceiver-to-Transceiver cloning using a cable
“CLONE” screen
“CLONE-OUT” screen
(While sending data)
Return to the “CLONE”
screen
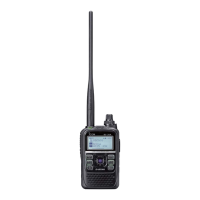
Connects two ID-31A/E (master and sub transceiver)
using a stereo audio cable (purchase locally).
Use the stereo audio cable (3.5 (d) mm;
1
⁄8″), purchase
locally.
* According to a stereo audio cable may not be used for clon-
ing.
Turn OFF the both master and sub transceiver. q
Connect a stereo audio cable between master and w
sub transceiver at right.
At the sub transceiver, while holding down both [M/ e
CALL] and [FM/DV] , push to select
cloning stand-by mode.
• “CLONE” screen appears.
At the master transceiver, while holding down both r
[M/CALL] and [MENU] , push to se-
lect cloning master mode.
• “CLONE Master” screen appears.
At the master transceiver, push [PTT]. t
• At the sub transceiver, “CLONE-IN” screen appears.
• At the master transceiver, “CLONE-OUT” screen ap-
pears.
When cloning is completed, the master transceiver y
returns to “CLONE Master” screen.
• The sub transceiver displays “CLONE End” screen.
• If you have another ID-31A/E to cloning, replace the sub
transceiver and then push [PTT] of the master transceiv-
er.
Reboot the sub transceiver to enable the cloned u
setting.
• Connections
to [SP] jack to [SP] jack
3.5 mm (d);
1
⁄8″
Stereo plug
• Stereo plug (purchase locally)
Less than 4.5 mm; 0.17
″
Master transceiver
(sends a cloning data)
Sub transceiver
(receives a cloning data)
• Screen of the master transceiver

 Loading...