550 Keysight N9010A EXA Service Guide
Assembly Replacement Procedures
Disk Drive
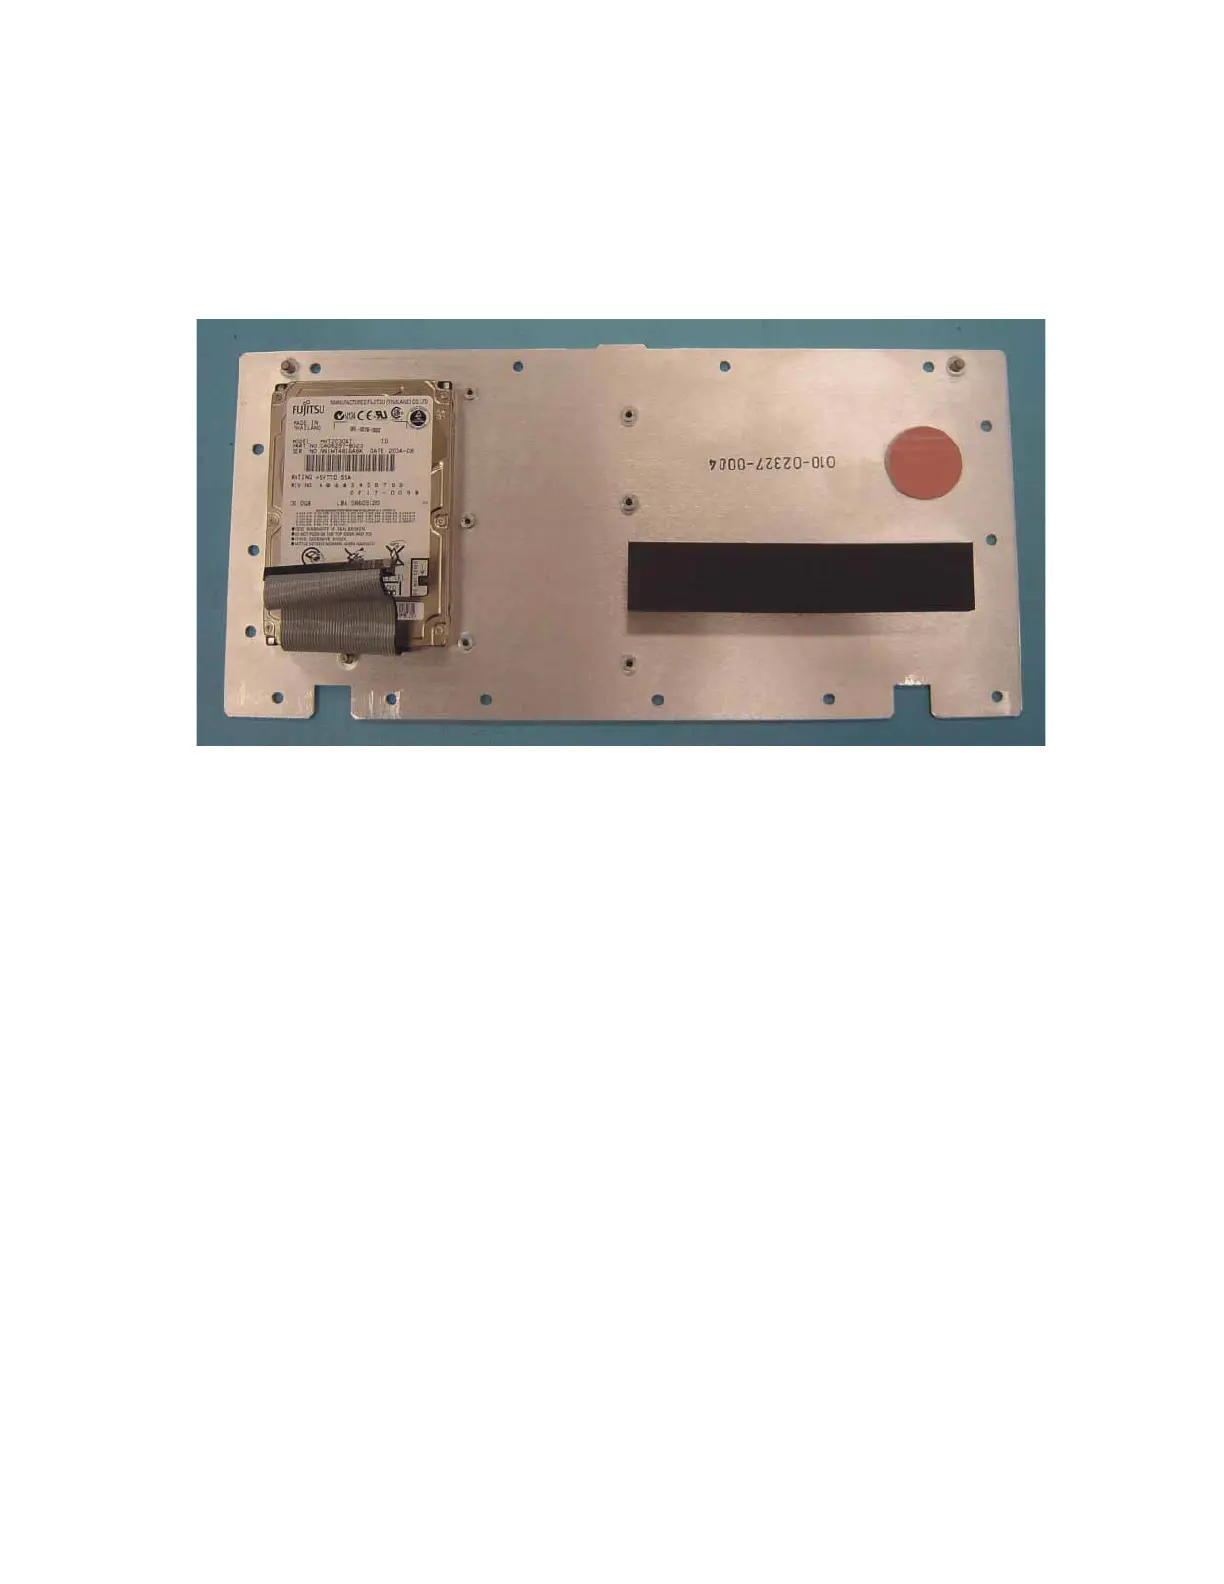
10. Install the Programmed Hard Disk Drive to the Top Shield using
precoated four Machine Screws (0515-5074) as shown in Figure 15-70.
Torque screws to 9 inch-pounds.
Figure 15-70 Top Shield/Hard Drive Assembly
11.Connect the Hard Drive ribbon cable from the Top Shield/Hard
Drive/Ribbon Cable assembly to the CPU assembly. When the ribbon
cable is fully seated the two locking tabs will grip the sides of the ribbon
cable connector.
12.Install the Top Shield/Hard Drive/Ribbon Cable assembly to the CPU
assembly using fifteen precoated Machine Screws (0515-5074). Torque
screws to 9 inch-pounds.
13.Refer to Figure 15-63. Replace the CPU assembly in the instrument with 6
screws. Torque to 9 inch-pounds.

 Loading...


