90
6 If you wish to delete the original sample data and over-
write it with the edited sample data, check “Overwrite”
(
☞1–1).
7 To execute the Truncate command, press the OK button.
To cancel, press the Cancel button.
Normally you will leave “Save to No.” at the default
setting, and execute without checking “Overwrite.”
When you execute, the original data and the edited data
will both be preserved, and the sample number after
editing will be assigned to the sample of the index.
1–1B: Cut
This command deletes the data between the “Edit Range
Start” and “Edit Range End.” Sample data located after the
deleted portion will be moved forward.
1 Set “Edit Range Start” and “Edit Range End” to specify
the editing range.
The data that will be deleted by “Cut” can be audi-
tioned by pressing the front panel [START/STOP] key.
2 Select this command to open the following dialog box.
3 The range to be edited is shown by “Range Start” and
“End.”
4 In “Save to No.,” specify the save destination sample
number. By default, an unused sample number will be
selected. If you have checked “Overwrite” in
5, this can-
not be set.
For a stereo sample, “Save to No.(L)” and “(R)”
will be displayed. Specify the save destination sample
number for the L channel and R channel respectively.
5 If you wish to delete the original sample data and over-
write it with the edited sample data, check “Overwrite”
(
☞1–1).
6 To execute the Cut command, press the OK button. To
cancel, press the Cancel button.
Normally you will leave “Save to No.” at the default
setting, and execute without checking “Overwrite.”
When you execute, the original data and the edited data
will both be preserved, and the sample number after
editing will be assigned to the sample of the index.
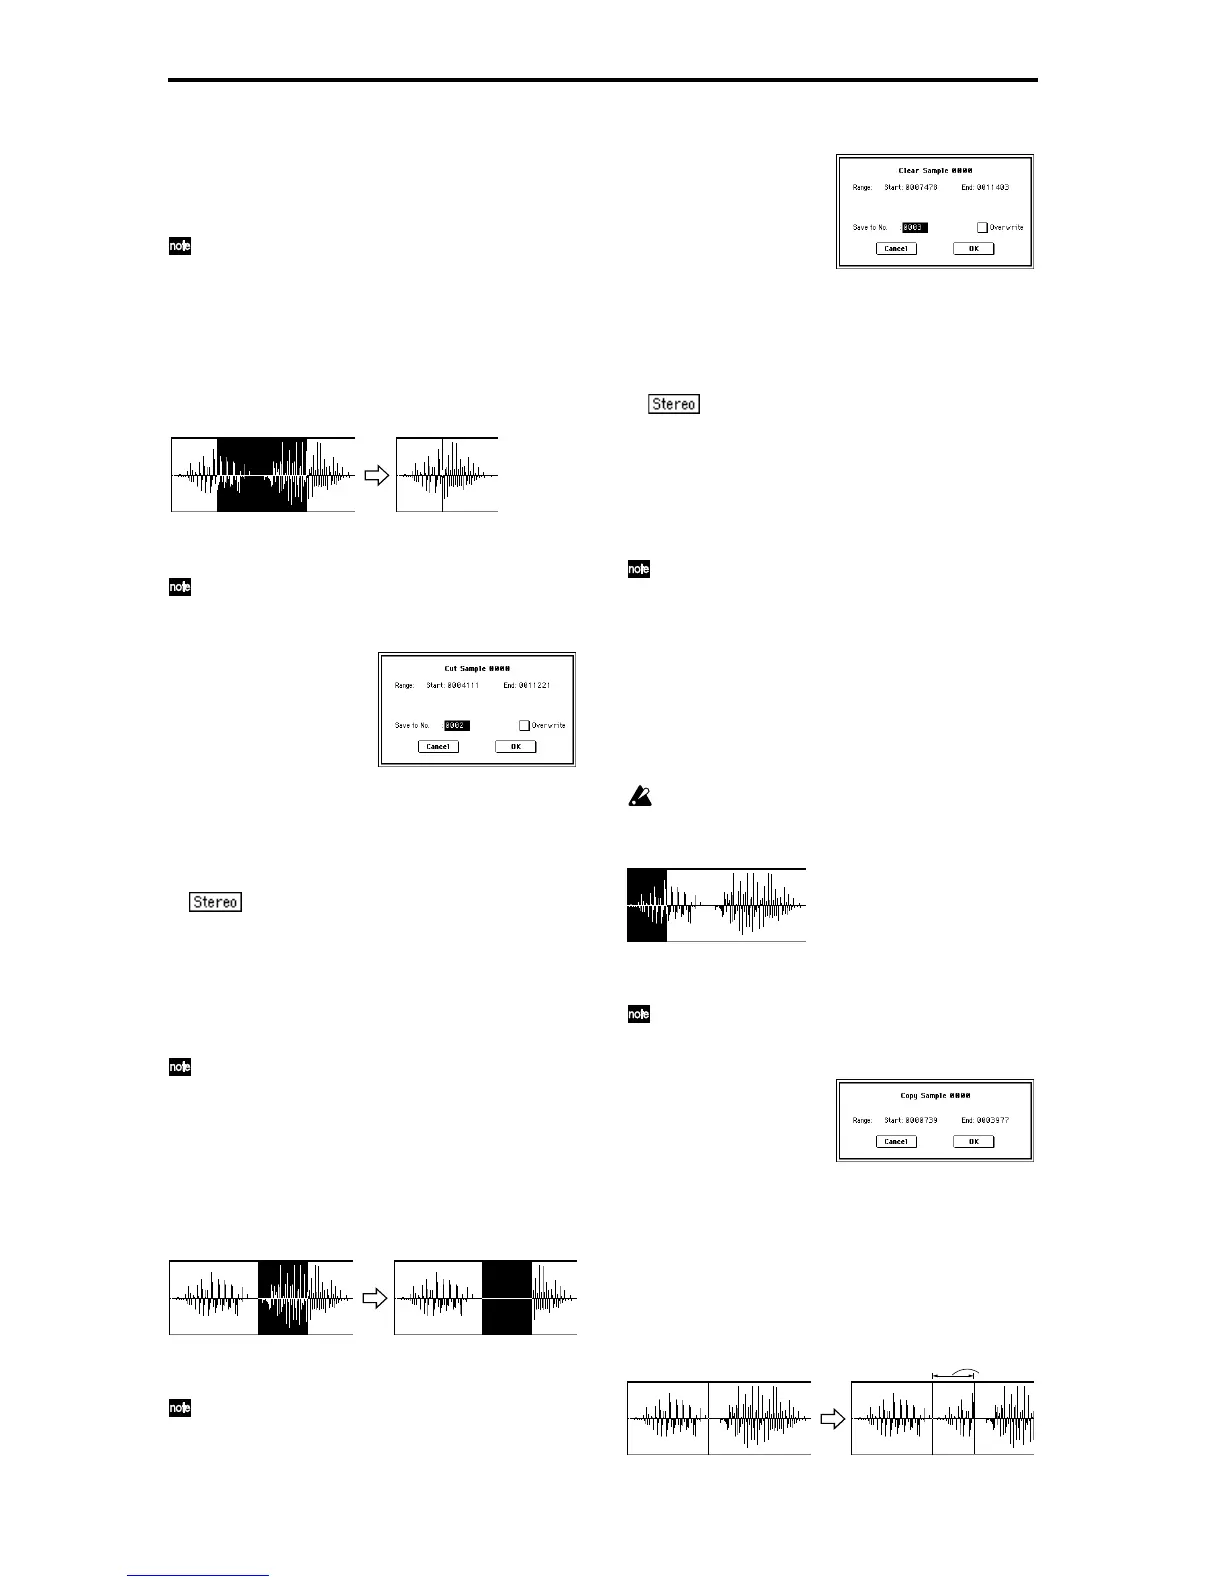
1–1C: Clear
This command converts the data between “Edit Range
Start” and “Edit Range End” to zero values. Sample data
before and after the edited range will not move.
1 Use “Edit Range Start” and “Edit Range End” to specify
the editing range.
The data that will be converted to zero values by
“Clear” can be auditioned by pressing the front panel
[START/STOP] key.
2 Select this command to open the following dialog box.
3 The range to be edited is shown by “Range Start” and
“End.”
4 In “Save to No.,” specify the save destination sample
number. By default, an unused sample number will be
selected. If you have checked “Overwrite” in
5, this can-
not be set.
For a stereo sample, “Save to No.(L)” and “(R)”
will be displayed. Specify the save destination sample
number for the L channel and R channel respectively.
5 If you wish to delete the original sample data and over-
write it with the edited sample data, check “Overwrite”
(
☞1–1).
6 To execute the Clear command, press the OK button. To
cancel, press the Cancel button.
Normally you will leave “Save to No.” at the default
setting, and execute without checking “Overwrite.”
When you execute, the original data and the edited data
will both be preserved, and the sample number after
editing will be assigned to the sample of the index.
1–1D: Copy
This command copies the sample data from the area
between “Edit Range Start” and “Edit Range End” into the
sample data buffer. This data can then be used by the
“Insert,” “Mix” or “Paste” commands.
When “Copy” is executed, the data that is loaded into the
buffer simply references the data of the original sample.
After using “Copy,” do not delete the copy source sample
until you “Insert,” “Mix” or “Paste” the copied data.
1 Use “Edit Range Start” and “Edit Range End” to specify
the editing range.
The data that will be copied can be auditioned by press-
ing the front panel [START/STOP] key.
2 Select this command to open the following dialog box.
3 The range to be copied is shown by “Range Start” and
“End.”
4 To execute the Copy command, press the OK button. To
cancel, press the Cancel button.
1–1E: Insert
This command inserts the sample data that was copied by
the “Copy” command, beginning at the “Edit Range Start”
address. The data that had originally been located at that
point will be moved backward.
From the
buffer