Disk
P0
141
5 To save the data, press the OK button. To cancel, press
the Cancel button.
The song data you save here can be played back on a
device that supports Standard MIDI Files. However if
you intend to playback the data on the TRITON, we rec-
ommend that you use “Save SEQ” to save the data, since
this will allow a higher degree of reproducibility.
0–2G: Save Exclusive
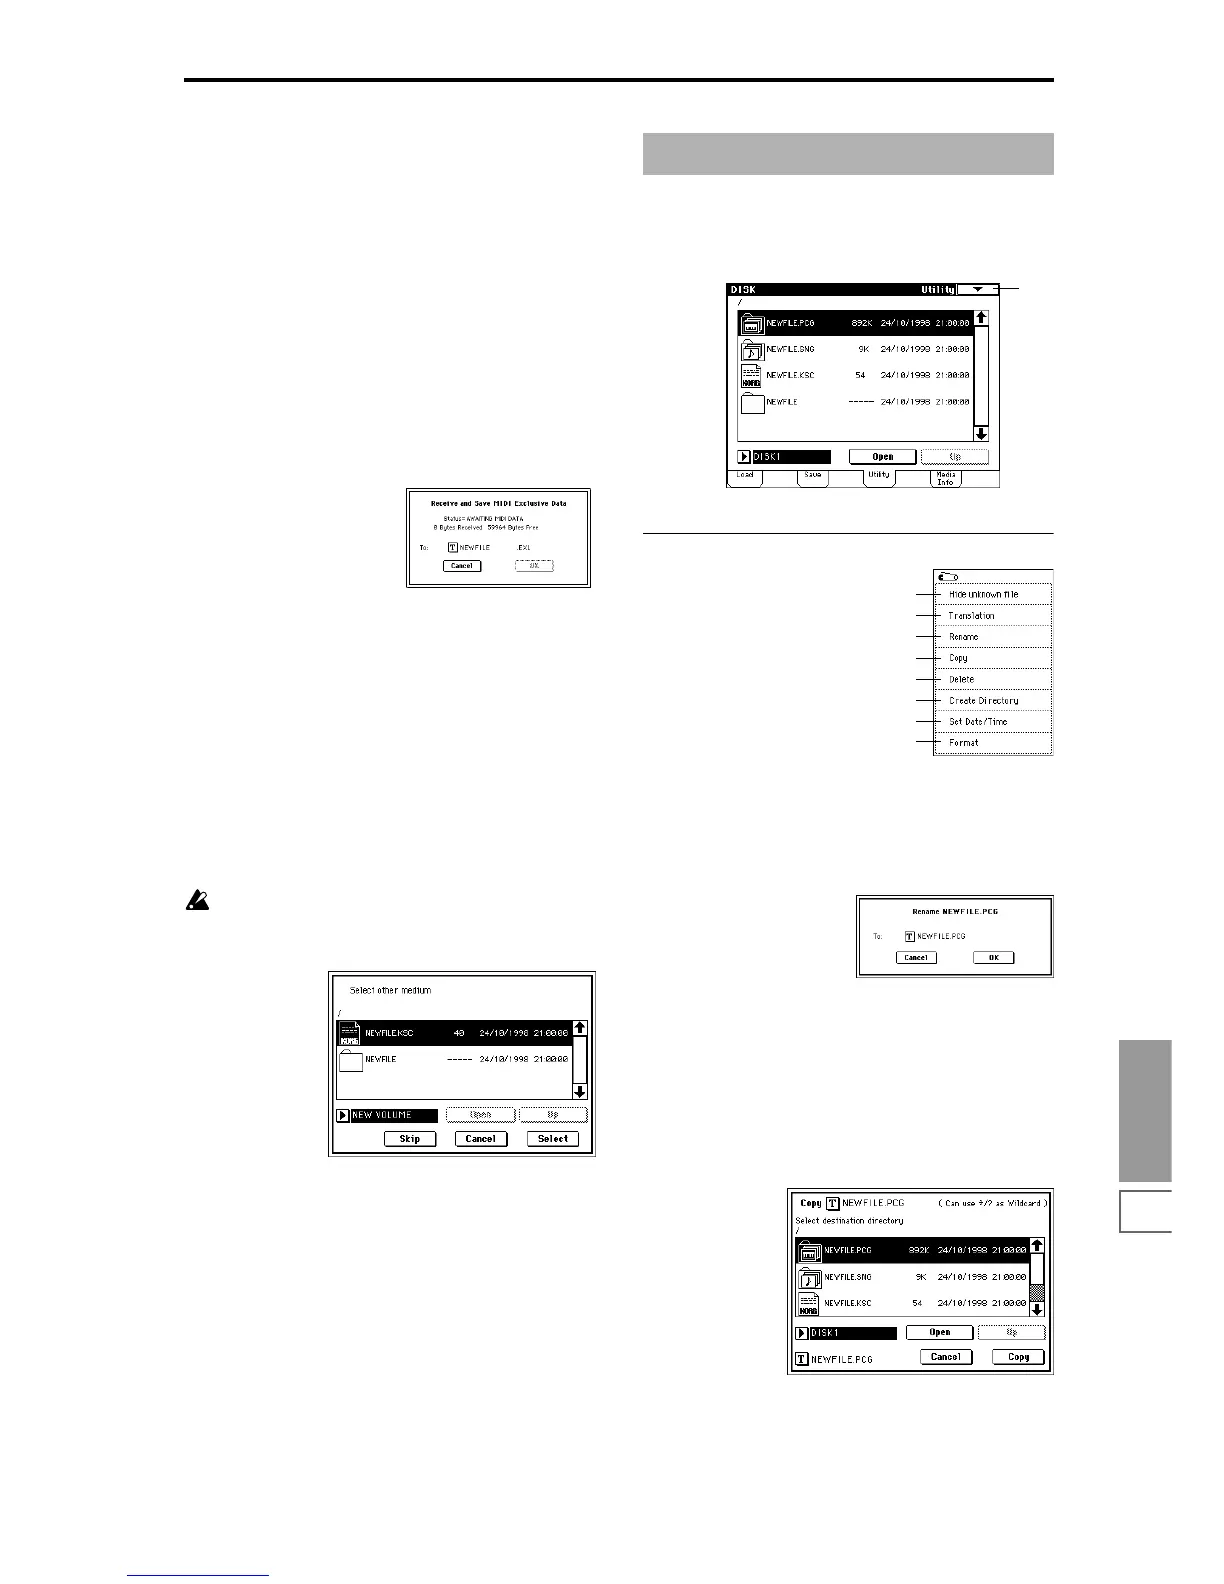
(Receive and Save MIDI Exclusive Data)
This command receives exclusive data, accumulates it in the
unused portion of internal memory, and saves the data to
media as an .EXL file.
This command is valid only when the current directory is a
DOS directory.
1 When you select this command, the TRITON will wait
for exclusive data to be received. The following dialog
box will appear.
2 Transmit the exclusive data that you wish to save to the
TRITON. While the data is being received, the display
will indicate “Status=RECEIVING MIDI DATA.” When
reception ends, the size of the received data and the size
of the remaining free area will be rewritten. The display
will change to “Status=AWAITING MIDI DATA,” and
you can continue transmitting exclusive data to the TRI-
TON. During reception, the Cancel button and the OK
button cannot be pressed.
3 Press the text edit button to access the text input dialog
box, and specify the filename.
4 To save the data, press the OK button. To cancel without
saving, press the Cancel button.
0–2H: Select other medium
When saving a .KSC, .KMP, or .KSF file and the data
does not fit on a single floppy disk (or other medium),
the following dialog box will appear, asking you to
select the next piece of media.
1 Remove the floppy disk from the disk drive, and insert
the next floppy disk. If you wish to specify a different
SCSI device, use “Drive Select” (0–1c) to select it (if the
EXB-SCSI option is installed).
2 Press the Select button, saving will resume.
3 If at this point you press the Cancel button, the save
operation will be terminated. If you press the Skip but-
ton, the specified file will be skipped, and the next file
will be saved (
☞p.138 “If the file to load cannot be
found,…”).
Here you can rename, copy, or delete the selected disk or
file, create a new directory, and set the date and time.
After selecting a disk or file, select the desired page menu
command.
▼ 0–3: Page Menu Command
0–3A: Rename
This command renames the selected file or directory.
This command is valid only when a DOS file or a DOS direc-
tory is selected.
1 Select this command to open the following dialog box.
2 Press the text edit button to access the text input dialog
box, and modify the name.
3 To rename the file or directory, press the OK button. To
cancel, press the Cancel button.
0–3B: Copy
This command copies the selected file or directory.
This command is valid only when a DOS file or a DOS direc-
tory is selected.
1 Select this command to open the following dialog box.
2 “Copy” will show the name of the selected file or direc-
tory.
If you wish to change the file or directory that will be
copied, use the text edit button to move to the text input
0–3: Utility
0–3
0–1A
0–1B
0–3A
0–3B
0–3C
0–3D
0–3E
0–3F