142
dialog box, and specify the filename that you wish to
copy.
(Can use */? as Wildcard): When you use the text edit
button to access the text input dialog box and specify the
name of the file or directory to be copied, you can use “*”
and “?” characters as wildcards. For example, if in the
above example you specify PRELOAD1.* (instead of
PRELOAD1.PCG), all filenames of PRELOAD1. with
any filename extension will be copied at the same time:
i.e., PRELOAD1.PCG, PRELOAD1.SNG,
PRELOAD1.KSC, ...
Example)
PRELOAD1.* : PRELOAD1.PCG, PRELOAD1.SNG,
PRELOAD1.KSC, ...
PRELOAD?.PCG : PRELOAD1.PCG, PRELOAD2.PCG,
PRELOAD2.PCG, ...
When wildcards are used, only files will be subject to
copying. Directories will not be copied.
3 Use the Open button and Up button to select the copy
destination directory. If you wish to specify a different
SCSI device, use “Drive Select” (0–1c) to select it (if the
EXB-SCSI option has been installed).
4 If you wish to copy the file or directory with a different
name, use the text edit button (in the lower line) to access
the text input dialog box, and specify the name with
which the file or directory will be copied. If you are using
wildcards to simultaneously copy multiple files, it is not
possible to modify the filename.
5 To copy the data, press the OK button. To cancel without
copying, press the Cancel button.
If the drive that you selected in “Drive Select” is remov-
able media (floppy disk, MO disc, removable hard disk
etc.), it is not possible to copy to different media on the
same drive.
0–3C: Delete
This command deletes the selected file or directory.
If a directory is selected, it can be deleted only if no files
exist within that directory.
This command is valid only if a DOS file or directory is
selected.
1 Select this command to open the following dialog box.
2 “Delete” will indicate the name of the selected file or
directory.
If you wish to change the file or directory that is to be
deleted, use the text edit button to access the text input
dialog box, and specify the name of the file or directory
that you wish to delete.
(Can use */? as Wildcard) : When you use the text edit
button to access the text input dialog box and specify the
name of the file to be deleted, you can use the “*” or “?”
characters as wildcards. This allows you to simulta-
neously delete multiple files with identical filenames and
different extensions, or files whose names are partially
identical (
☞“Copy” 0–3B).
When wildcards are used, only files will be subject to
deletion. Directories will not be deleted.
3 To delete the selected file or directory, press the OK but-
ton. To cancel without deleting, press the Cancel button.
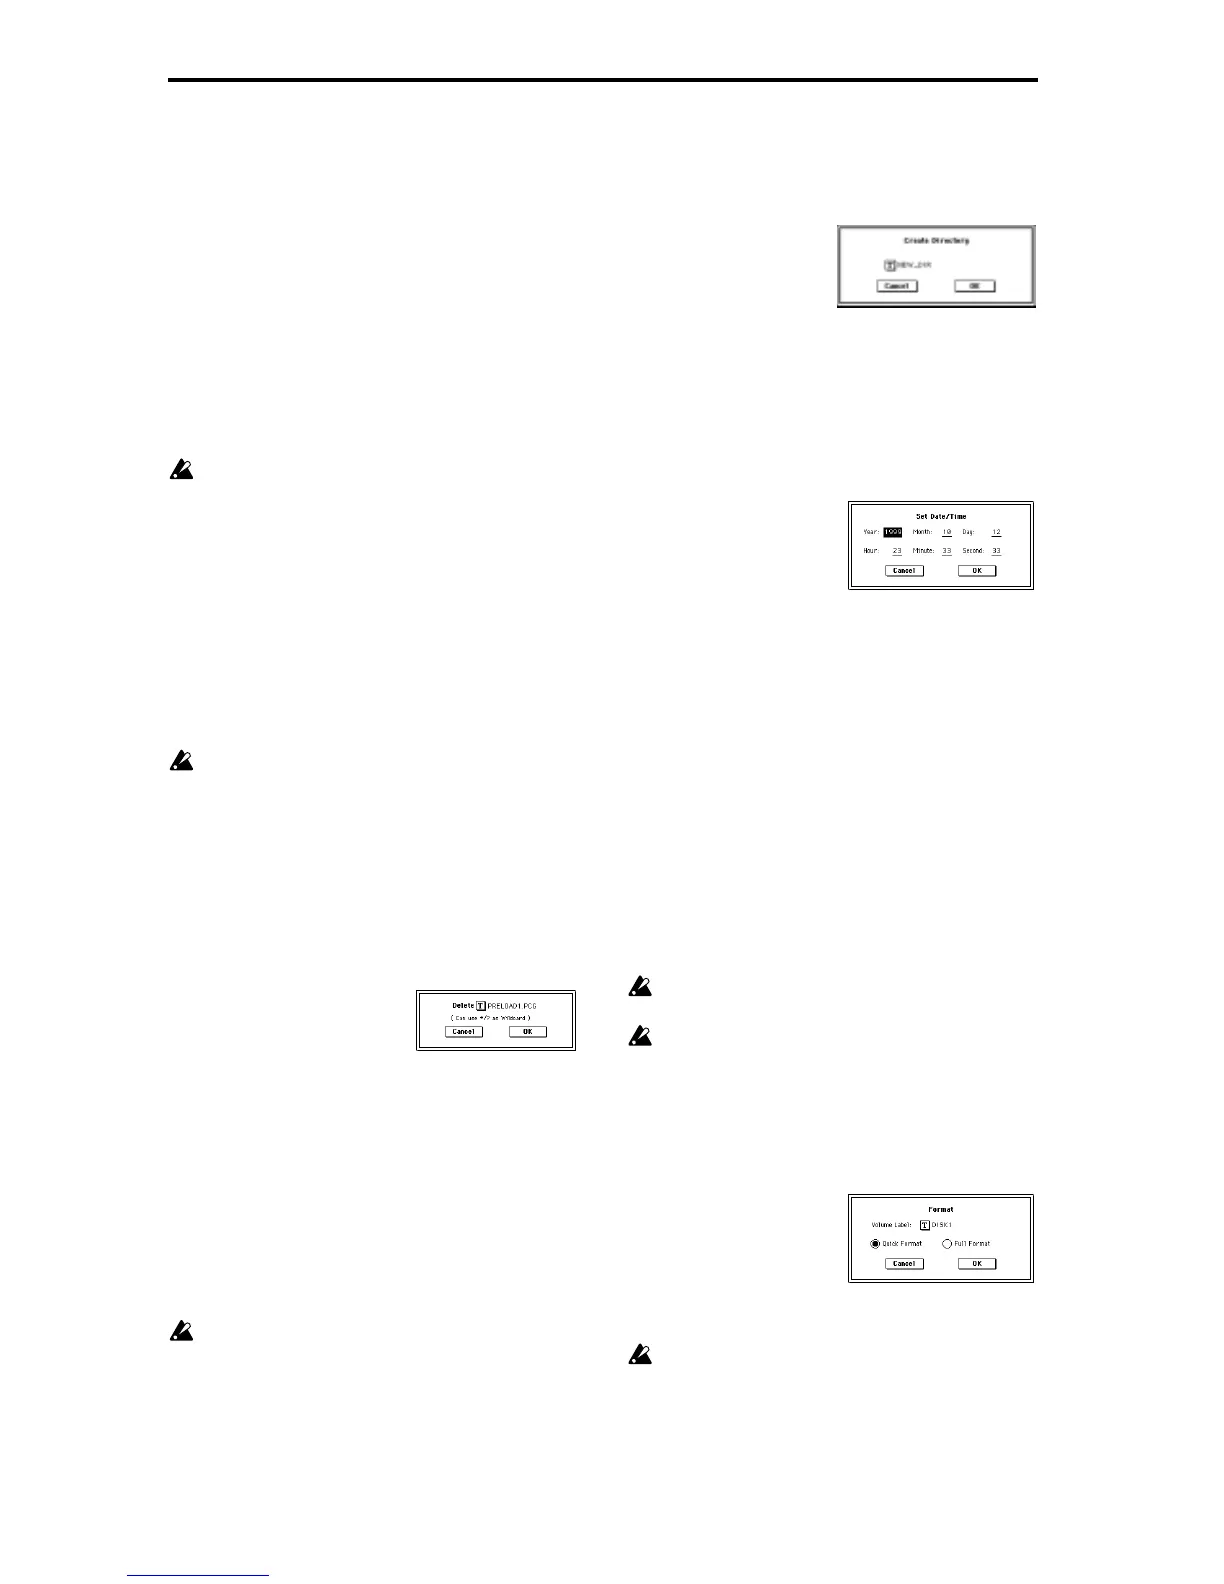
0–3D: Create Directory
This command creates a new directory within the current
directory.
1 Select this command to open the following dialog box.
2 Use the text edit button to access the text input dialog
box, and specify the name of the new directory.
3 To create the directory, press the OK button. To cancel
without creating the directory, press the Cancel button.
0–3E: Set Date/Time
This command sets the date and time that will be used to
time-stamp files that are saved.
1 Select this command to open the following dialog box.
2 Set each parameter.
3 To set the date and time, press the OK button. To cancel,
press the Cancel button.
0–3F: Format
This command formats the selected media, such as a floppy
disk or external SCSI device (if the EXB-SCSI option has
been installed). The volume label (a name for the entire disk)
you specify will be assigned to the disk. The volume label
you assign here will be displayed in “Drive Select” (0–1c).
The volume label can be a maximum of eleven characters.
When you format, all data saved on that media will be
erased. Be sure to double-check before you format.
After formatting, it is not possible to press the [Com-
pare] key to return to the previous state.
1 To format a floppy disk, insert the floppy disk to be for-
matted into the floppy disk drive.
2 In “Drive Select” (0–1c), select the media that you wish to
format. (If no external SCSI device is connected via the
EXB-SCSI option, ignore this step.)
3 Select this command to open the following dialog box.
4 In “Volume Label,” use the text edit button to access the
text input dialog box, and specify the volume label.
The previously-specified volume label will be dis-
played. If no volume label had been specified for the
disk, or if a non-DOS disk was inserted, this will indi-
cate “NEW VOLUME.”
“Year” 1980–2079
“Month” 1–12
“Day” 1–31
“Hour” 0–23
“Minute” 0–59
“Second” 0–59 (only even-numbered second values will
be assigned to a file)