37
PRO2 Live Audio System
Owner’s Manual
Chapter 6: Working With The PRO2
Control Centre
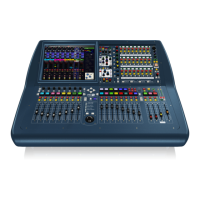
This chapter is intended to familiarise you with the controls (control surface and GUI) of
the PRO2 Control Centre.
Although many controls on the PRO2 Control Centre are similar to their equivalent
analogue-type counterparts, some have been specifically designed for the PRO2,
particularly those for navigation and GUI operation. As you will probably have had
experience on analogue consoles, you will already be familiar with most of the PRO2
controls and their operation.
The GUI can be used to replicate most of the control surface functions and even has
many of its own. However, the emphasis in this chapter — and throughout the
manual — is on using the control surface because, generally, it is quicker and more
intuitive. GUI methods will be included where they are anomalous or there is no control
surface equivalent.
The navigational controls, such as quick access buttons and scroll buttons, are
described in Chapter 7 "Navigation" on page 43, and the ones specifically for
automation can be found in “Managing the scenes” on page 84.
For more information on the operation and function of specific controls, see Volume
“Description” on page 225.
About the PRO2 controls
The following table shows some of the controls that can be found on the control surface
of the PRO2.
Type Description Example(s)
Pushbutton Generally two-state, that is, on/off or
enabled/disabled, and backlit or with an integral LCD
for status indication.
Control knob In general, the control knobs (rotary controls) are
touch-sensitive, their adjustment being shown on the
GUI. Some control knobs are backlit to help identify
their current role.
Fader The high quality motorised faders are, similarly to the
control knobs, touch-sensitive.

 Loading...