2 - L - 11
PAPER FEED UNIT
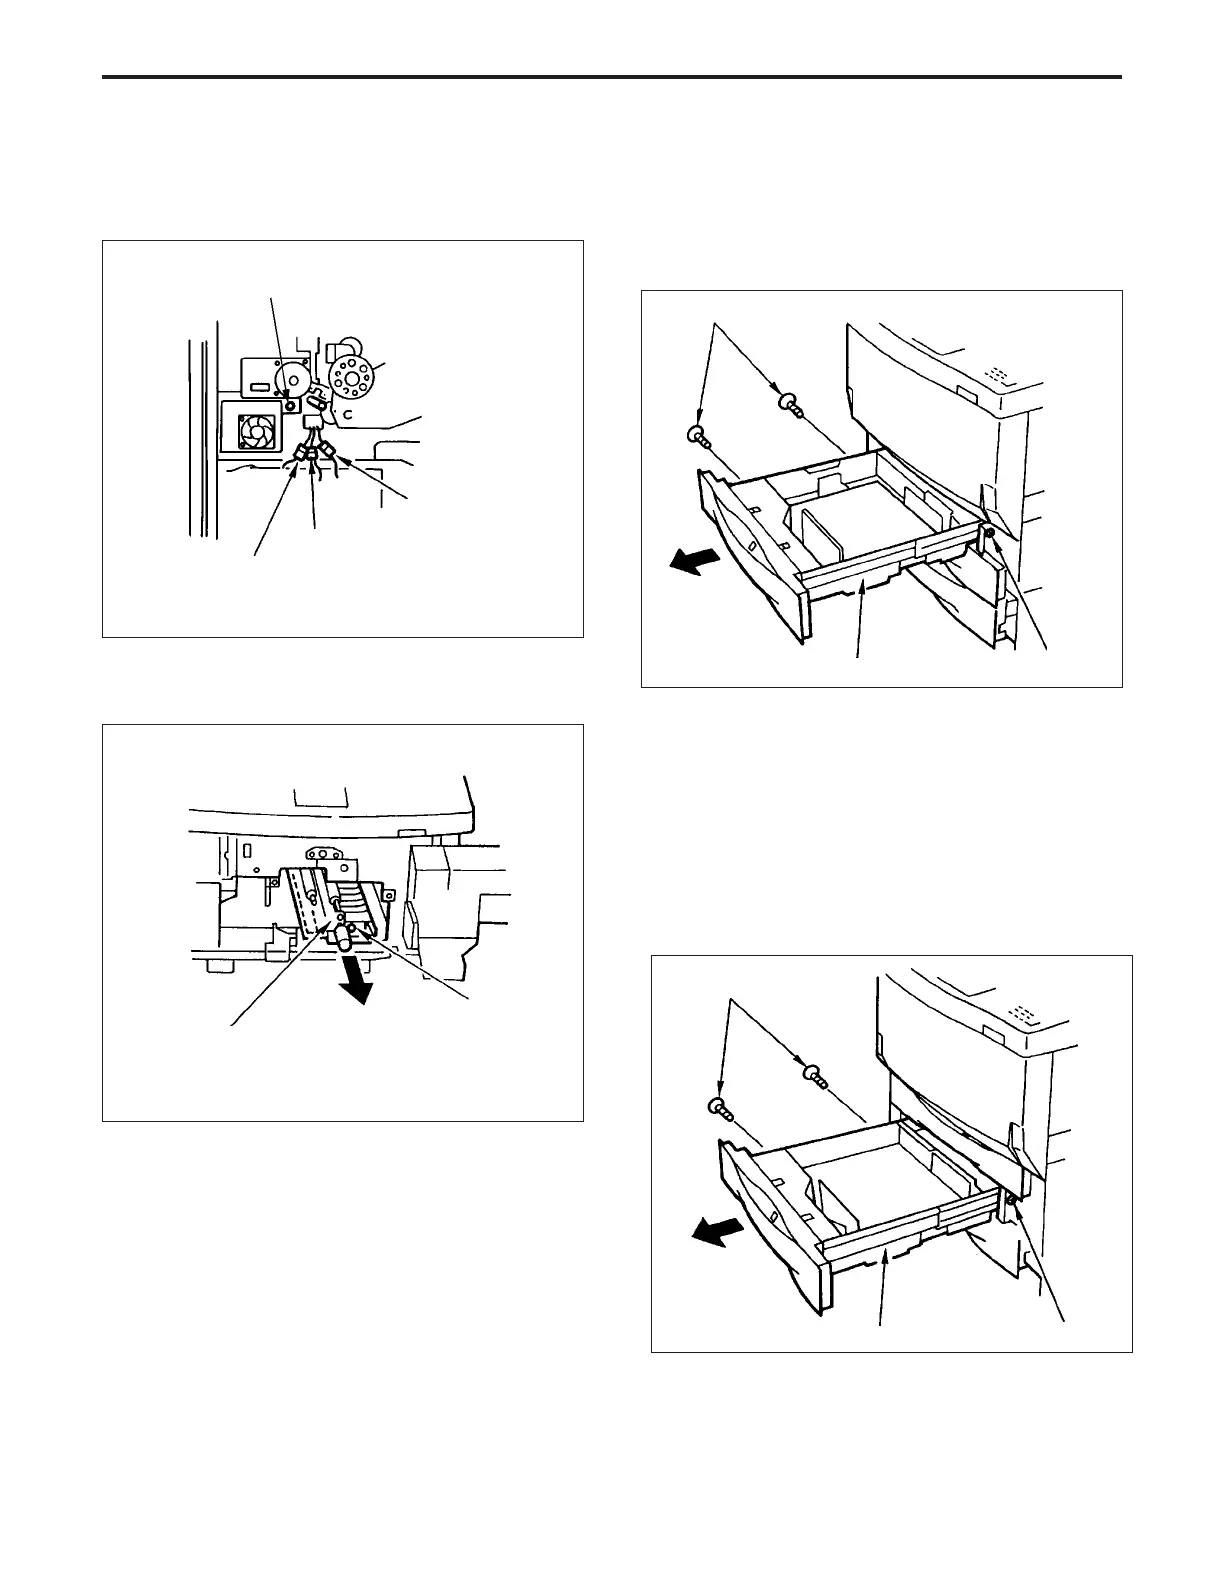
(2) Withdraw the upper tray further, then lift it out.
(3) Re-install the upper tray in the opposite sequence to
removal.
13.Removing and Re-installing the Lower Tray
a. Procedure
(1) Withdraw the lower tray, then remove the three set
screws.
(2) Withdraw the lower tray further, then lift it out.
(3) Re-install the lower tray in the opposite sequence to
removal.
(6) Remove the three intermediate connectors (CN42, 71
and 85).
(7) Remove the set screw.
Set screws
Upper tray
Set screw
Set screws
Lower tray
Set screw
12.Removing and Re-installing the Upper Tray
a. Procedure
(1) Withdraw the upper tray, then remove the three set
screws.
set screw
(8) Remove the set screw on the front , then pull out and
remove the 2nd paper feed unit.
2nd paper feed unit
Set screw
(9) Re-install the 2nd paper feed unit in the opposite
sequence to removal.
Connector (CN71)
Connector (CN42)
Connector (CN85)