Firewall Protection
186
NETGEAR ProSAFE VPN Firewall FVS318G v2
Click the Apply button.
Your changes are saved.
To edit a custom service group:
1. Log in to the unit:
a. In the address field of any of the qualified web browsers, enter
https://192.168.1.1.
The NETGEAR Configuration Manager Login screen displays.
b. In the User
name field, enter admin and in the Password / Passcode field, enter
password.
Use lowercase letters. If you changed the password, enter your persona
lized
password. Leave the domain as it is (geardomain).
c. Click the L
ogin button.
The Router Status screen displays. After five minutes of inactivity,
which is the default
login time-out, you are automatically logged out.
2. Select Sec
uri
ty > Service Groups.
The Service Groups screen displays.
3. In the Custom Services Group table to the right of the service t
hat you want to edit, click the
Edit table button.
4. Modify the settings that you wish to change.
See
Table 36 on page 18
5.
5. Click the Appl
y button.
Your changes are saved.
To delete a custom service group:
1. Log in to the unit:
a. In the address field of any of the qualified web browsers, enter
https://192.168.1.1.
The NETGEAR Configuration Manager Login screen displays.
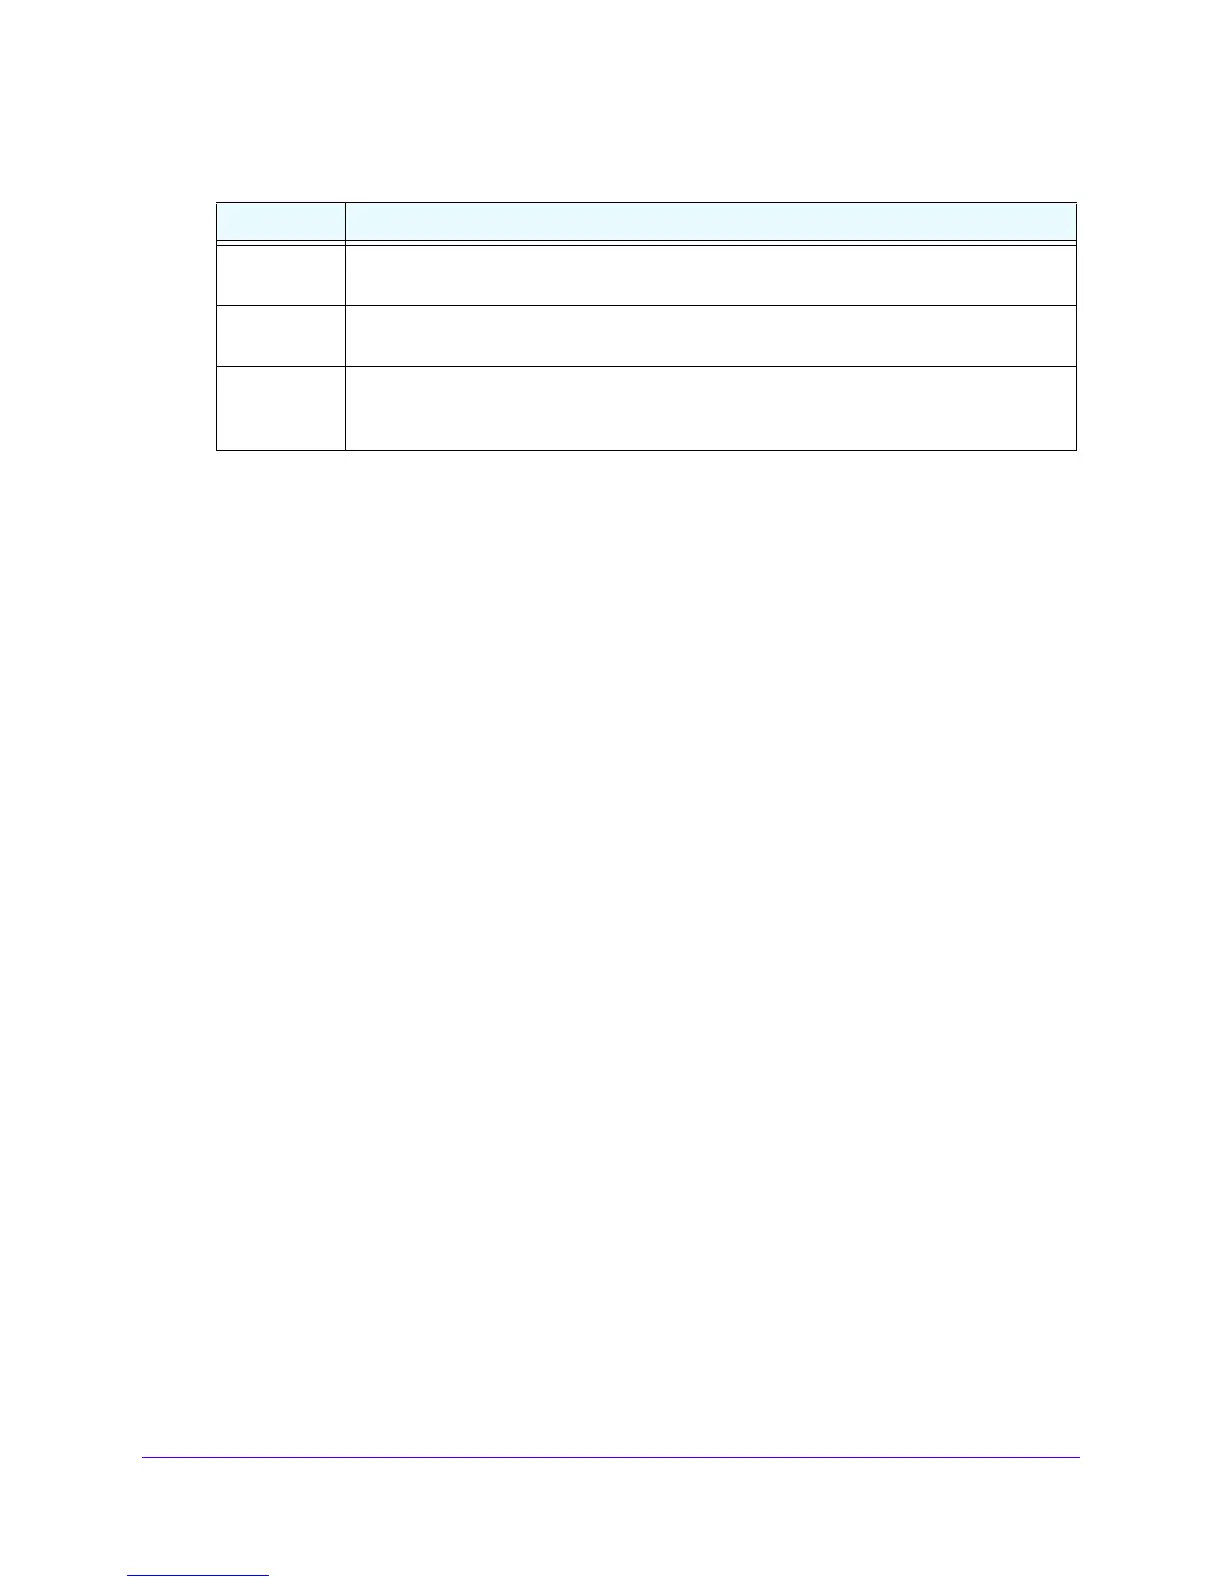
>> Click this button to move the selected services from the Available Services list to the List of
Selected Services list.
<< To remove services from a custom group, click this button to move the services from the
List of Selected Services list to the Available Services list.
List of
Selected
Services
This list includes all the services to be included in a new service group. To remove services
from this group, select services as you do in the Available Services list. At least one service
must be included in this list to add a new service group.
Table 36. The settings to add a custom service group (continued)
Setting Description
 Loading...