LAN Configuration
66
NETGEAR ProSAFE VPN Firewall FVS318G v2
5. Click the Apply button.
Your settings are saved.
To edit a VLAN profile:
1. Log in to the unit:
a. In the address field of any of the qualified web browsers, enter
https://192.168.1.1.
The NETGEAR Configuration Manager Login screen displays.
b. In the User
name field, enter admin and in the Password / Passcode field, enter
password.
Enable LDAP
information
To enable the DHCP server to provide Lightweight Directory Access Protocol
(LDAP) server information, select the Enable LDAP information check box.
Enter the following settings:
LDAP Server The IP address or name of the LDAP server.
Search Base The search objects that specify the location in the directory
tree from which the LDAP search begins. You can specify
multiple search objects, separated by commas. The search
objects include the following:
• CN
(for common name)
• OU (for organizational unit)
• O (for organization)
• C (for country)
• DC (for domain)
Fo
r example, to search the Netgear.net domain for all last
names of Johnson, you would enter
cn=Johnson,dc=Netgear,dc=net
Port The port number for the LDAP server. The default setting is 0
(zero).
DNS Proxy
Enable DNS Proxy This setting is o
ptional. To enable the VPN firewall to provide a LAN IP address
for DNS address name resolution, select the Enable DNS Proxy check box. This
feature is disabled by default.
Note: When the DNS proxy option is disabled for a VLAN, all DHCP clients
receive the DNS IP addresses of the ISP but without the DNS proxy IP address.
Inter VLAN Routing
Enable Inter VLAN
Routing
This setting is optional. To ensure that traffic is routed only to VLANs for which
inter-VLAN routing is enabled, select the Enable Inter VLAN Routing check box.
This feature is disabled by default. When the Enable Inter VLAN Routing check
box is not selected, traffic from this VLAN is not routed to other VLANs, and traffic
from other VLANs is not routed to this VLAN.
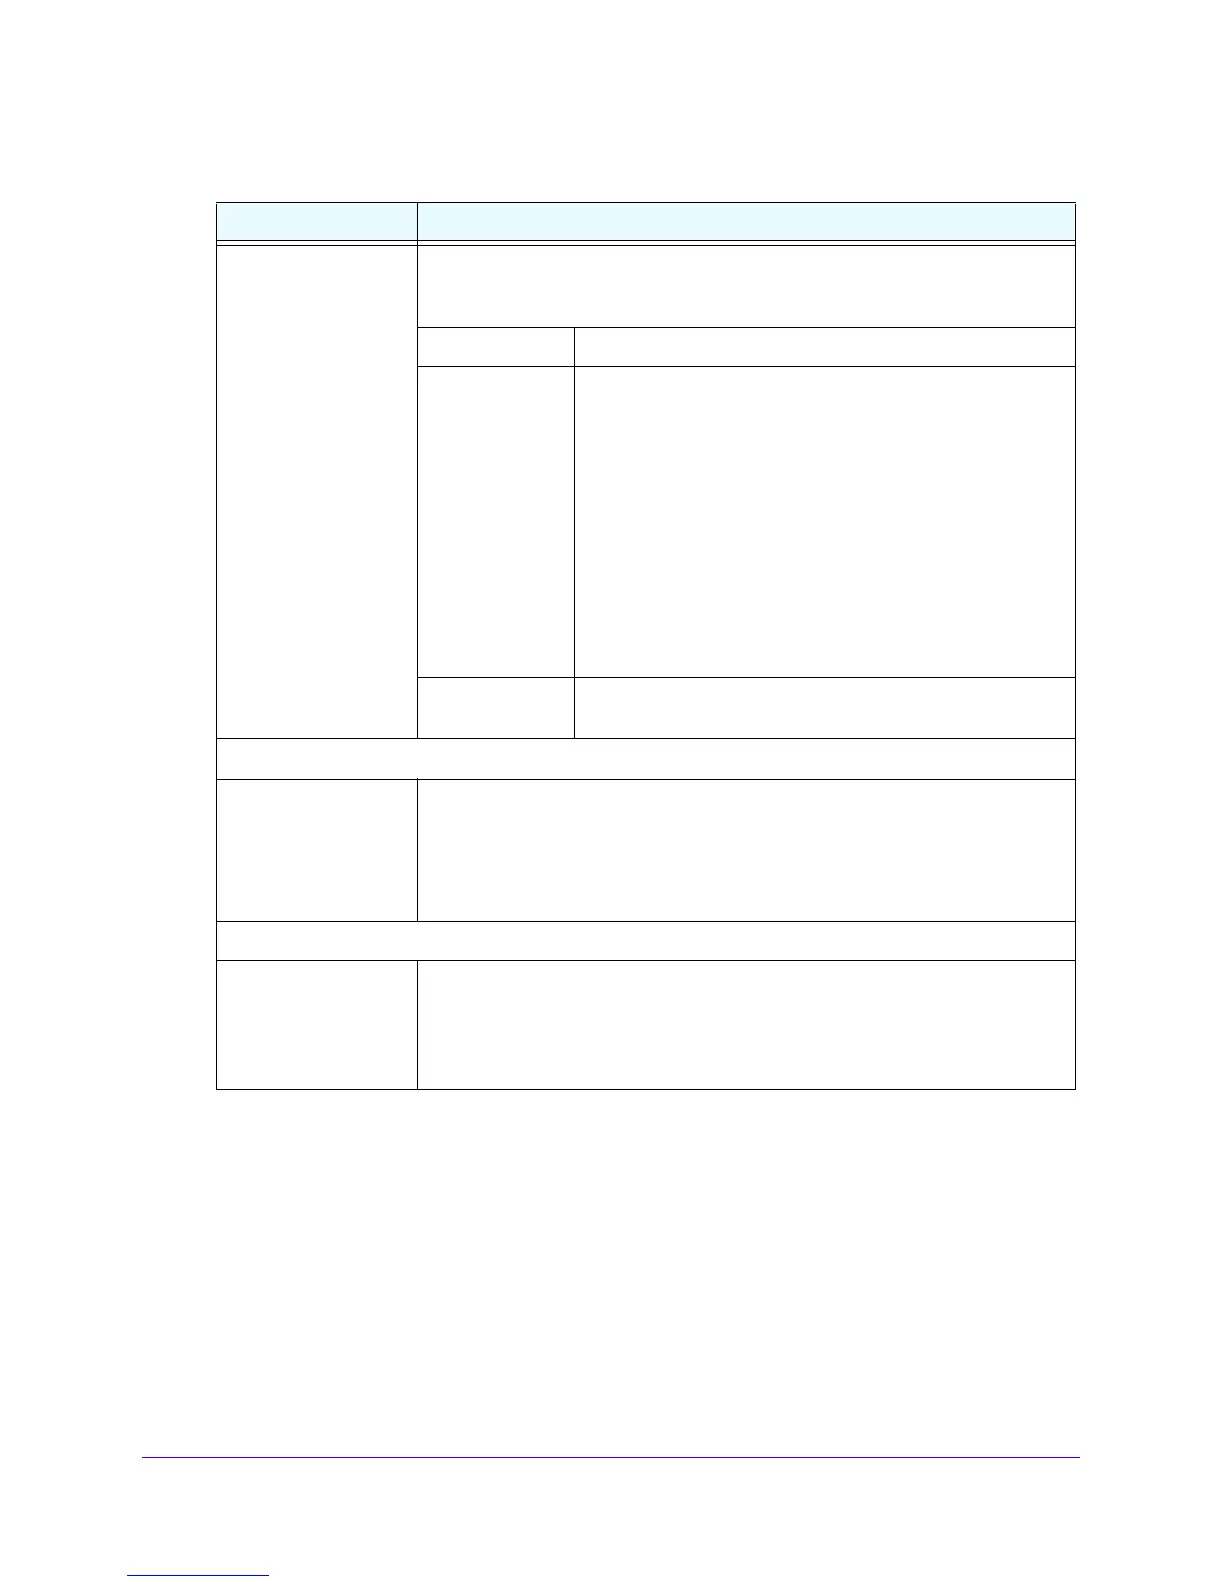
Table 11. Add VLAN Profile screen settings (continued)
Setting Description