c. Place the motherboard assembly on an antistatic mat, and next to the replacement
motherboard.
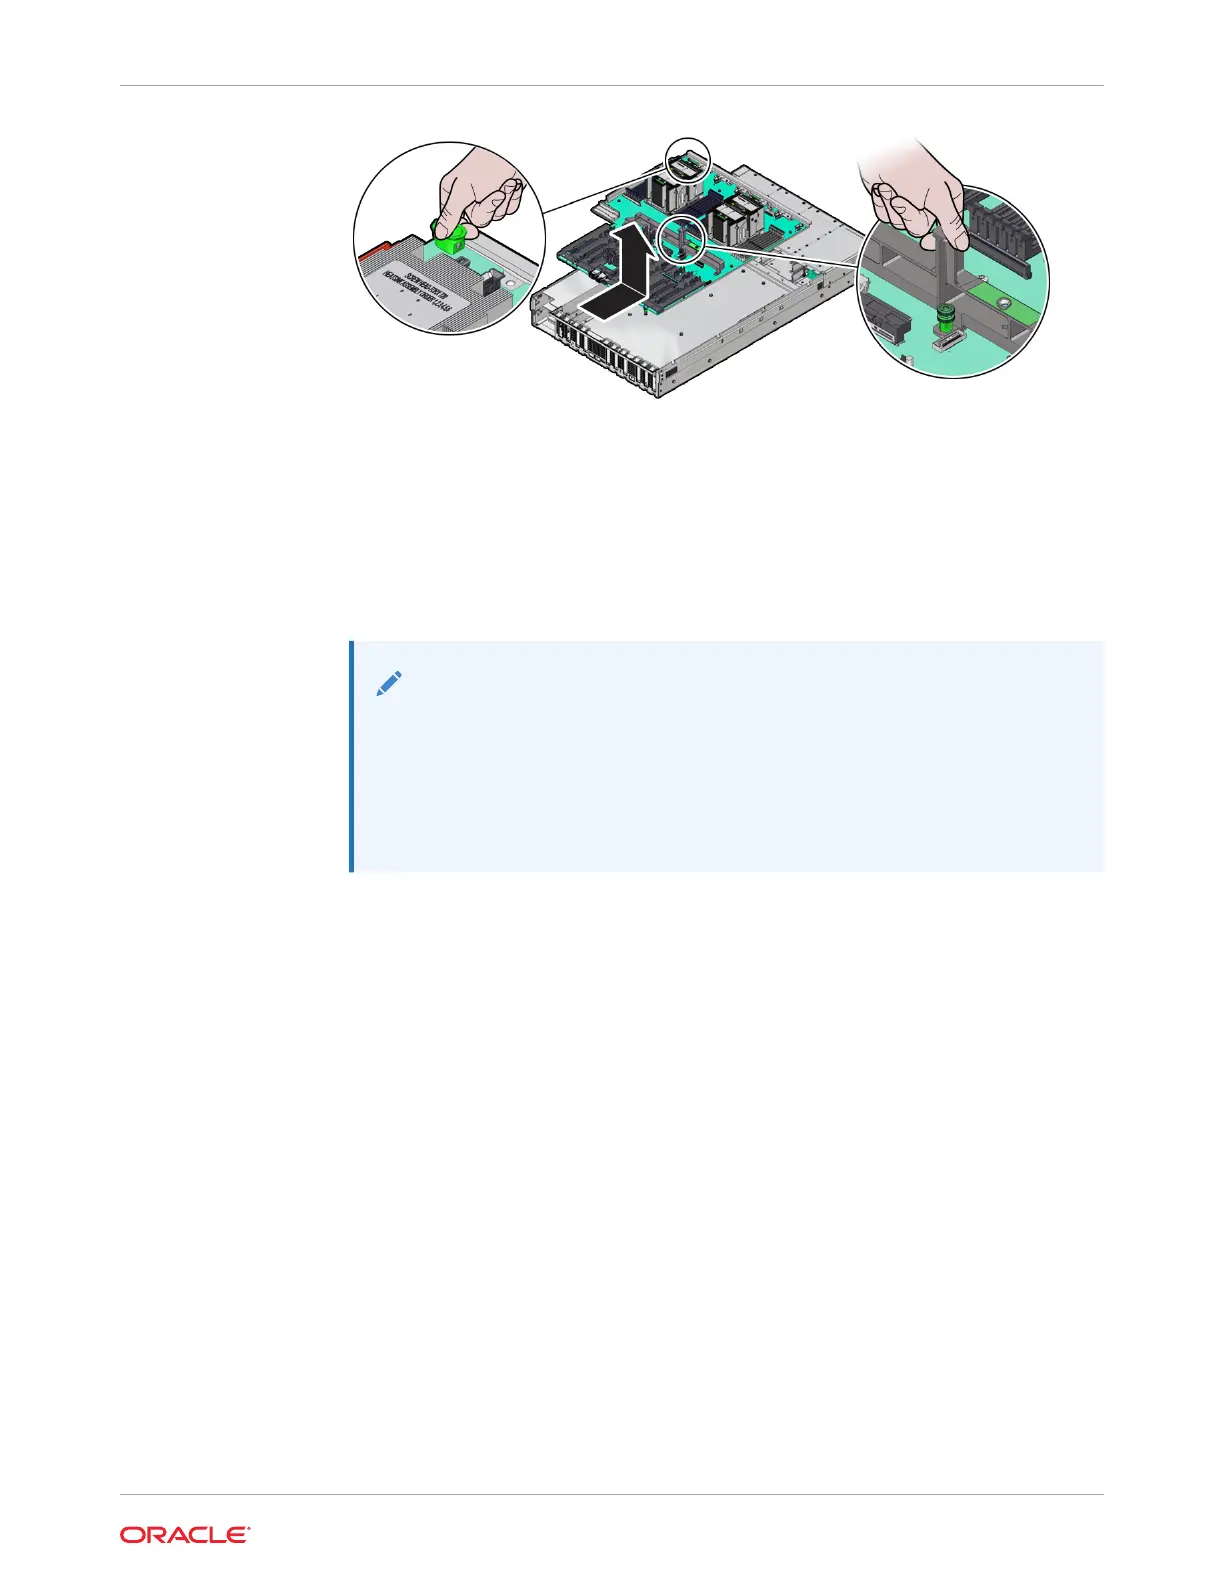
6. Remove the following reusable components from the old motherboard and install them
onto the replacement motherboard.
• DIMMs
See Identify and Remove a DIMM and Install a DIMM.
Note:
Install the DIMMs only in the slots (connectors) that correspond to the slots
from which they were removed. Performing a one-to-one replacement of
the DIMMs significantly reduces the possibility that the DIMMs will be
installed in the wrong slots. If you do not reinstall the DIMMs in the same
slots, server performance might suffer and some DIMMs might not be used
by the server.
• M.2 flash riser SSDs
See Remove a Flash Riser Board and Install a Flash Riser Board.
• Processor/heatsink assemblies
Remove all processor/heatsink assemblies from the failed motherboard.
See Identify and Remove a Processor.
• Motherboard (Flyover) PCIe cable
See Configure PCIe Electrical Interfaces Using the PCIe Flyover Cable.
7. Remove the External Cap from the new replacement motherboard and install the
processors.
The external cap is used to protect the socket pins if the processor is not installed. The
following figure shows the External Cap.
Chapter 12
Remove the Motherboard Assembly
12-5