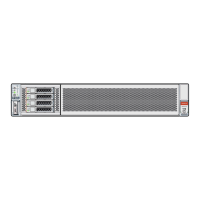
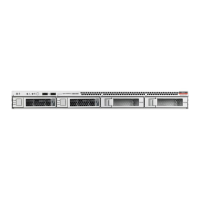
For storage drive locations, see NVMe Storage Drives.
2. Verify that the OK to Remove indicator (LED) on the NVMe drive is lit.
3. On the NVMe drive you plan to remove, push the latch release button to open the drive
latch.
See Remove a Storage Drive.
4. Grasp the latch and pull the drive out of the drive slot.
5. Consider your next steps:
• If you are replacing the drive, continue to Verify Removal of an NVMe Storage Drive,
and then Install an NVMe Storage Drive.
• If you are not replacing the drive, install a filler panel in the empty drive slot to
maintain proper airflow and perform administrative tasks to configure the server to
operate without the drive.
For information on how to install a storage drive filler panel, see Remove and Install
Filler Panels.
Verify Removal of an NVMe Storage Drive
1. To check the NVMe drive enumeration to verify that NVMe drive has been removed, type:
# lspci -nnd :0a54
2. View the command output and verify that the entry for the slot number that was disabled
no longer appears.
This command returns output similar to the following:
86:00.0 Non-Volatile memory controller [0108]: Intel Corporation Device [8086:0a54]
8d:00.0 Non-Volatile memory controller [0108]: Intel Corporation Device [8086:0a54]
d9:00.0 Non-Volatile memory controller [0108]: Intel Corporation Device [8086:0a54]
e0:00.0 Non-Volatile memory controller [0108]: Intel Corporation Device [8086:0a54]
Install an NVMe Storage Drive
Perform this procedure to physically install an NVMe storage drive into the server.
Note:
After you physically remove an NVMe storage drive from the server, wait at least 10
seconds before installing a replacement drive.
1. Remove the replacement drive from its packaging and place the drive on an antistatic
mat.
2. If necessary, remove the drive filler panel.
3. Align the replacement drive with the drive slot.
The drive is physically addressed according to the slot in which it is installed. It is
important to install a replacement drive in the same slot as the drive that you removed.
4. Slide the drive into the slot until the drive is fully seated.
See Install a Storage Drive.
Chapter 4
Removing and Replacing Storage Drives Using an OS
4-7

 Loading...


