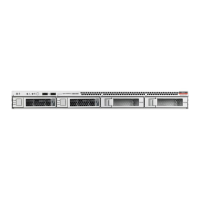
6. Consider your next steps:
• If you are replacing the drive, continue to Install a Storage Drive.
• If you are not replacing the drive, install a filler in the empty drive slot to
maintain proper airflow and perform administrative tasks to configure the
server to operate without the drive. See Remove and Install Filler Panels.
a. Locate the vacant storage drive module slot in the server, and then ensure
that the release lever on the filler panel is fully opened.
b. Slide the filler panel into the vacant slot by pressing the middle of the filler
panel faceplate with your thumb or finger.
The release lever will close as it makes contact with the chassis. Do not
slide the filler panel in all the way. Leave the filler panel out approximately
0.25 to 0.50 inch (6 to 12 mm) from the opening.
c. Using your thumb or finger, press on the middle of the filler panel faceplate
until the release lever engages with the chassis.
d. Close the release lever until it clicks into place and is flush with the front of
the server
Install a Storage Drive
1. Remove the replacement drive from its packaging, and place the drive on an
antistatic mat.
2. If necessary, remove the drive filler panel.
a. Locate the storage drive filler panel to be removed from the server.
b. To unlatch the storage drive filler panel, pull the release lever, and tilt the lever
out into a fully opened position.
c. To remove the filler panel from the slot, hold the opened release lever, and
gently slide the filler panel toward you.
See Remove and Install Filler Panels.
3. Align the replacement drive with the drive slot.
Chapter 4
Install a Storage Drive
4-4
 Loading...


