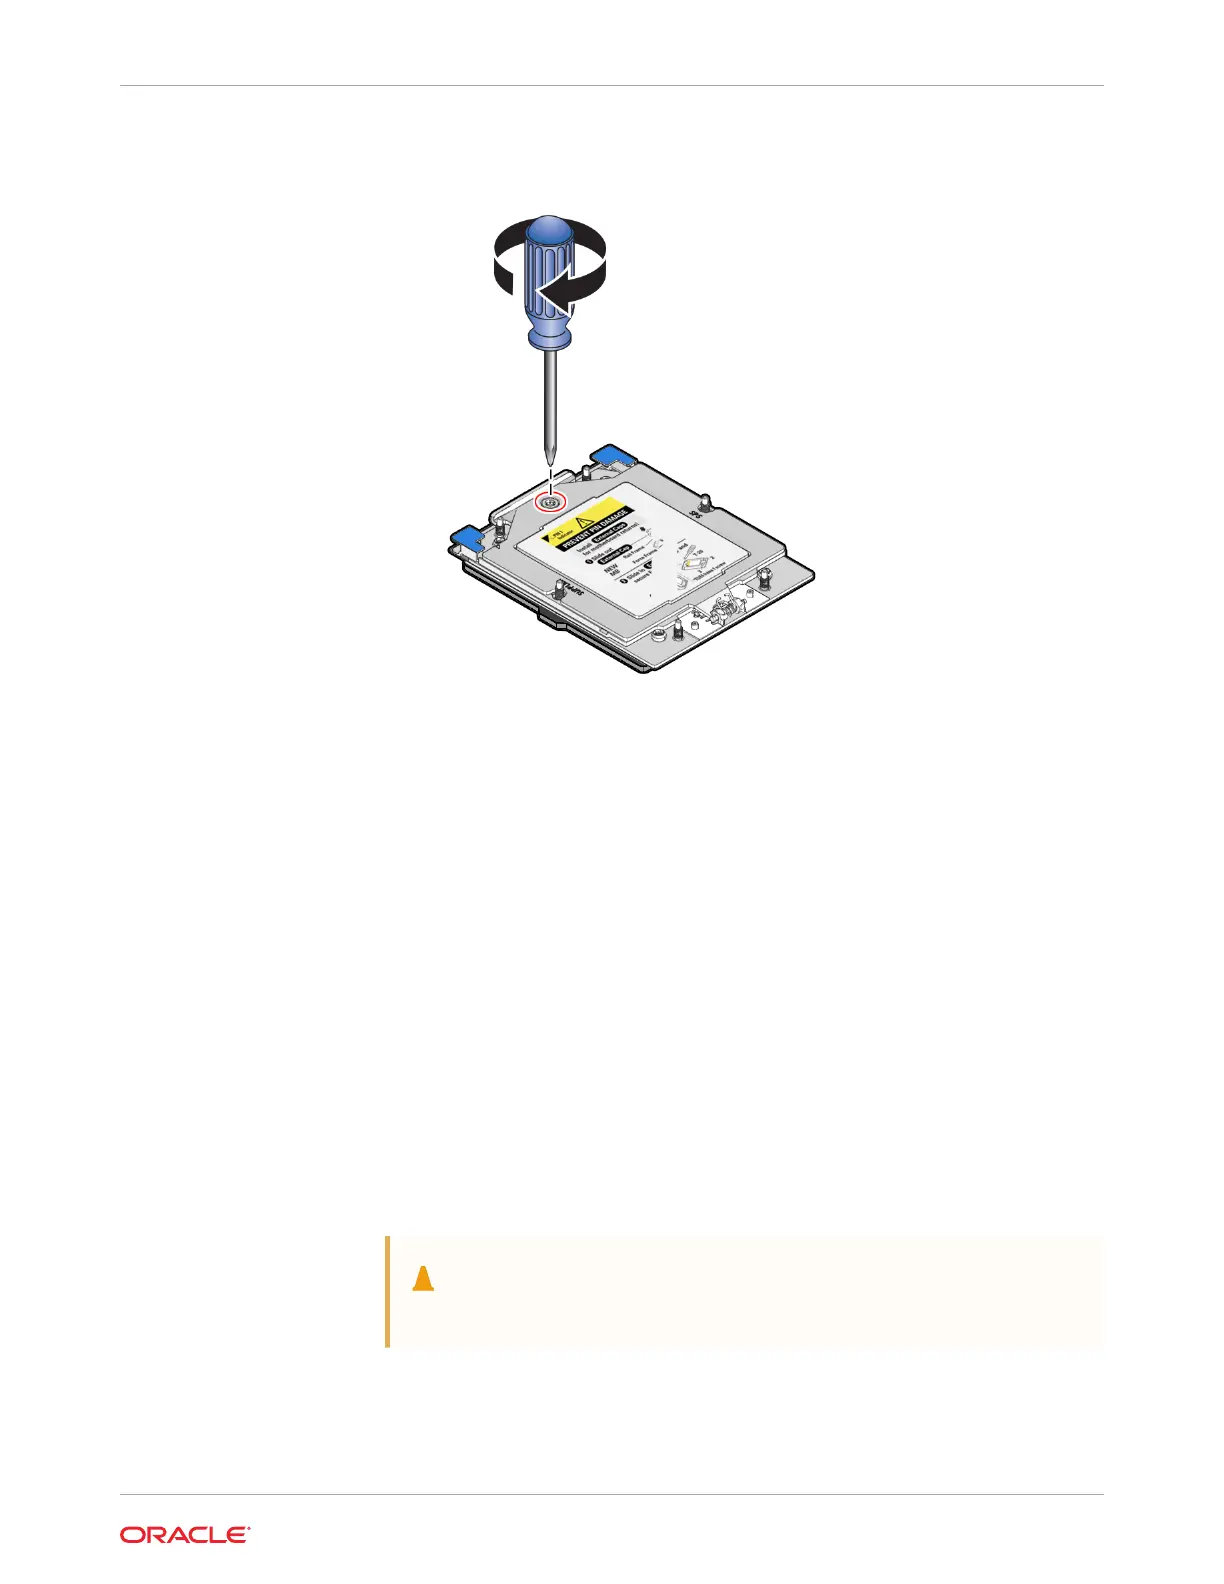
Use one hand to hold down the spring-loaded force frame until the screw is
tightened.
8. Install a processor into the socket on the replacement motherboard.
Install a processor into the socket P0 or P1 from which you removed the processor
External Cap.
See Install a Processor.
9. Repeat steps 7 and 8 to remove the second processor External Cap from the
replacement motherboard and install the second processor.
10. Check to see if the replacement motherboard has a locate light pipe installed.
• If it does, no action is necessary.
• If it does not, perform the following steps.
a. Check to see if the replacement motherboard came with a light pipe. A replacement
light pipe would be in a separate plastic bag.
• If you find a replacement light pipe, skip to Step 10.b.
• If you do not find a replacement light pipe, perform the following steps to remove
the light pipe from the faulty motherboard.
i. Insert a flat tool such as a screwdriver or penknife blade between the light pipe
housing and the light pipe.
Caution:
Equipment damage. The light pipe is fragile. Handle it carefully.
Chapter 12
Remove the Motherboard Assembly
12-11