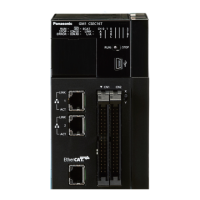
2.2 Work Flowchart
The following table explains the workflow from installation of the GM1 controller through to its
operation.
Step Description Reference
1 Install GM Programmer and PANATERM Lite for GM. "GM1 Controller
R
TEX User's Manual
(Setup)"
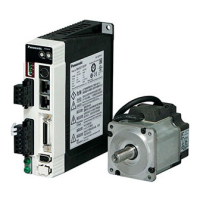
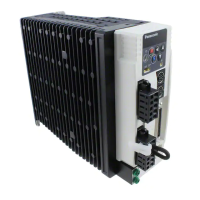
2 Make preparations for the servo amplifiers.
2-1 Connect the servo amplifiers and the PC.
2-2 Install the USB driver on the PC.
2-3 Configure initial settings for the servo amplifiers.
2-4 Disconnect the servo amplifiers from the PC.
3 Connect the GM1 Controller and each servo amplifier with cables.
4 Connect the GM1 Controller and the GM Programmer.
4-1 Connect the GM1 Controller and the PC with a cable.
4-2 Creating a new project.
4-3 Make communication settings.
4-4 Add and set up device objects for servo amplifiers.
4-5 Make basic settings of the RTEX axis
4-6 Conduct commissioning.
4-7 Log in to the GM1 Controller.
4-8 Log out from the GM1 Controller.
5 Connect the GM1 Controller and PANATERM Lite for GM.
5-1 Set up the servo amplifier connected to the GM1 Controller.
5-2 Write parameters to the servo amplifier.
6 Prepare for operation.
6-1 Check if safety circuit design is implemented.
6-2 Check wiring for each device.
6-3 Perform an operation check.
7 Using the GM Programmer, make settings for GM1 parameters, motion
control, unit control, and communication function.
7-1 Make settings for the GM1 Controller. "P.5-3"
7-2 Make settings for the motion control. "P.5-5"
7-3 Make settings for the unit control. "P.5-13"
7-4 Make settings for the communication function "P.5-19"
8 Create programs with GM Programmer. "P.6-1"
8-1 Create objects (POU objects) for a program. "P.6-14"
8-2 Select a programming language (LD, ST, SFC, FBD, IL, and CFC
programs) and enter a program.
"P.6-15"
8-3 Set variables. "P.6-18"
2.2 Work Flowchart
2-4 WUME-GM1RTXOP-01