4: Repair Internal Assemblies — Front Chassis
116
Battery PCA
Battery PCA is accessible with the Rear Chassis tilted on top of the Front Chassis.
Preparation
1 Open and separate the Case. See “Opening the Case” on page 87.
2 Tilt the Rear Chassis. See “Tilting Rear Chassis” on page 91.
3 Position the device on the work surface with the display facing down and the printer to your left.
Removal
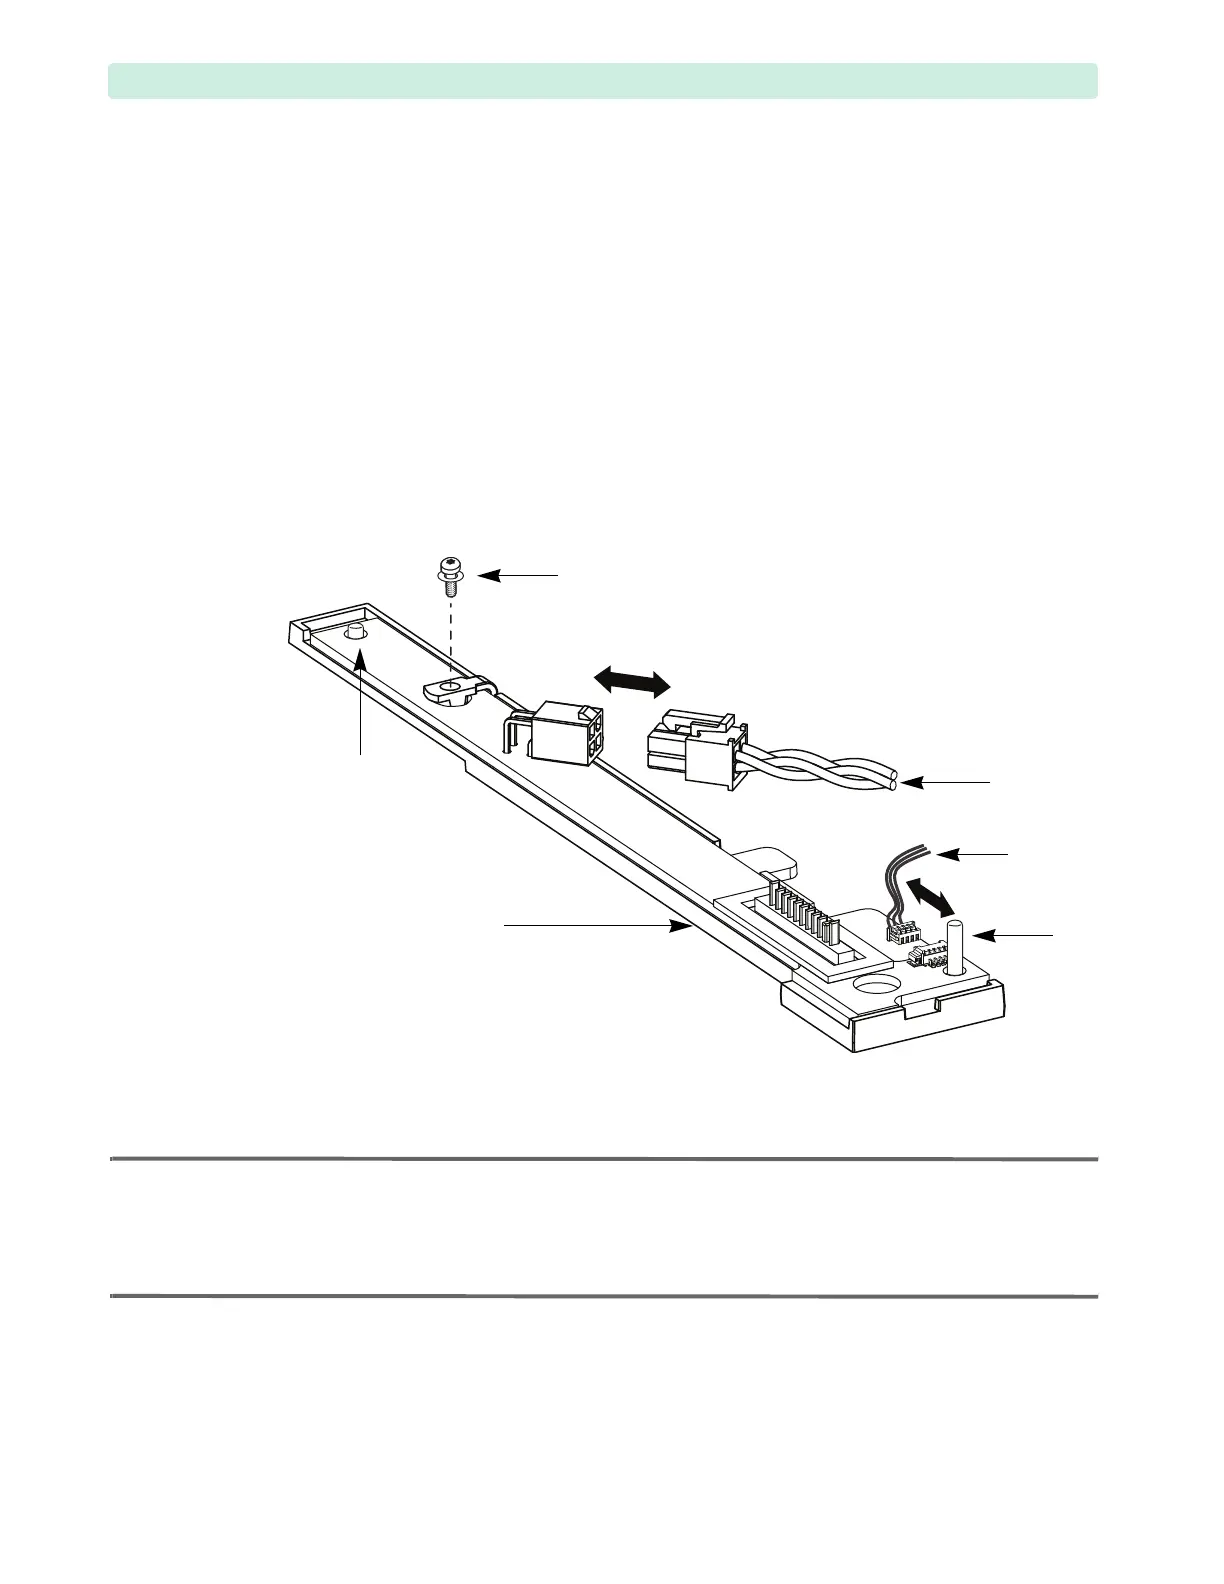
1 Disconnect the battery power and battery data cables, see Figure 75.
TIP: Use your fingernails to disconnect battery data cable.
Do not use any tools to avoid crushing the connector.
2 Remove the M3x8 (T10) screw.
Replacement
NOTE: The Battery PCA is designed to “float” and is loosely secured on the Front Chassis to ensure effortless
Battery connection. Do not try to tighten the Battery PCA.
The replacement Battery PCA comes as an assembly with the Battery PCA support pad. Do not separate
the PCA from the support pad. If they become accidentally separated, assemble them taking extra care
not to break off the support bracket.
1 Position the Battery PCA support pad with the Battery PCA on the two pegs, see Figure 75.
2 Thread the Network and ECG Out cables between the two tall standoffs to the right and under the
Battery PCA.
3 Replace and tighten the M3x8 (T10) screw to 6 inch-lb (0.7 N m).
The Battery PCA intentionally remains loosely secured.
Figure 75 Battery PCA Connections and Screws
peg
peg
screw
battery data
cable
battery power
cable
Battery PCA
support pad