4: Repair Internal Assemblies — Front Chassis
148
Therapy Buttons
Preparation
1 Remove the Printer Assembly. See “Printer Assembly” on page 85.
2 Open and separate the case. See “Opening the Case” on page 87.
3 Remove the Rear Chassis. See “Front Chassis and Case Access” on page 134.
4 Remove the Front Chassis. See “Front Chassis Removal and Replacement” on page 142.
5 Remove the HIF PCA. See “Human Interface PCA” on page 147.
Removal and Replacement
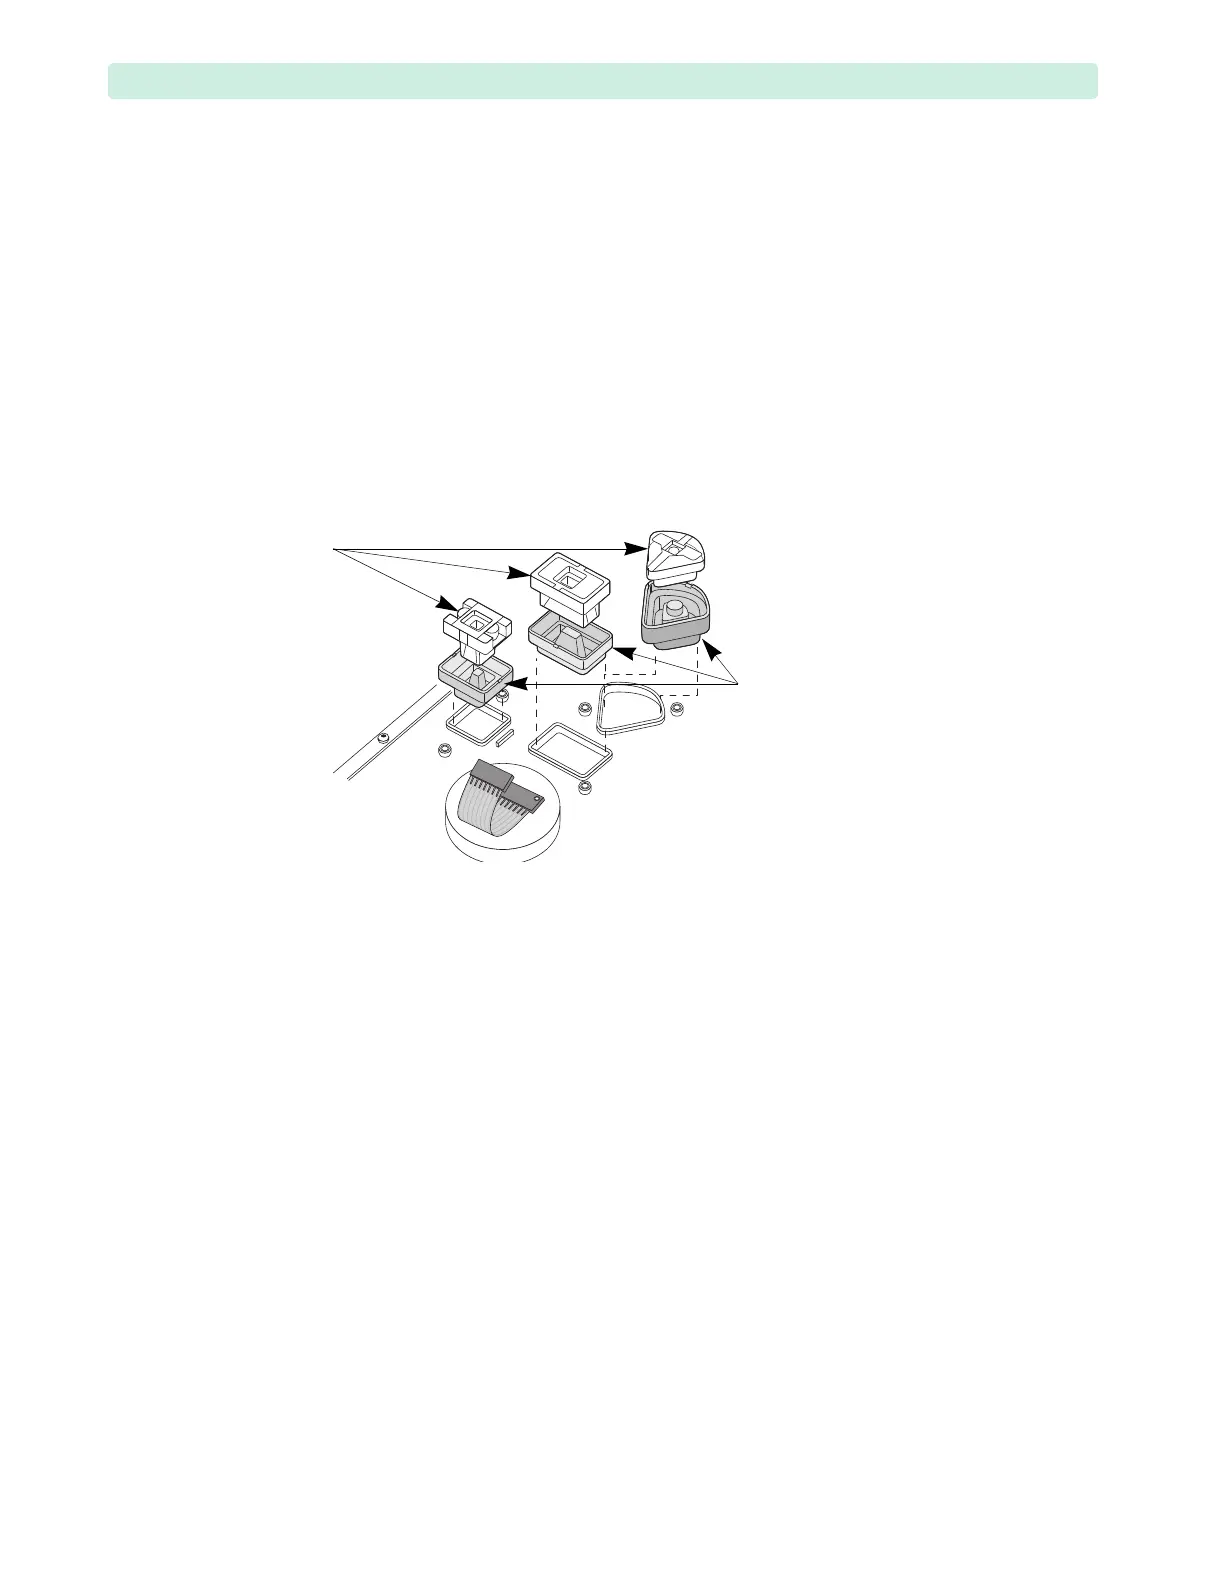
1 Remove and replace the buttons and their guides, see Figure 100.
2 Replace the HIF PCA, see “Human Interface PCA” on page 147.
3 Replace the Front Chassis. See “Front Chassis Removal and Replacement” on page 142.
4 Replace the Rear Chassis. See “Front Chassis and Case Access” on page 134.
5 Close the case. See “Closing the Case” on page 151.
To Complete the Replacement:
1 Run Performance Verification and Safety testing as described in the “Performance Verification”
chapter.
2 Run the Buttons Tests.
Figure 100 Therapy Buttons
clear
plastic
guides
therapy
buttons