Internal Assemblies — Front Chassis 4: Repair
135
Processor PCA
The Processor PCA contains the SOM PCA that stores the device software and configuration data.
When you install a new Processor PCA, you must also:
• Enter the device’s serial number and enable options using the Service Mode menus.
• Install the most recent software in the appropriate language using the Software Support tool. See
Table 39 on page 176 for part numbers.
• Give the user the README document that contains instructions for downloading the most recent
HeartStart XL+ Instructions for Use from the Philips’ Documentation and Download web site
(
http://www.philips.com/ProductDocs).
CAUTION: Never touch the Processor PCA surface with your fingers, always use gloves.
Keep the new Processor PCA in an antistatic pouch until ready to install.
Do not attempt to reuse the old SOM PCA with the new Processor PCA.
Removing the Processor PCA involves disconnecting many cables and removing many screws. Note that
the edges of the metal chassis may be sharp. Take care not to cut yourself or shear the wires.
Preparation
1 Remove the Printer Assembly. See “Printer Assembly” on page 85.
2 Open and separate the case. See “Opening the Case” on page 87.
3 Remove the Rear Chassis. See “Front Chassis and Case Access” on page 134.
4 Remove the Printer PCA with the Printer ribbon cable and the Therapy Port Extension assembly.
See “Printer PCA” on page 124.
5 If present, remove the SpO
2
PCA. See “SpO2 PCA” on page 126.
Removal
1 Disconnect all cables (cable
➈ is already removed with the Printer PCA.)
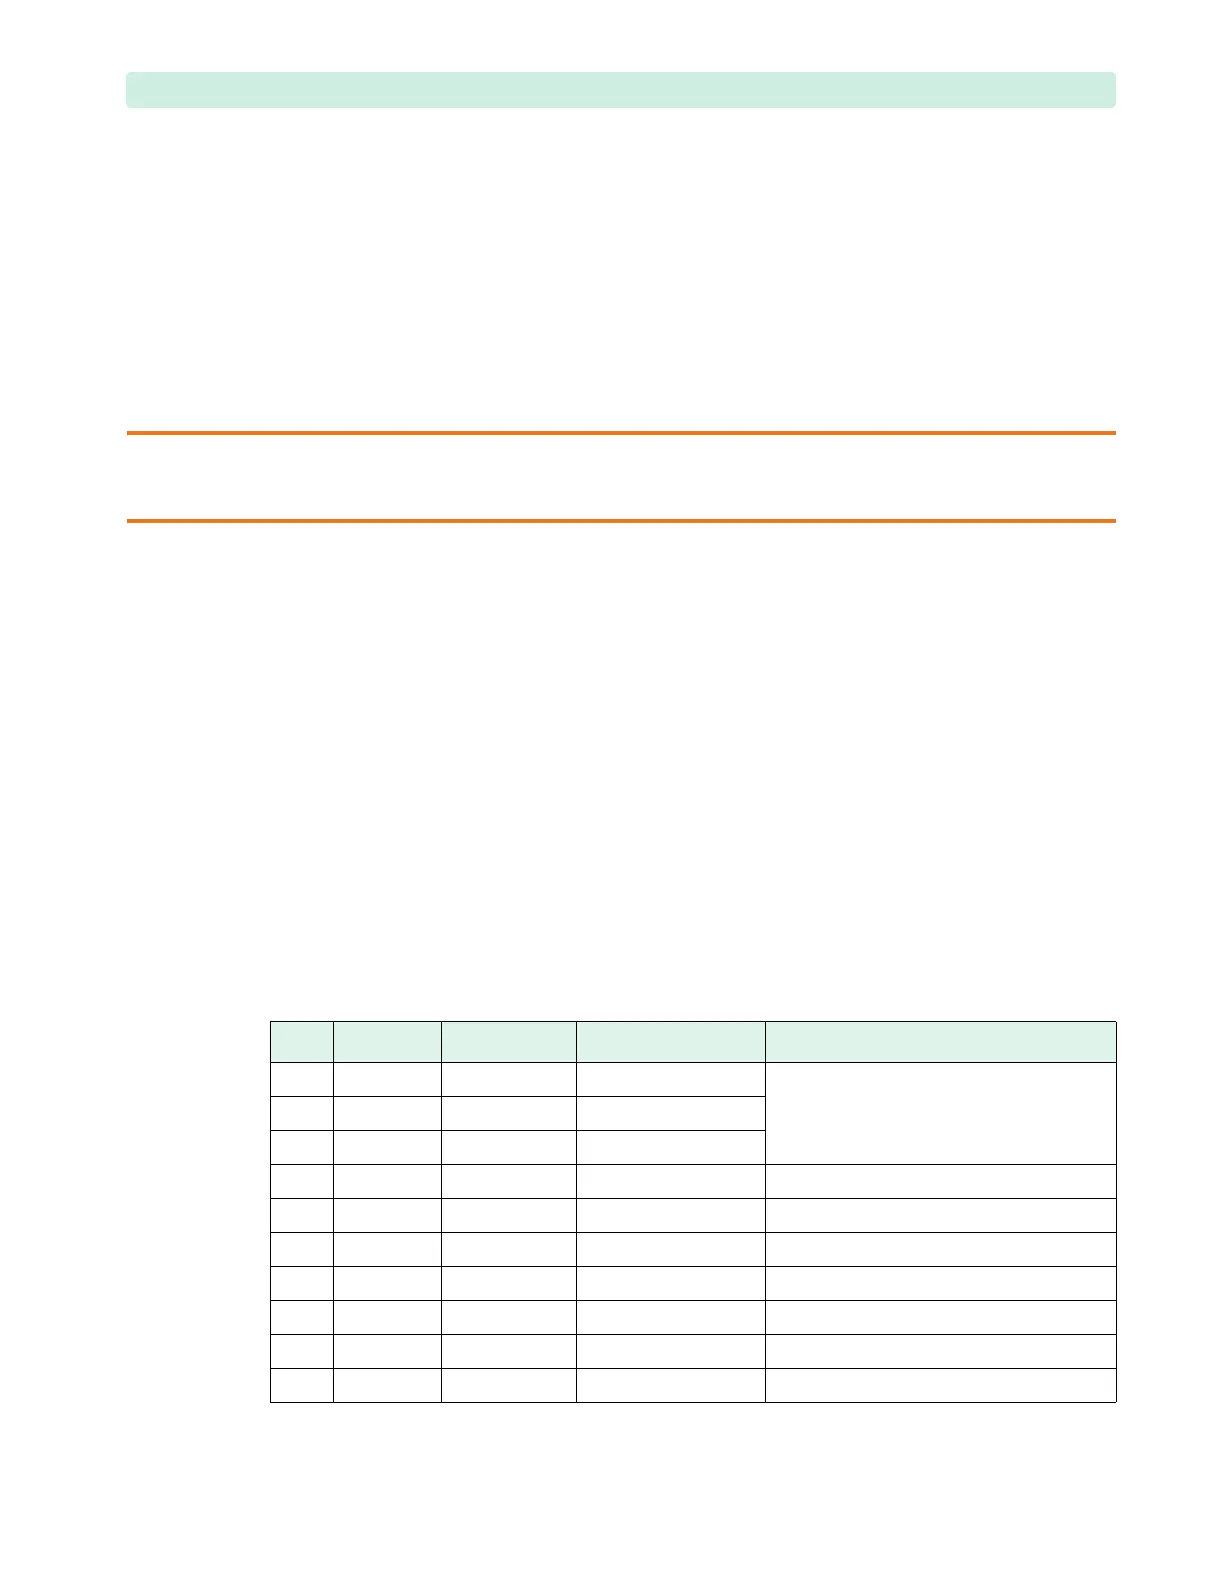
See Ta ble 3 5 and Figure 91 on page 136. The order in Table 3 5 begins from the Therapy Port and
then works clockwise around the front case to the Printer compartment.
Table 35 Processor PCA Connections
Ref. # PCA Mark Description Connects To Disconnect By
➀
J19 10-wire bundle Therapy Port
Push on latch to release, pull, wiggle
➁
J18 ribbon cable Therapy Knob
➂
J17 7-wire bundle HIF PCA
➃
J7 ribbon cable Display Gently pull, wiggle
➄
J13 8-wire bundle CO
2
Port Gently pull the bundle, wiggle
➅
J1001 ribbon cable ECG Port Release latches at edges of connector, pull
➆
J16 ribbon cable Front keypad buttons Push on latch to release, pull, wiggle
➇
J12 2-wire bundle Speaker Pull, wiggle
➈
J8 8-wire bundle Inverter PCA Gently pull the bundle, wiggle
➉
J11 ribbon cable Printer PCA Already removed with the Printer PCA