4: Repair Internal Assemblies — Front Chassis
124
Printer PCA
Preparation
1 Remove the Printer Assembly. See “Printer Assembly” on page 85.
2 Pivot the Rear Chassis upward. See “Pivoting Rear Chassis Upward” on page 122.
3 Position the device with the display facing down and the printer compartment to your left.
Removal
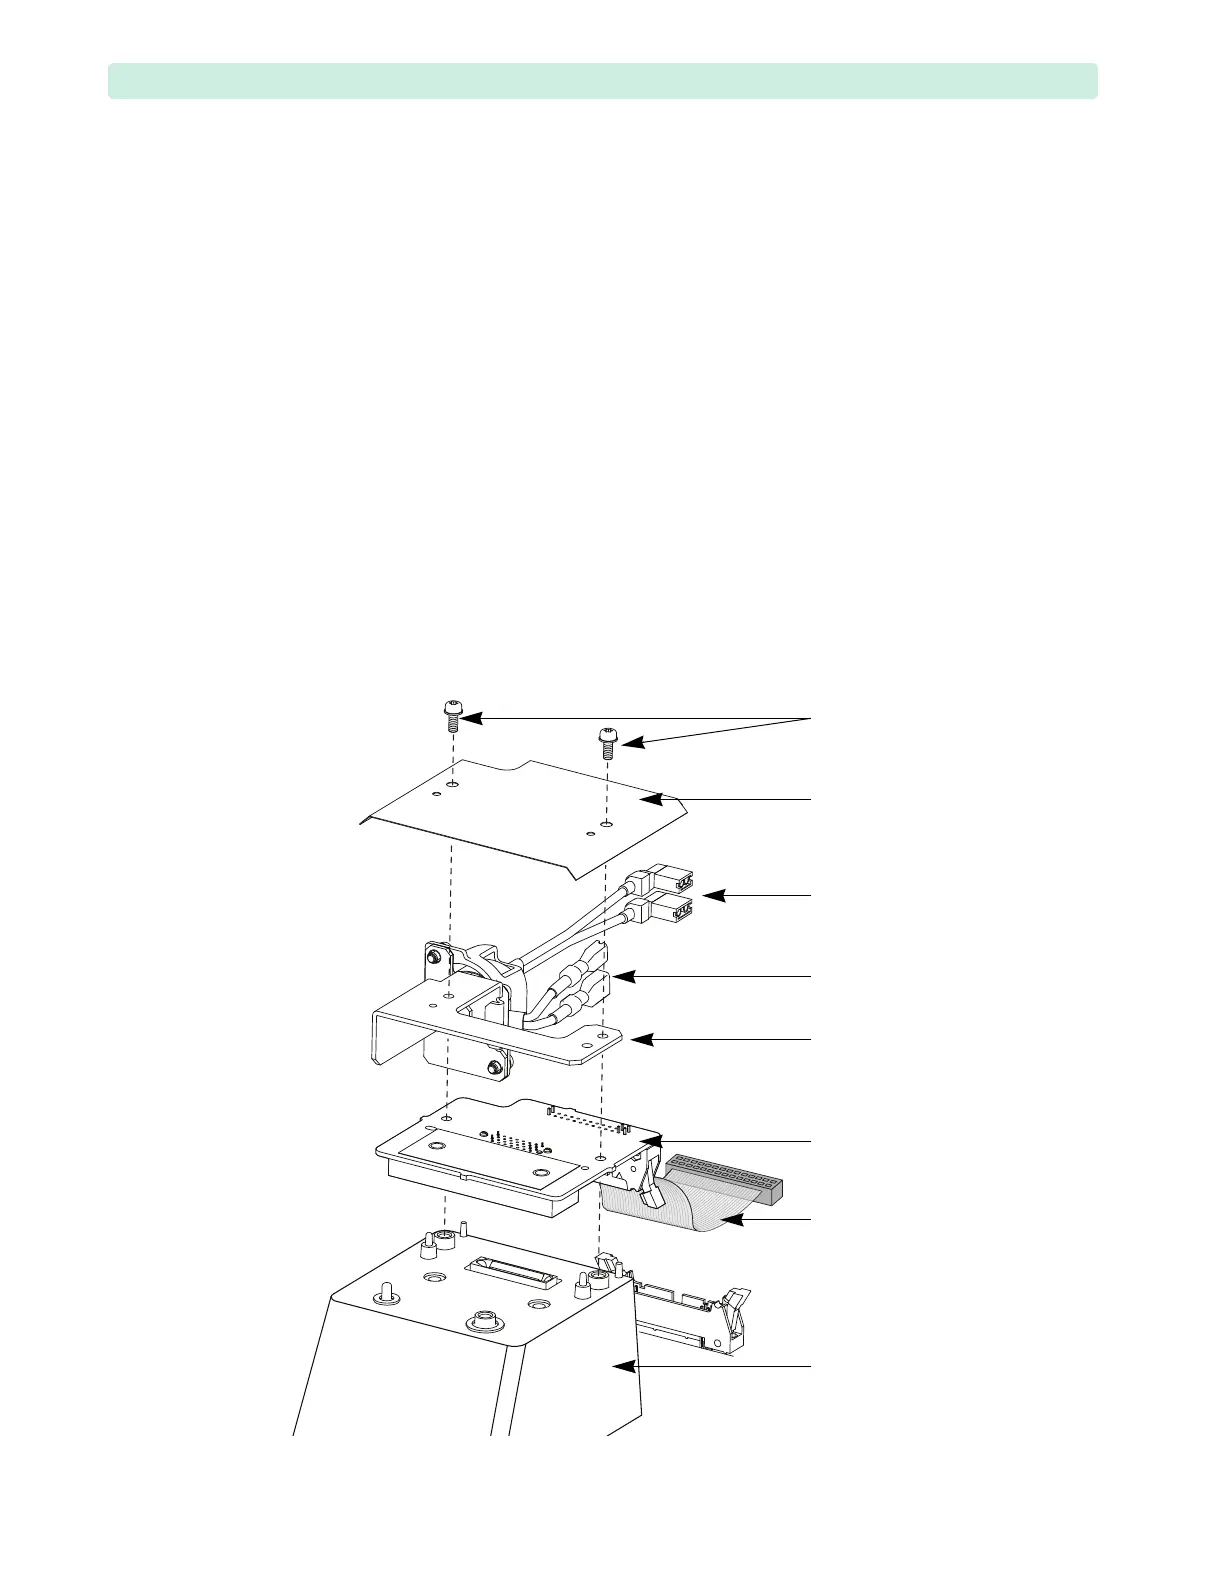
1 Remove the Therapy Port Extension assembly, see Figure 80:
a Disconnect the Therapy Port Extension assembly spade connectors from the Therapy Port and
from the Therapy PCA.
b Loosen and remove the two T10 screws.
c Lift up the plastic shield.
d Lift up the Therapy Port Extension assembly.
2 Disconnect the Printer ribbon cable from the Processor PCA.
3 Lift the Printer PCA with the ribbon cable.
4 Disconnect the Printer ribbon cable from the Printer PCA.
Figure 80 Printer PCA
M3x8 (T10) screws
Therapy Port
Extension assembly
plastic shield
Printer PCA
Printer well
Therapy Port
spade connectors
Therapy PCA
spade connectors
Printer ribbon cable