External Assemblies 4: Repair
85
Printer Assembly
Preparation
Turn the device off and remove the battery and the AC power.
Removal
1 Push in the printer door latch and open the printer door.
2 Remove the paper roll.
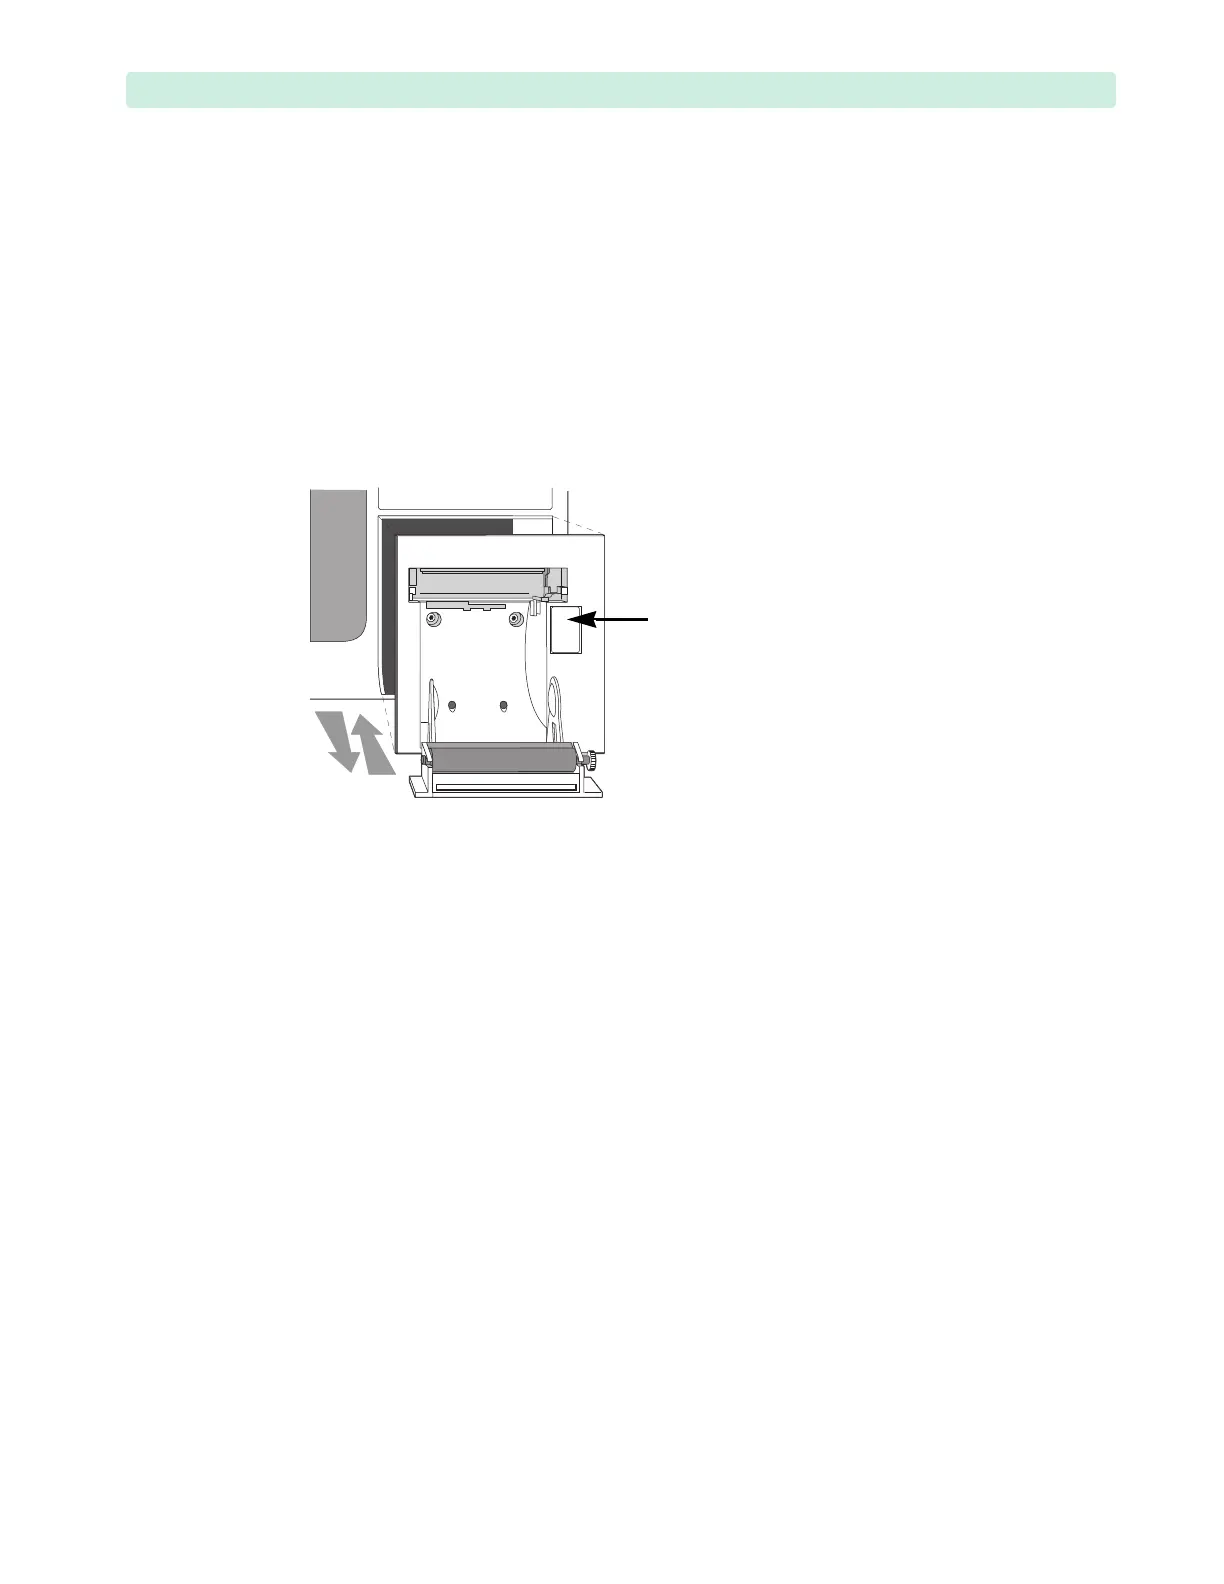
3 Loosen the two captive T10 screws at the back of the printer, see Figure 46.
4 Remove the printer by grasping the inside and pulling it straight out of the printer well.
Replacement
1 Slide the printer straight into the printer well.
The Printer connector is of a “blind mate” type and should align with the Printer PCA connector.
2 Gently push in the Printer until it is fully seated.
3 Open the Printer door and tighten the two T10 captive screws to 6 inch-lb (0.7 N m).
4 Replace the paper (grid side up) and close the door.
To Complete the Replacement:
1 Perform Performance Verification and Safety testing as described in the “Performance Verification”
chapter.
2 Perform the “Printer Test” on page 164.
Figure 46 Printer Assembly