28 Using Batteries Checking Battery Charge
274
1
Select the battery status information on the Screen to open the Battery Status window
2 Select the Print Status pop-up key.
Checking Battery Charge
♦ To check the charge status of a battery in a monitor, see the battery power gauge on the Screen or
select Main Setup -> Battery to enter the Battery Status window.
♦ To check the charge status of a battery that is not connected to a monitor or battery charger, press
the black dot marked “PUSH” on the labeled side of the battery. The remaining charge is indicated
by four LEDs on the electronic fuel gauge directly above the dot. Each LED represents 25% of
charge. If all LEDs are lit, the battery is fully charged, if only one LED is lit, 25% or less charge is
left.
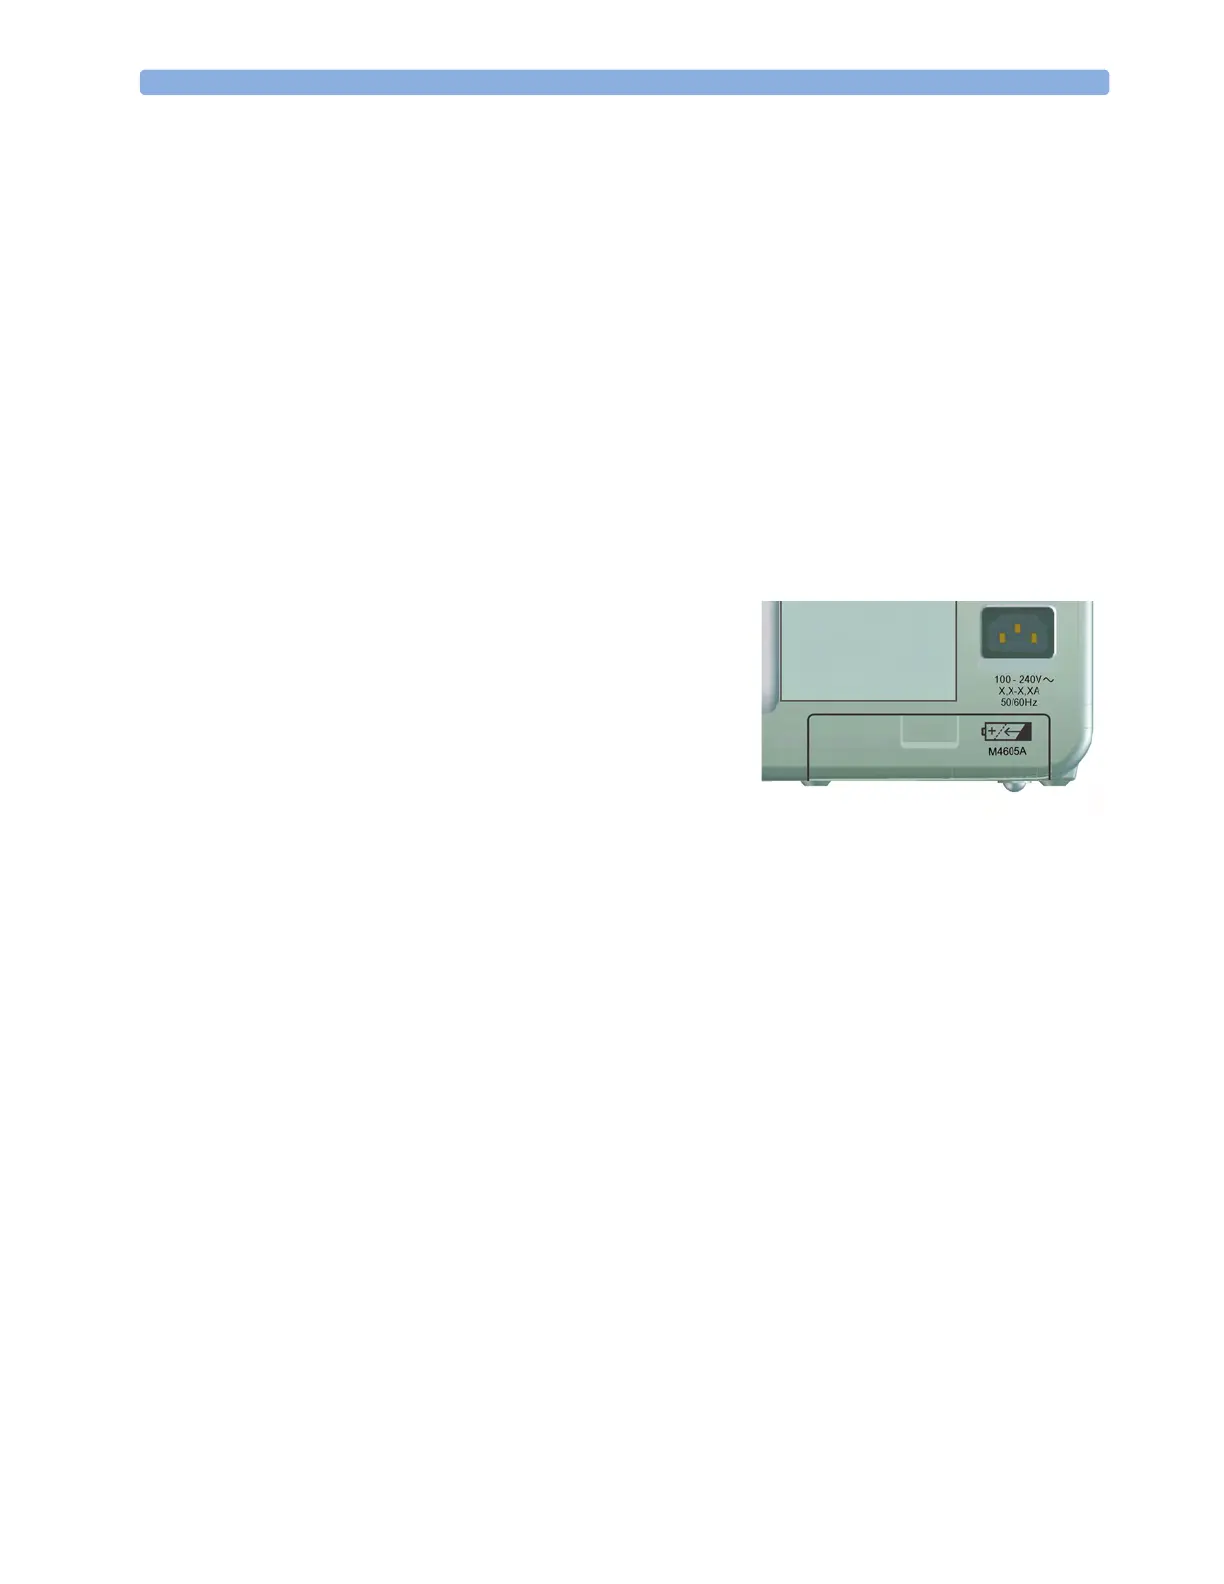
Replacing a Battery
To replace the battery,
1 Press the battery compartment latch to open the
battery compartment door.
2 Push the release clip in the compartment.
3 Pull gently on the canvas strap to move the battery
towards you, then grasp the battery and pull it out
fully.
4 Slide the new battery into position, making sure that the battery contacts are facing in the correct
direction, as outlined on the inside of the battery compartment.
5 Close the battery compartment door.
Optimizing Battery Performance
The performance of rechargeable batteries may deteriorate over time. Battery maintenance as
recommended here can help to slow down this process.
Display Brightness Setting
♦ In the Main Setup menu, select User Interface -> Brightness - > Optimum. This
selects a level of brightness suitable for most monitoring locations that uses less battery power than
brighter settings.
Satisfy yourself that this level of brightness is suitable for your monitoring location.
Note that your monitor may be configured to dim or brighten the display brightness automatically
when you disconnect from power, to suit the most common transport scenario
(“TransportBrightn” setting).
 Loading...