Chapter 7: Re-Assembly ABL77 Service Manual
Lower Module, Continued
Lower module
Follow these steps to re-attach the lower module.
Step Action
1.
Place the lower module in front of the main housing.
2.
Connect the printer data cable and two black and red wire power
cables to the printer module. Layer and insert these cables into the
printer cable clamp located on the main housing.
3.
Connect the sensor cable (longer cable) to J2 of the valve board.
4.
Connect the input/output cable to J3 of the valve board.
5.
Align the lower module with the main housing and push the lower
module until it becomes flush with the main housing. Make sure that
the cables are not pinched between the two housings or obstructing the
manifold.
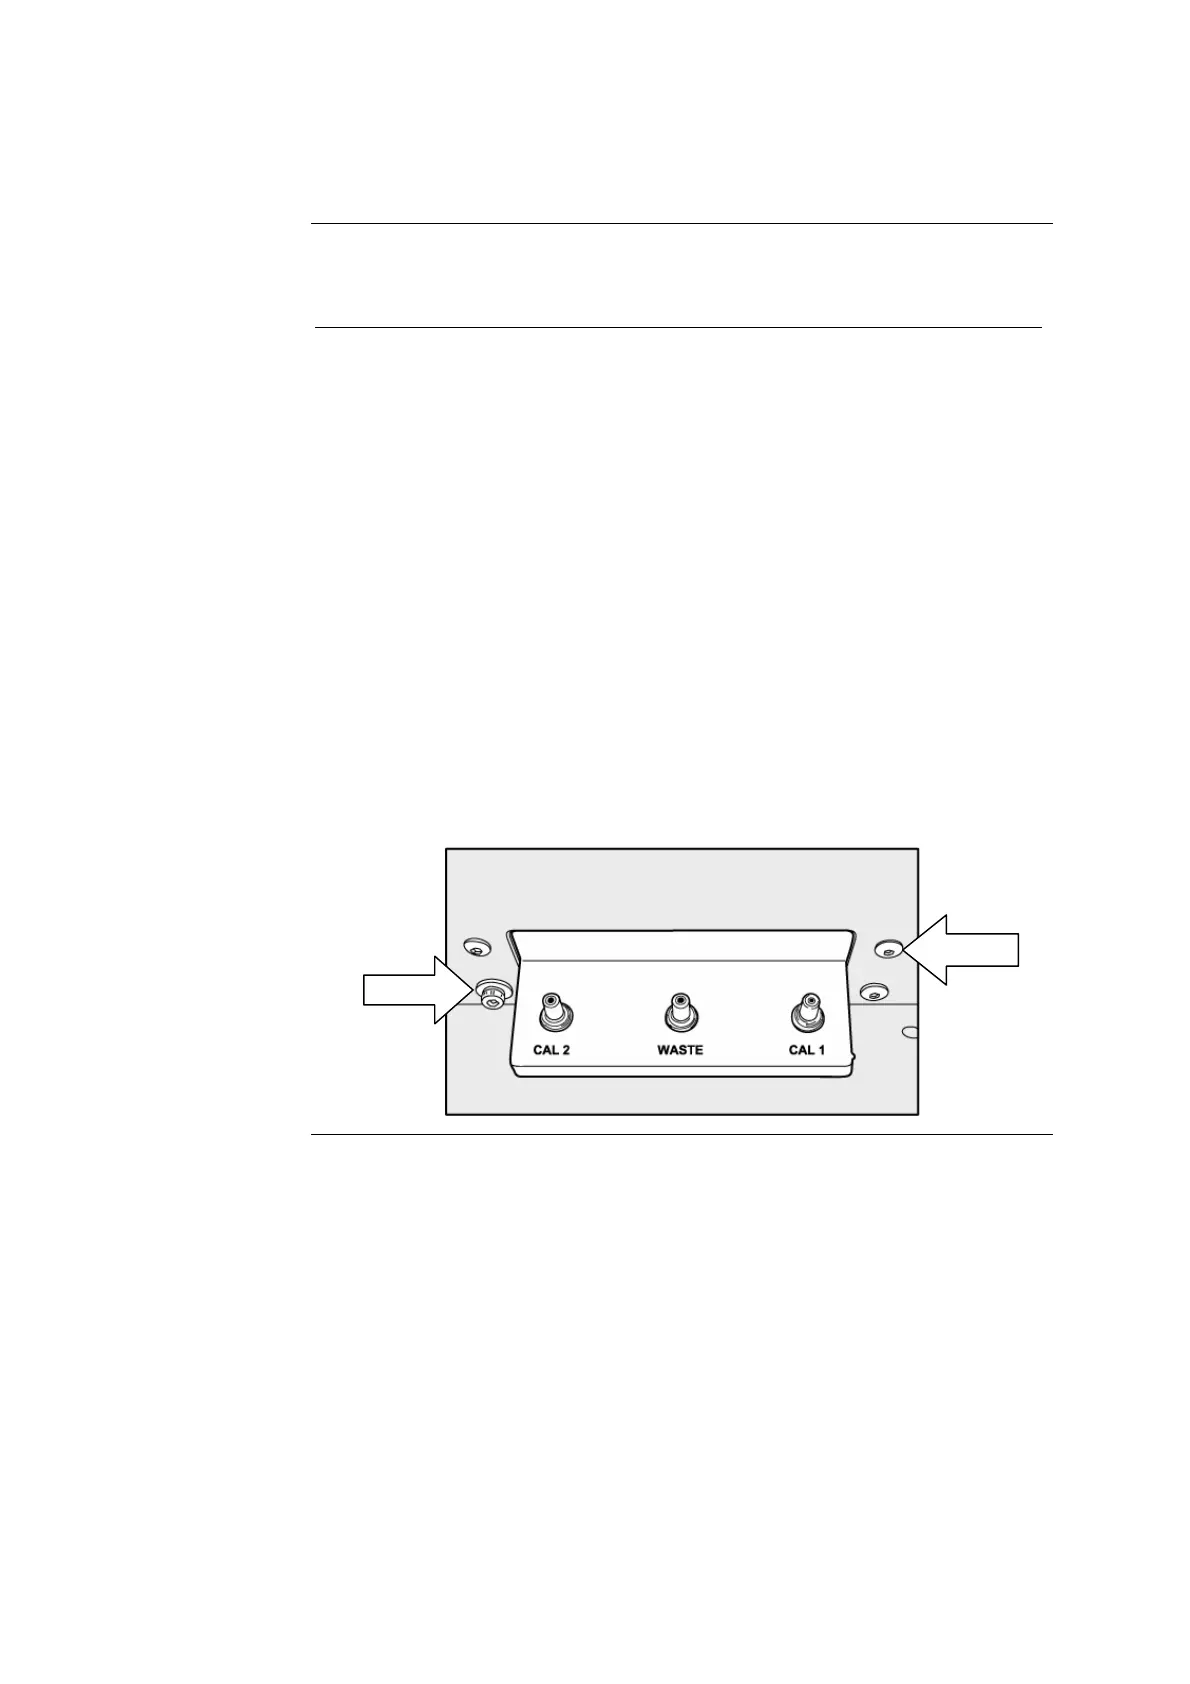
6.
From the back, insert a 6-32 x 5/8” button head screw into the upper
right manifold hole and tighten with a 5/64” Allen wrench. Insert a
6-32 x 5/8” socket head screw and a #6 flat washer into the lower left
manifold hole and tighten with a 7/64” Allen wrench.
7.
From the front of the analyzer. Install two 6-32 x 5/8” socket head cap
screws with #6 flat washers into the bottom right and left mounting
holes of the lower module and tighten with a 7/64” Allen wrench.
5/64”
7/64”
7-34 Rev. F
 Loading...