2
3
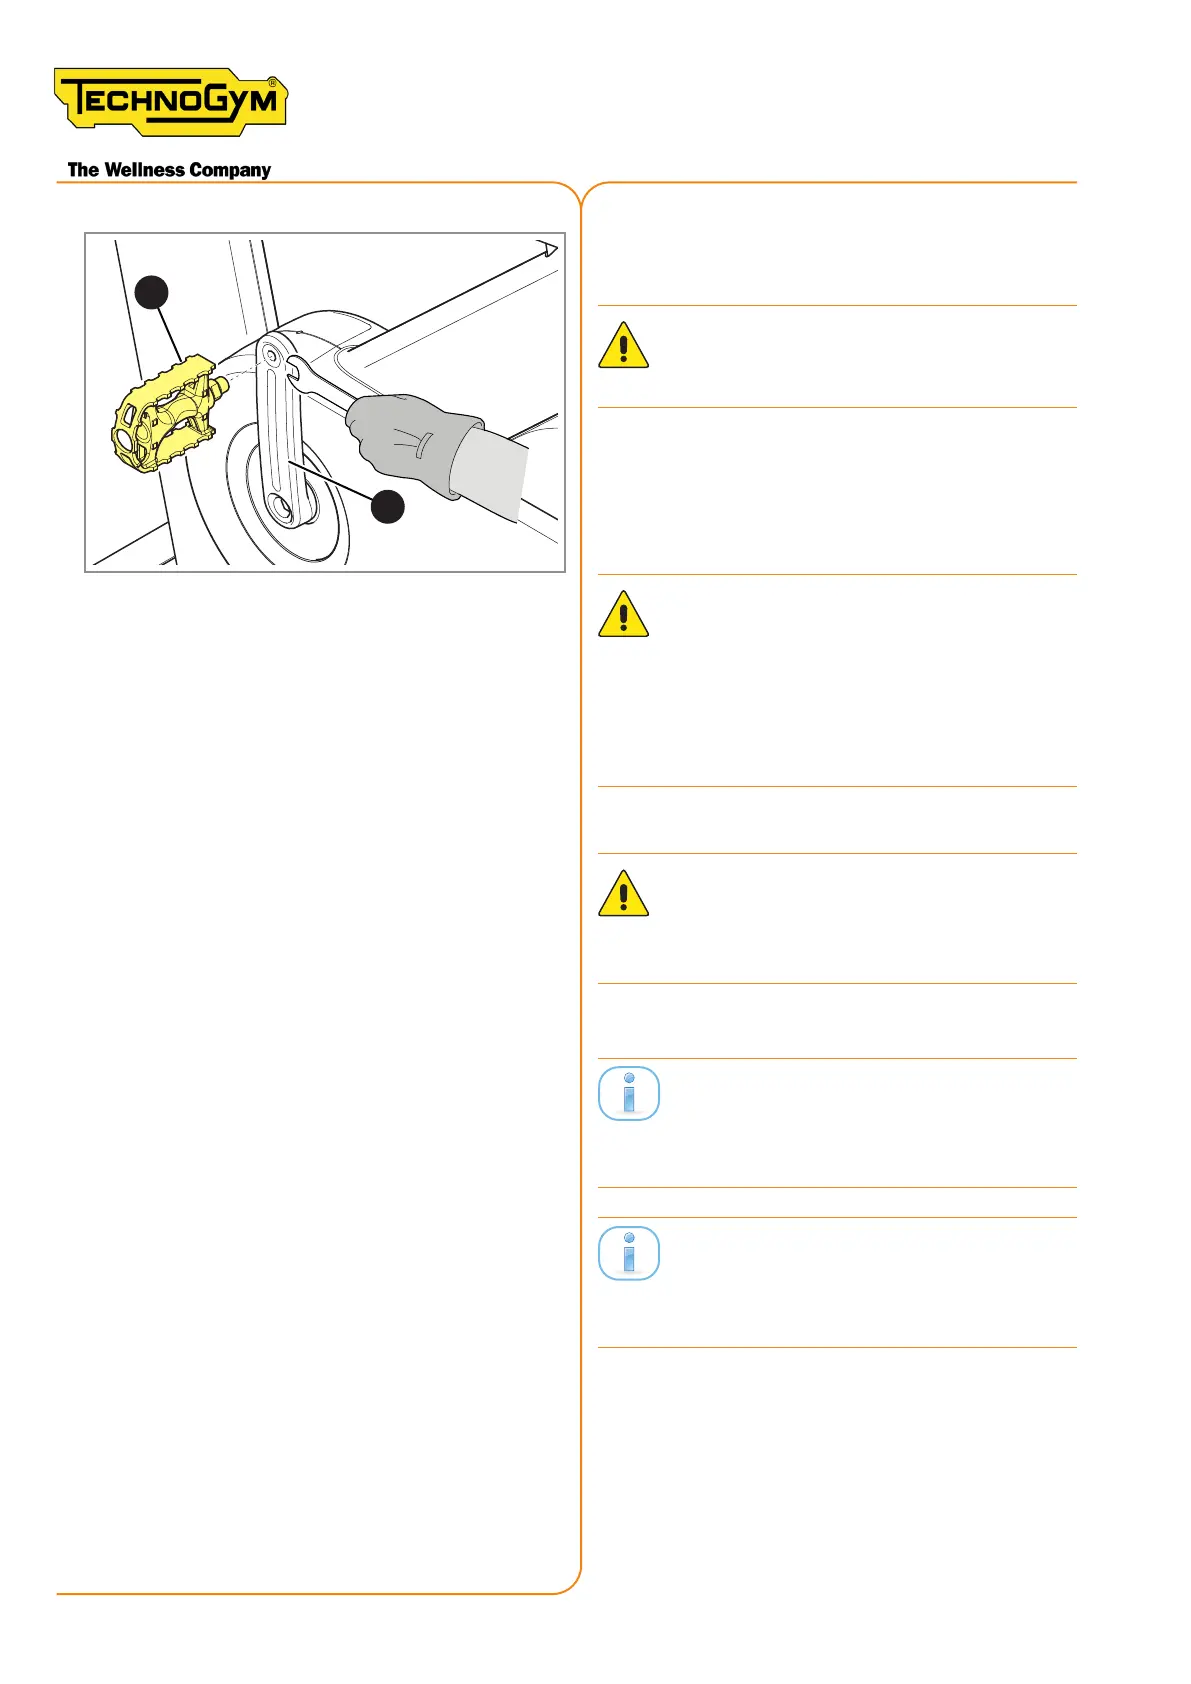
Figure 119
4. Screw the pedal (2) on the pedal crank (3)
using the special wrench provided.
WARNING: tighten the pedal with a
torque wrench set to 40Nm (29.5 lbf-ft).
5. Loosen the pedal by approx. one full ro-
tation.
6. Tighten the pedal again using the same
torque.
WARNING: This procedure allows the
thread and the contact surface between
the pedal crank and the pedal to sele
when the pedal is rst tightened, thus
ensuring an accurate and secure t
when tightened for the second time.
WARNING: the right pedal has RH
thread (standard), the left pedal has LH
thread.
Wait approximately one hour before using
thebike.Thisallowstheloctitetotakeeect
and dry completely.
If grub screws are found during disassem-
bly, they do not need to be reinserted during
reassembly.
New Group Cycle (D92):
Technical Service Guide - Rev. 5.1
Document uncontrolled when printed
Page 140