ACU-RITE MILLPWR
G2
137
7.1 Demonstration Program
Begin programming
From the DRO mode, begin by pressing the DRO/PGM key to enter the
PGM mode.
If a program is loaded, save the open program, it does not have to be
cleared. This is example is done in Inch mode. Make sure Inch is
selected.
Selecting a tool
The first step for this program is to choose the tool that will be used
to begin the machining. For this step, a 1/4” diameter FLAT END MILL
will be used.
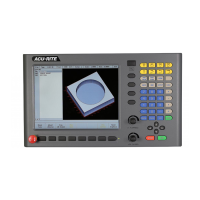
Press the TOOL key to access the Set Tool dialogue.
In the Set Tool dialogue enter 0.25 in the Size / Diameter field.
Press ENTER twice or ARROW DOWN to highlight the Tool Type field.
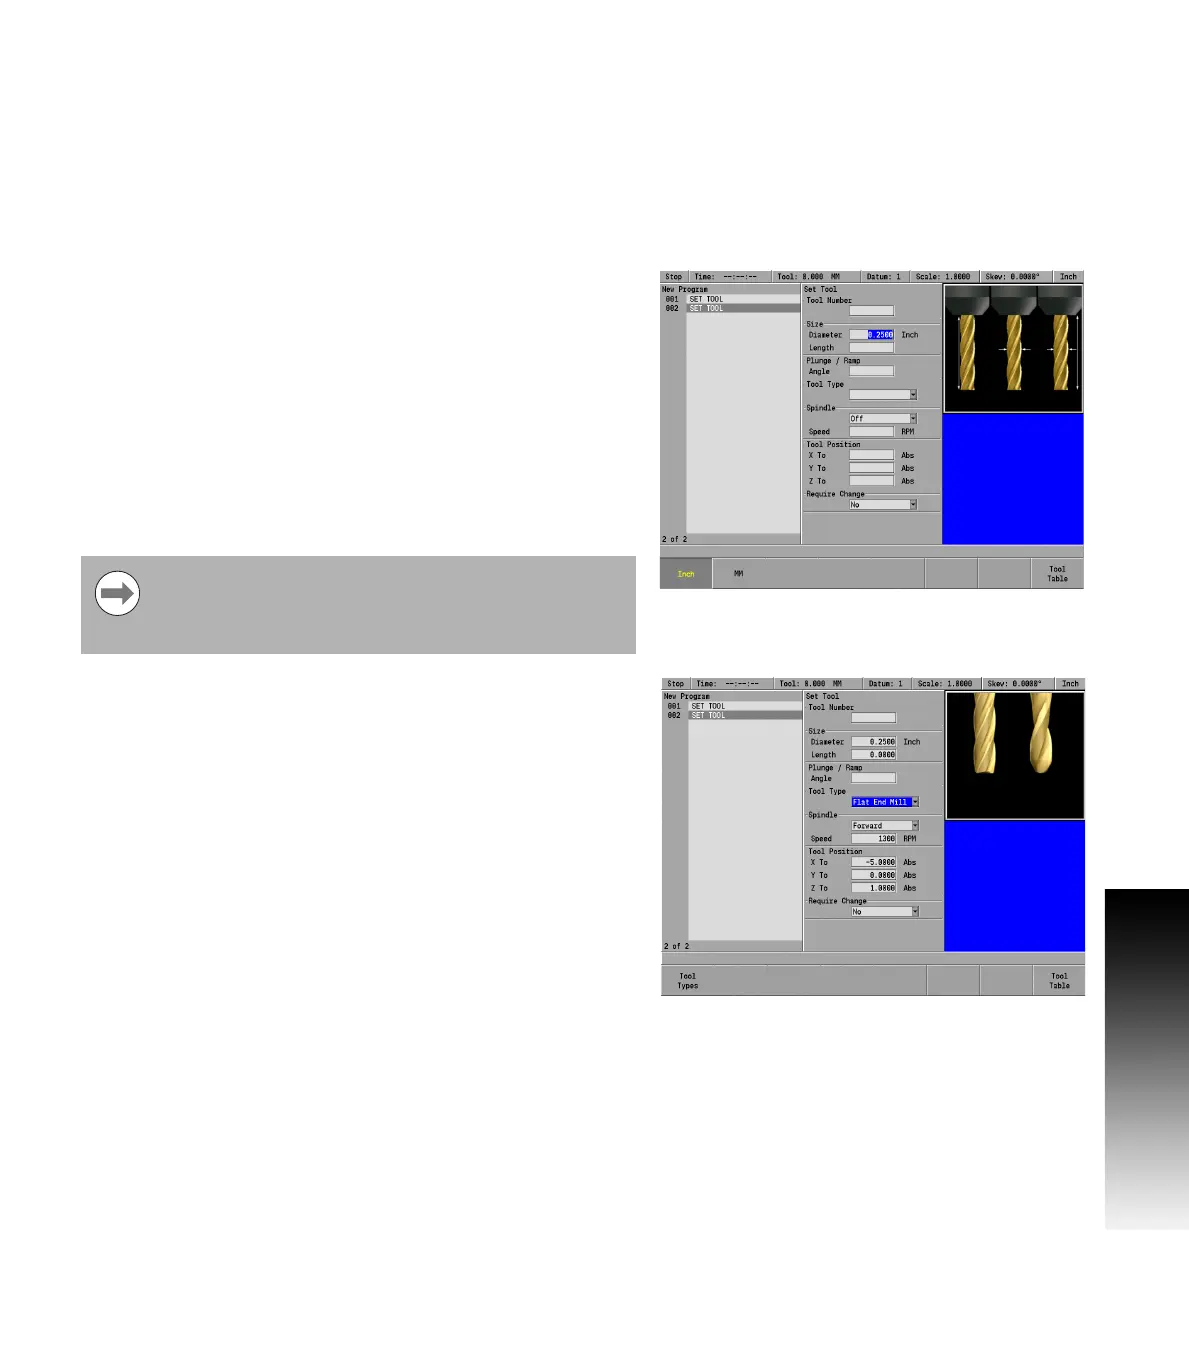
With the Tool Type field highlighted, press either the RIGHT ARROW
key, or press the Tool Types soft key to open the Tool Type drop
down menu.
ARROW DOWN to highlight the Flat End Mill.
Press the ENTER key to select the tool type.
ARROW DOWN to highlight the Spindle field.
Select Forward by pressing the Forward soft key
ARROW DOWN to highlight the Speed field and enter 1300 using the
numeric keypad.
ARROW DOWN to highlight the Tool Position field.
Enter -5.00 in the X To field.
Enter 0.00 in the Y To field.
Enter 1.00 in the Z To field.
Press the USE key.
The programming of the part can now begin.
Refer to chapter 8 "Selecting a tool" on page 155 for more information
about Tool Position.
In most dialogues, there is a drop down menu and a soft
key available for choosing a selection. This program
example will refer to the use of the soft keys when
available.