MFC-8220
SERVICE MANUAL
4-35
3.13 NCU
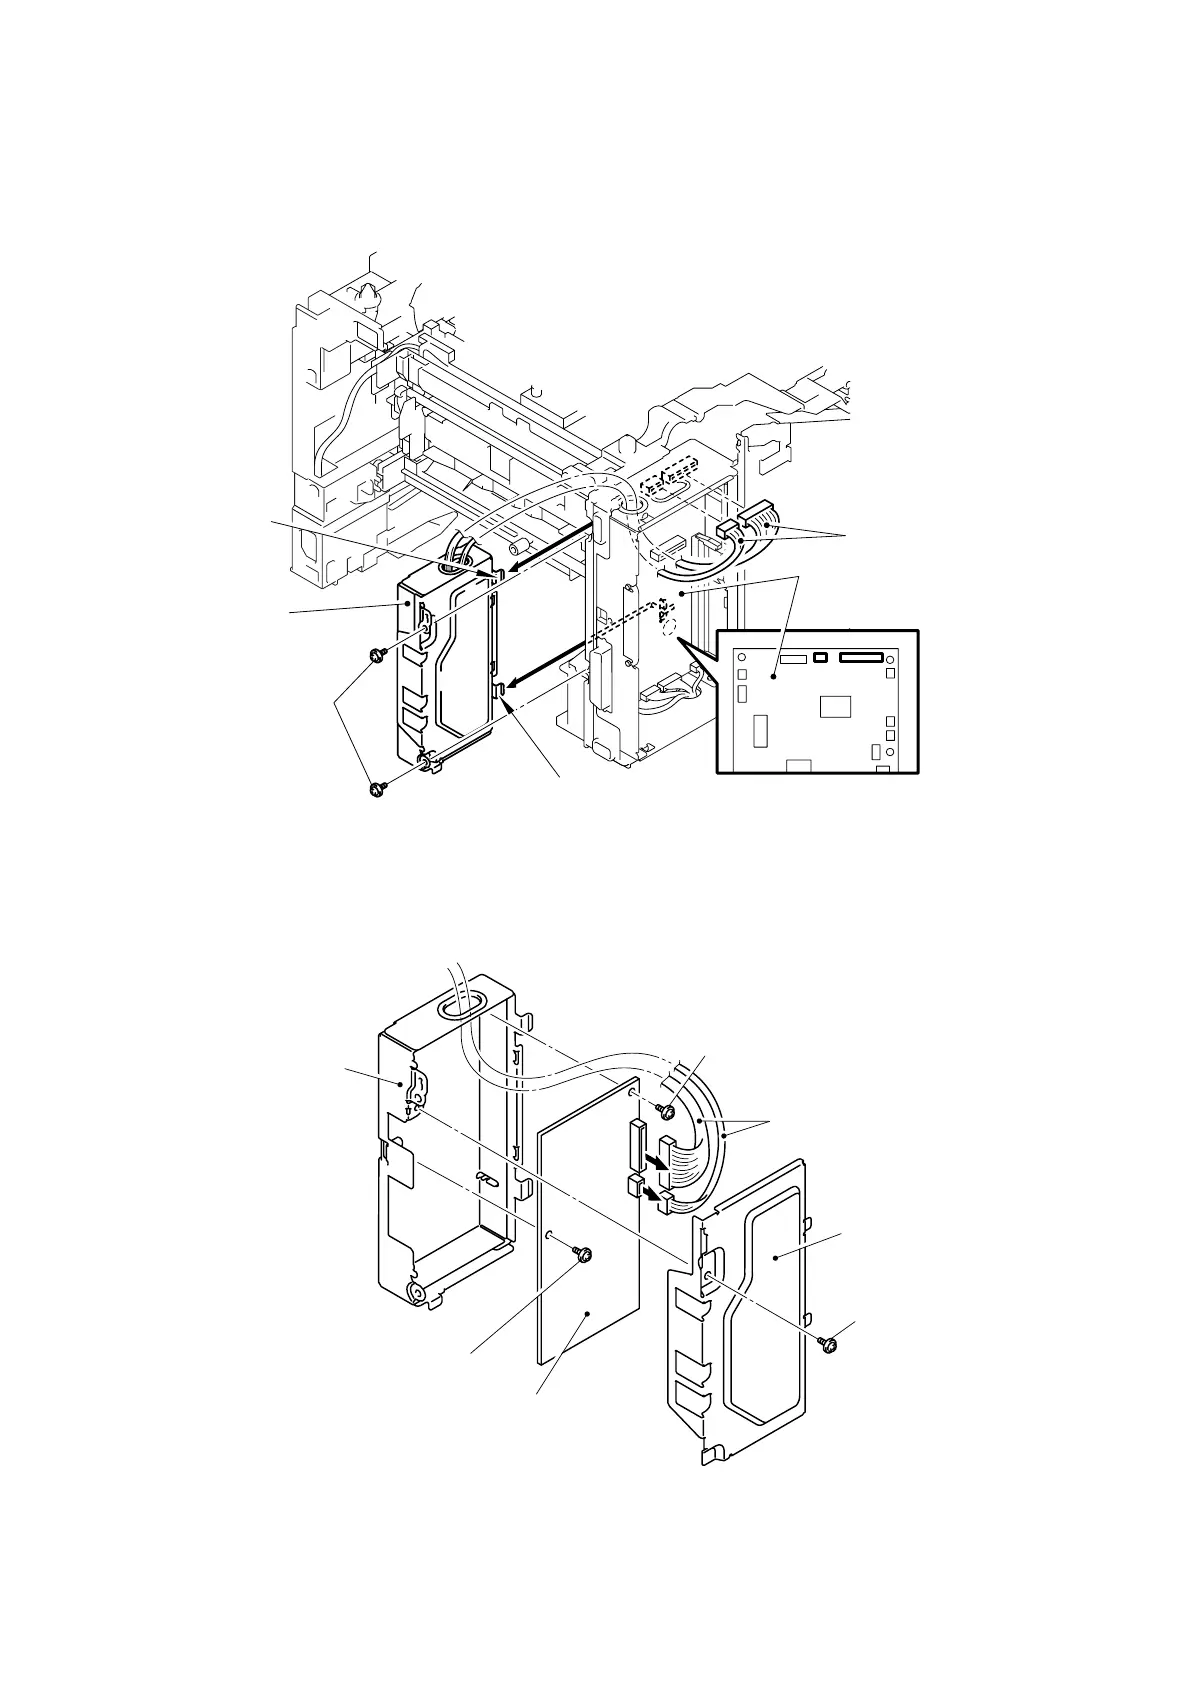
(1) Disconnect the connector.
(2) Remove the two cup S M3x6 Taptite screws, and then remove the NCU unit.
Fig. 4-61
(3) Remove the cup S M3x6 Taptite screw, and then remove the NCU shield cover.
(4) Disconnect the two connectors of the NCU harness.
(5) Remove the two cup S M3x6 Taptite screws, and then remove the NCU PCB ASSY.
Fig. 4-62
Taptite, cup S M3x6
Taptite, cup S M3x6
Taptite, cup S M3x6
Taptite, cup S M3x6
NCU shield cover
NCU shield plate
Hook
Hook
NCU harness
NCU PCB ASSY
NCU unit
Main PCB ASSY
NCU harness
 Loading...