CHAPTER 4 DISASSEMBLY AND RE-ASSEMBLY
4-20
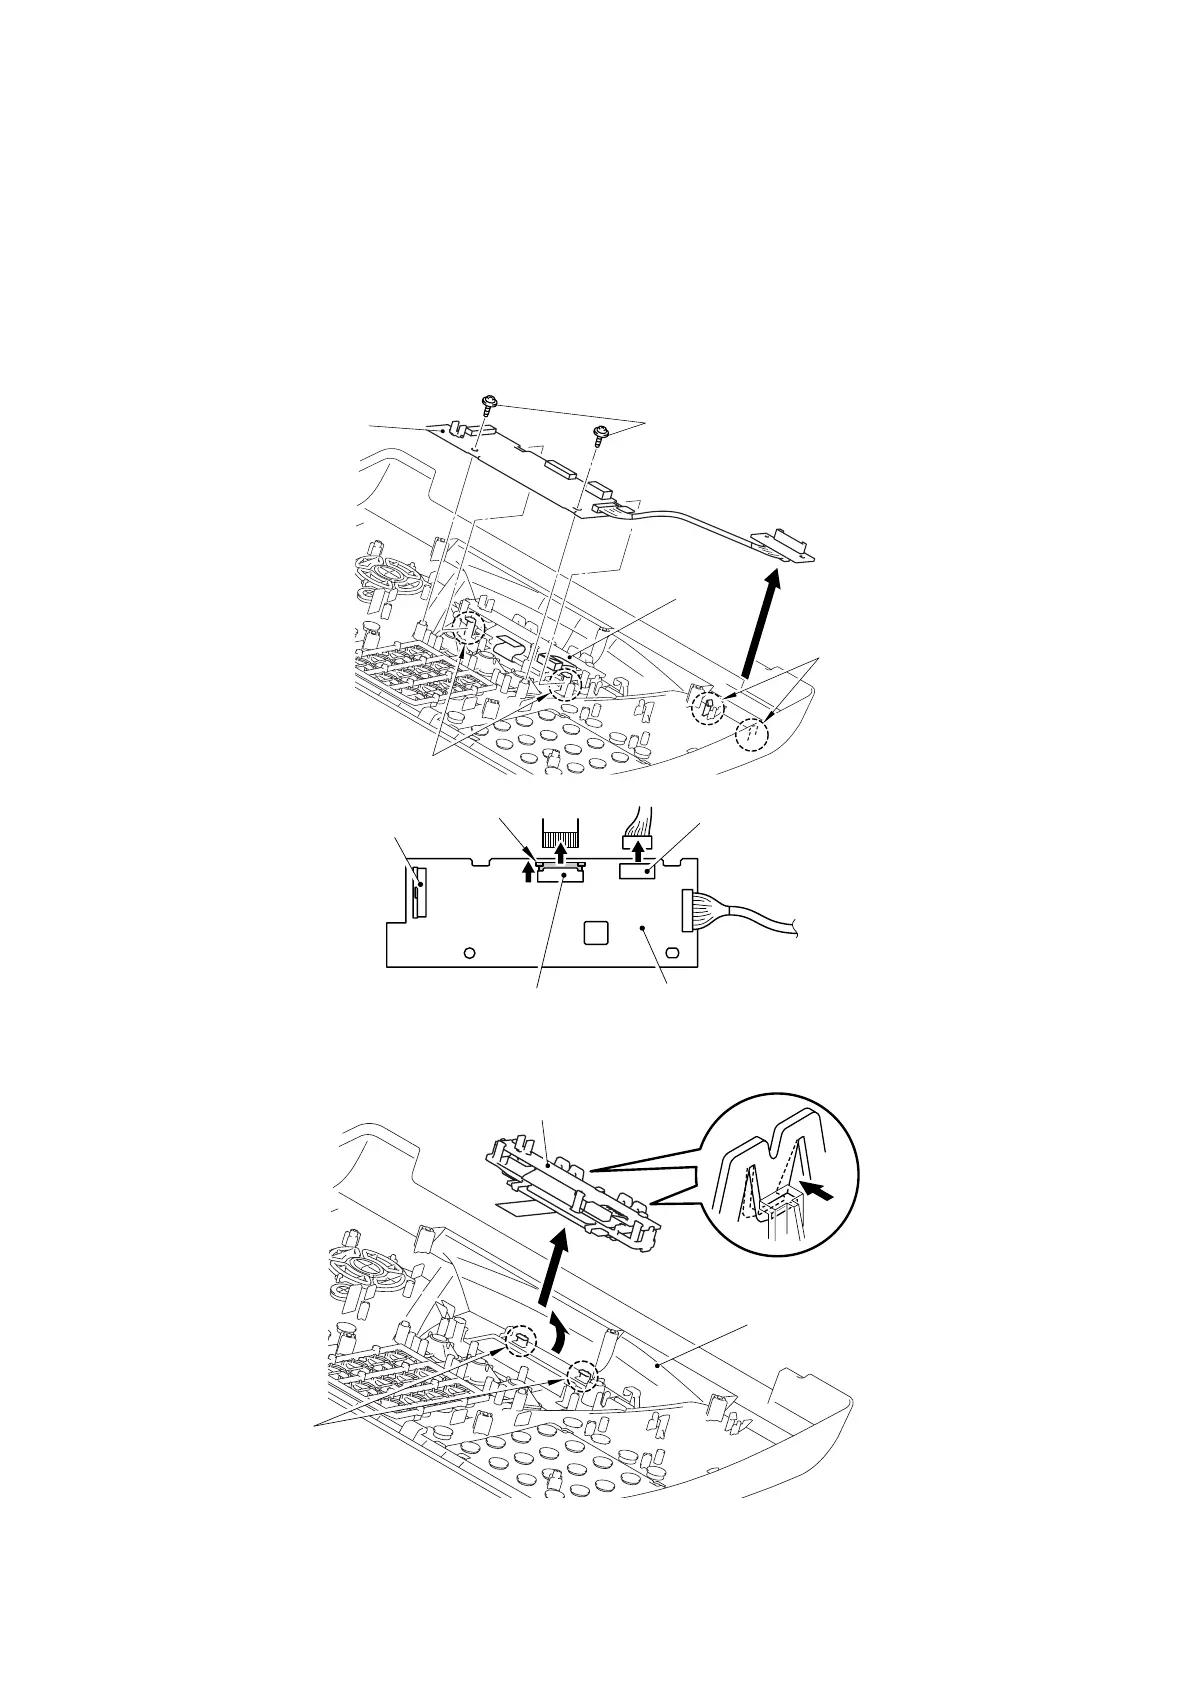
(11) Release the lock, and then disconnect the cable of the LCD and the connector of the
back light PCB ASSY.
NOTE:
• After disconnecting flat cable(s), check that each cable is not damaged at its end or
short-circuited.
• When connecting flat cable(s), do not insert them at an angle. After insertion, check
that the cables are not at an angle.
(12) Remove the two cup B M3x8 Taptite screws and release the two hooks, and then remove
the panel PCB ASSY.
Fig. 4-33
(13) Release the two hooks, and then remove the LCD holder.
Fig. 4-34
Taptite, cup B M3x8
Back light
PCB ASSY
Hooks
Hooks
Panel PCB ASSY
Panel PCB ASSY
Back light PCB ASSY
Lock
FPC key
LCD
LCD holder
Control panel ASSY
Hooks
2
1
 Loading...