HelixNet | User Guide
http://www.clearcom.com/product/Partyline/power-supplies
Tip: For more information about the dedicated power supply devices (PK-7 or PS-
70x devices) from Clear-Com, see
http://www.clearcom.com/product/Partyline/power-supplies
Connecting the systems:
Use standard microphone cable to connect the two systems. 3-pin XLR connectors
are located:
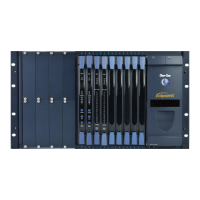
l On the HMS-4X Main Station two-wire interface module.
l On the back panel (rear) of the DX210 base station.
Two 3-pin XLR connectors (one male, one female) are provided for each of the two
intercom Channels (IC1 and IC2) on the base station.
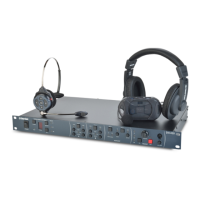
4. On the front panel of the DX210 base station, press the SELECT button for the connected
intercom Channel (either IC1 or IC2).
The 2-W (two-wire) LED next to the SELECT button is lit green.
Note: If power is not detected at the connector, the 2-W LED is lit red. No audio can
be transmitted between the systems. When the HMS-4X Main Station is powered,
power is supplied to the connection and the 2-W LED is lit green.
5. Apply auto-nulling to the connected Channel (either IC1 or IC2) on the DX210 base station.
Auto-nulling helps to reduce echo while talking on a two-wire audio system. To apply auto-
nulling:
a. Insert a pen or similar pointed object into the AUTO-NULL hole on the front panel.
b. Press and hold AUTO-NULL for 2 seconds.
Note: Before applying auto-nulling, ensure that there are no open microphones on
the wired intercom. If users are wearing headsets, you must notify them of the audio-
sweep that precedes the application of auto-nulling.
1. Adjust the two-wire intercom receive and send levels (in / out levels), using the 2-W INPUT
and 2-W OUTPUT controls for the connected Channel (IC1 or IC2) on the DX210 base
station front panel. For more information, see your DX210 documentation.
Tip: To optimize audio quality, you may also want to adjust the Audio Settings on the HMS-4X
Main Station. For more information, see Configuring the Audio Settings.
Page 219
 Loading...


