HelixNet | User Guide
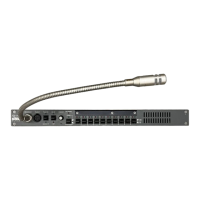
3.2 Installing the Main Station/Remote Station
The Main Station/Remote Station is a 19” 1RU-height device that you can install to either:
A standard 19” rack.
A shelf, cabinet or other flat surface.
3.2.1 Main Station Power Up
There is no power switch, button or key on the Main Station. To power up the unit:
1. Connect the power cord to the power supply connector on the Main Station.
Note: The Main Station has a cable retaining clip to secure the power cord. The
retaining clip is detached for shipping and must be refitted.
Note: For the location of the power supply connector, see A in HMS-4X Main
Station: Rear Panel on page 24
2. Connect the power cord to the power source. The unit requires an input voltage between 100
- 240 VAC / 50-60Hz/ 250 watts / T 3.15A H 250 V.
Only connect power supply to earthed supply sockets. Ensure that the power supply is
routed to avoid sharp bends, hot surfaces, pinches and abrasion.
For safety guidance, see the Safety Instructions at the front of this guide.
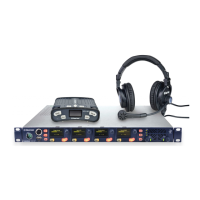
3.2.2 Remote Station Power Up
The Remote Station is powered by an external power source. This can be:
An external power supply (supplied)
Power over Ethernet (PoE)
Note
:
To use PoE, you must connect a third-party PoE switch between the Remote Station
and the Main Station.
From the Main Station digital power line.
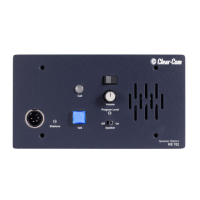
3.3 Installing the Speaker Station
The Speaker Station can be installed either:
l Mounted in an S-Mount bracket for desktop use
l Mounted in an S-Mount bracket for installation on a wall
l Mounted inside a NEMA standard 4-gang wall box.
Note: The S-Mount bracket is an optional item ordered separately.
Page 59
 Loading...