HelixNet | User Guide
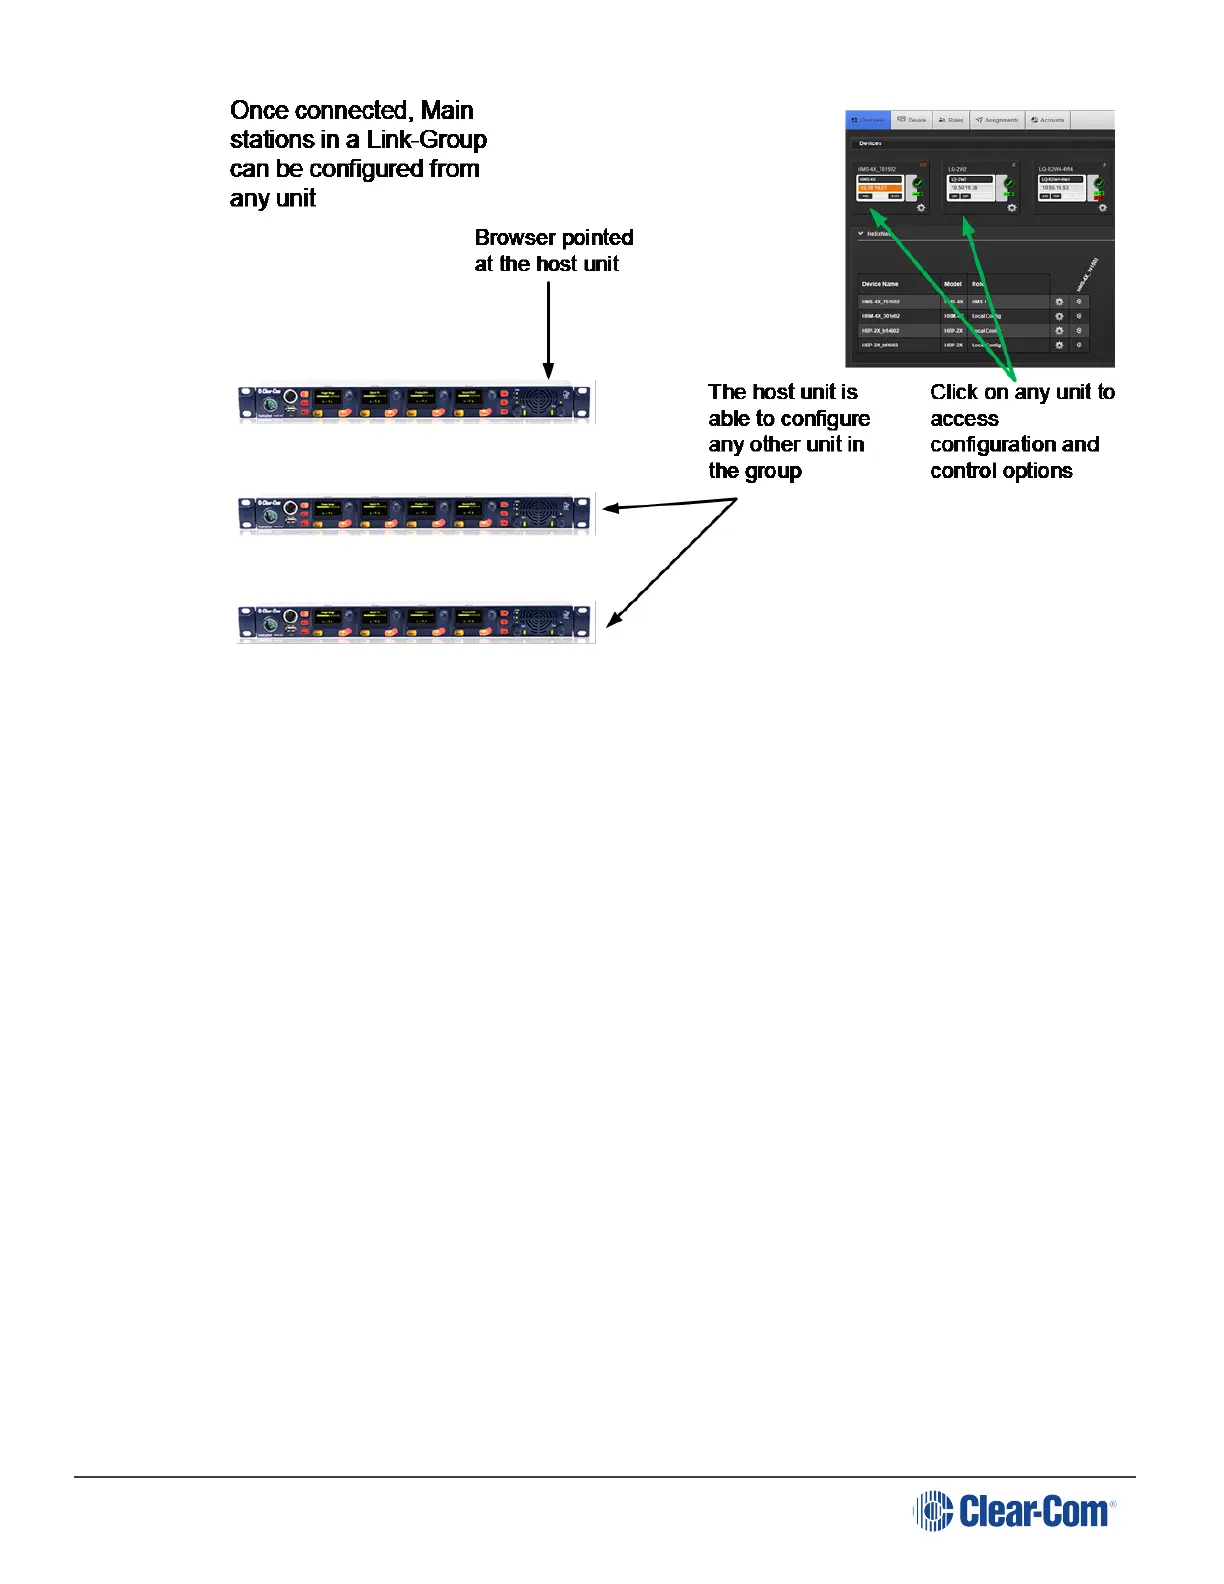
Note: The host device will always have an orange highlight in the CCM.
16.3 Linking Main Stations in the CCM
Main Stations to be linked in the CCM should first be connected by LAN to the same network and
able to see each other.
In order to create a Link-Group in the CCM, you must designate one unit as Link-Master. The
other units are designated Link-Member and are joined to the Master via the Master’s IP address.
This is achieved in the Linking page of each unit.
1. From a browser, access the CCM of HelixNet Main Station #1 by typing its IP address into the
URL field.
Note: The unit’s IP address can be found in the device’s display screens: Menu > Networking >
Preferences > IP address. For username and password see CCM password.
Note: The Link-Master IP must be statically allocated to prevent loss of service.
2. Navigate to Home > Linking in the CCM. From the drop-down box select Link-Master and
click Apply Changes. This designates this unit as Link-Master.
Note: The default linking mode is: Link Disabled. When a device has been designated either Link
Master or Link Member it will be looking for a pairing and a link icon will flash in the device screens.
Linking Disabled prevents this.
Page 190
 Loading...