©2024 Comba Telecom. All Rights Reserved.
568 Gibraltar Drive, Milpitas, CA 95035 | +1 408 526 0180
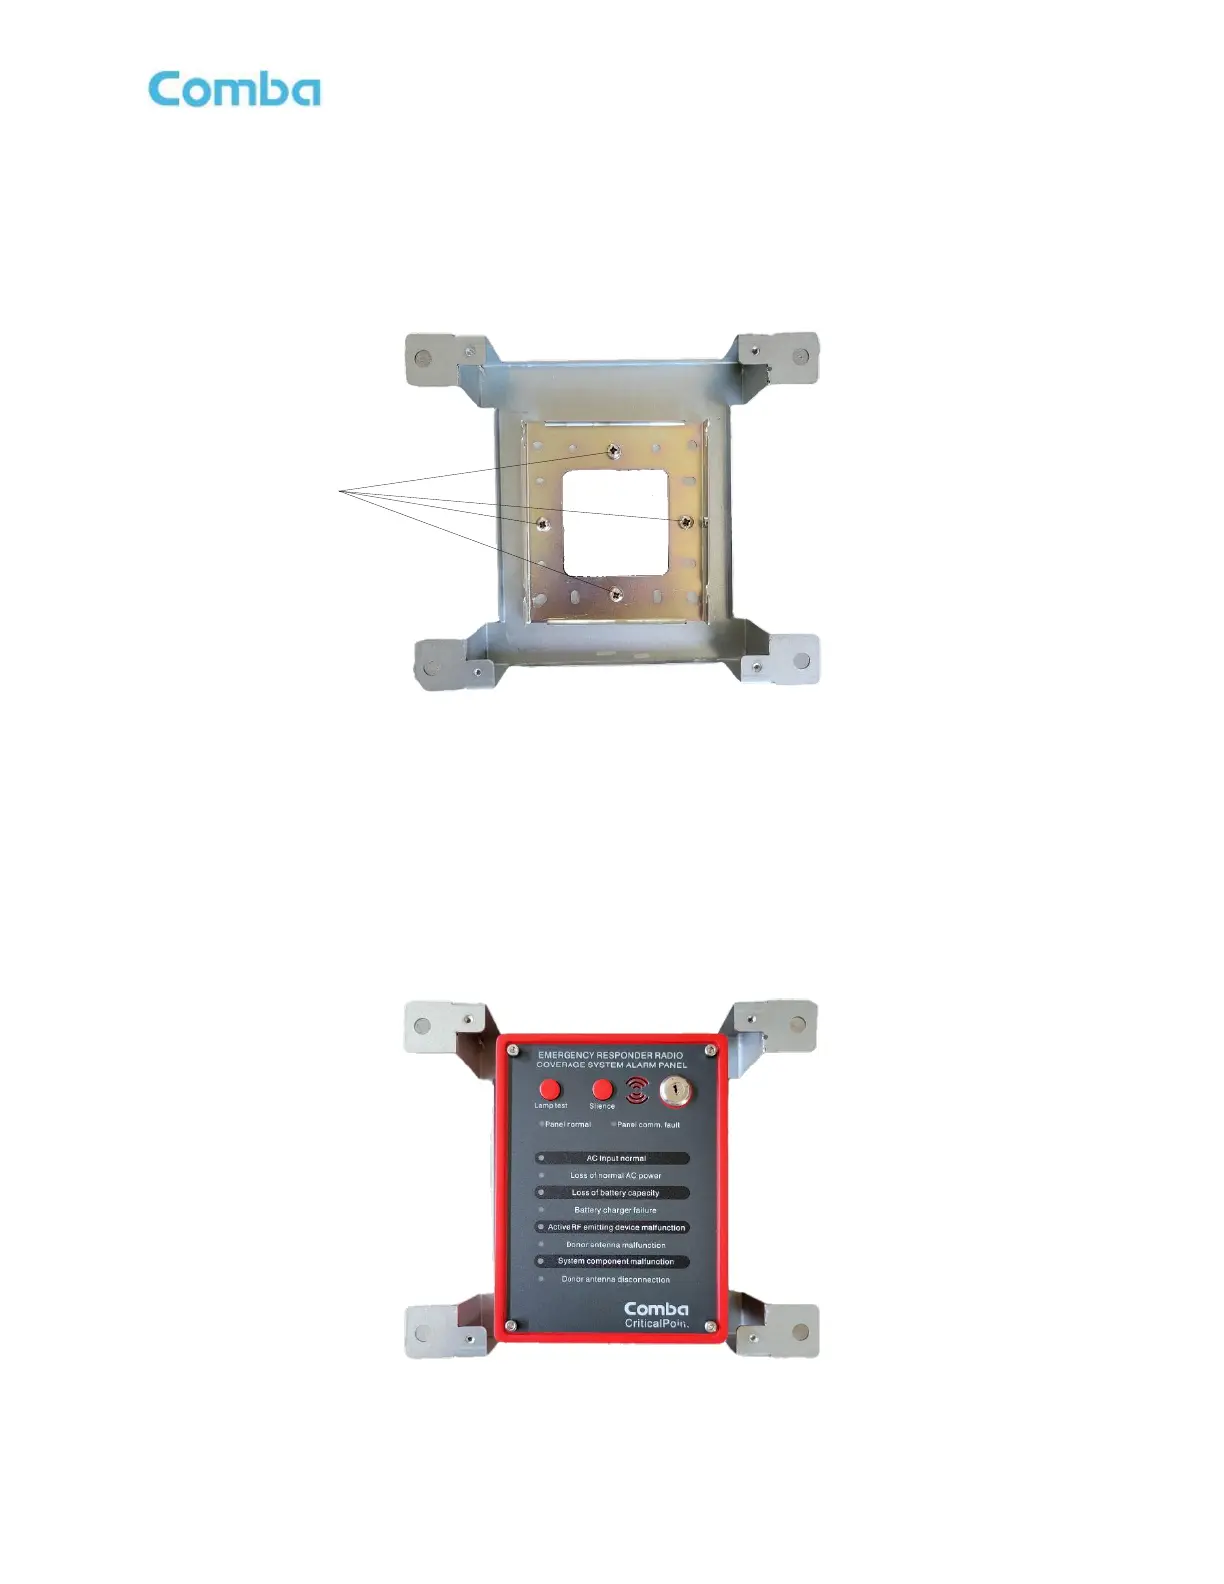
• Install the APV3-BDA standard mounting bracket into the flush mount bracket using the (4) screws
removed in the previous step. Ensure the standard mounting bracket is installed with the HEX Screw
hole on the right side. See Figure 68 below.
Figure 68: APV3-BDA - Mounting Standard Mounting Bracket to Flush Mount Bracket
• Align and hang the APV3-BDA cabinet onto the flush mounting bracket. Note, the Hex Screw that was
removed earlier to release the standard mounting bracket from the AP is not used when flush mounting
the APV3-BDA. You can simply hang the device onto the flush mount assembly. Refer to Figure 69
below.
Figure 69: APV3-BDA - Mounting APV3-BDA into Flush Mount Bracket