©2025 Copeland LP.
026-1803 R13 Supervisor I&O User Guide 10 - 1
10 Floor Plans
Floor Plans and Custom Screens (also called GS or Graphical
Status screens) allow technicians or non-technician
Supervisor users to monitor their HVAC/R systems in a Floor
Plan view. Custom screens provide a Floor Plan with mapped
temperature and pressure readings, refrigeration, defrost, fan
status. And other system information. Note that Floor Plans
are a licensed application and you will need to obtain the
appropriate credentials before your controller can be set up
with Floor Plans.
Contact Copeland Customer Service at
ColdChain.CustomerService@copeland.com or
Technical Support at
ColdChain.TechnicalServices@Copeland.com
for licensing information or call 770-425-2724.
Custom screens are created in Connect+ software programs.
These programs are web-based Enterprise Software for
communicating with store-based systems. Please contact
your Sales representative or Technical Support for
information on obtaining and working with these programs.
A Graphical Status Screen is a customized floor plan that
displays refrigeration and environmental control values on a
single page with real-time values for multiple entities within
the store. The information can be displayed using a variety of
presentation models (widgets) that are available in the
Widget Editor (for example, animation, text, and many
illustrated instruments to choose from). Historically, a
graphical status screen has been associated with a specific
application type in the Supervisor controller (such as a
suction group, condenser, or circuit).
Log into Connect+ and locate the Views menu on the
navigation tree. This menu is available from all levels in the
navigation tree and from there you can select Add GS Screen
and start creating your Floor Plan using the top menu.
Begin creating your Floor Plan by clicking the Add Widgets
menu and choosing from multiple icons.
Click the Image Library menu and select from a large
selection of System and User images for your Flor Plan.
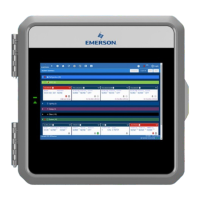
An example for a Floor Plan can be as simple as this:
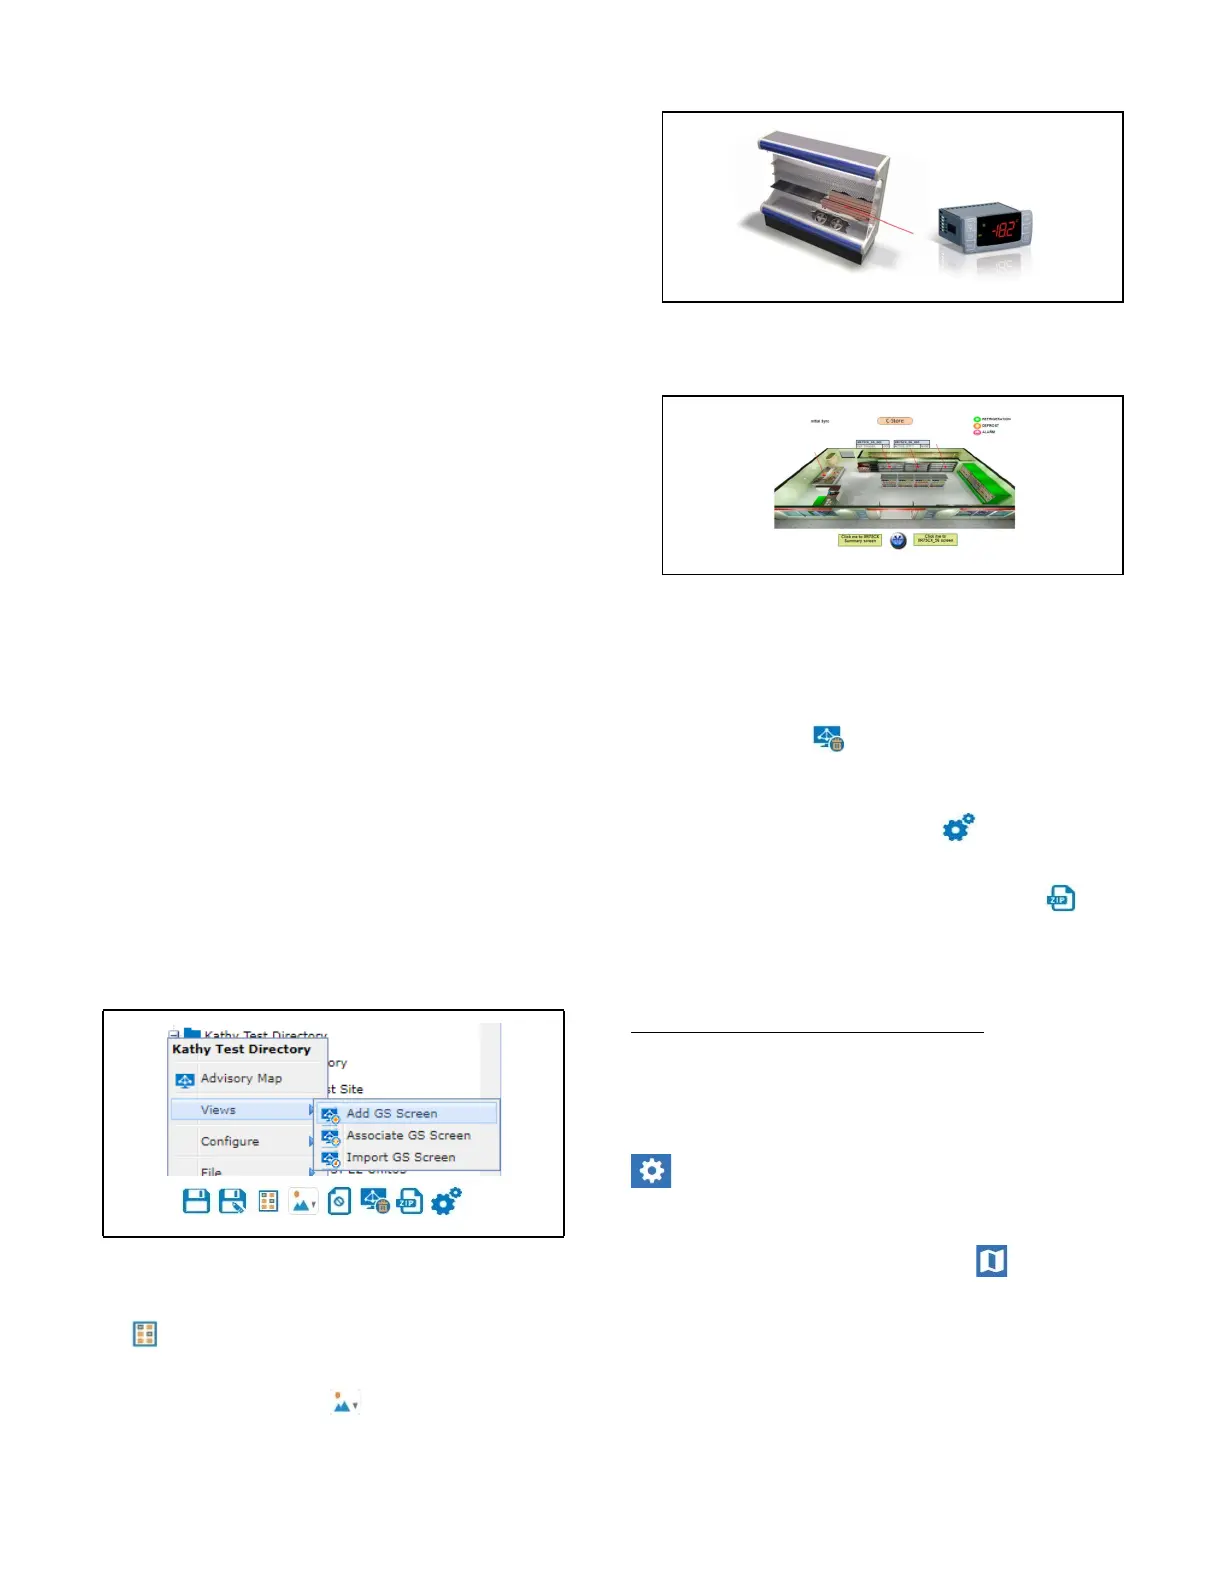
Or more extensive:
Run and Edit modes are toggled at the top of the screen
under the Run and Edit tabs.
If you wish to cancel or delete your Floor Plan and start over,
click the delete icon .
When you are ready to save, fill out the Properties of your
Floor Plan by clicking the Properties icon. From here you
will name your Floor Plan and fill out other information. Once
you are ready to export, click the export zip icon and it
will be saved by default in your Downloads folder and
depending on which browser you are using, it may show at
the bottom of your browser window.
Importing a Floor Plan into the Supervisor
Once you have obtained the proper licensing to use Floor
Plans, you can import a Floor Plan by following these steps:
Log into the Supervisor and click the Main Menu gear icon
to access Configure System > File Management &
Licensing.
Or click the Floor Plan icon from the top menu. If Floor
Plans have been licensed, this icon will be visible at the top of
your screen. Click Install at the top right to show more
information and for installation.
Figure 9-1 - Views
Figure 9-2 - Simple Floor Plan
Figure 9-3 - Extensive Floor Plan