121
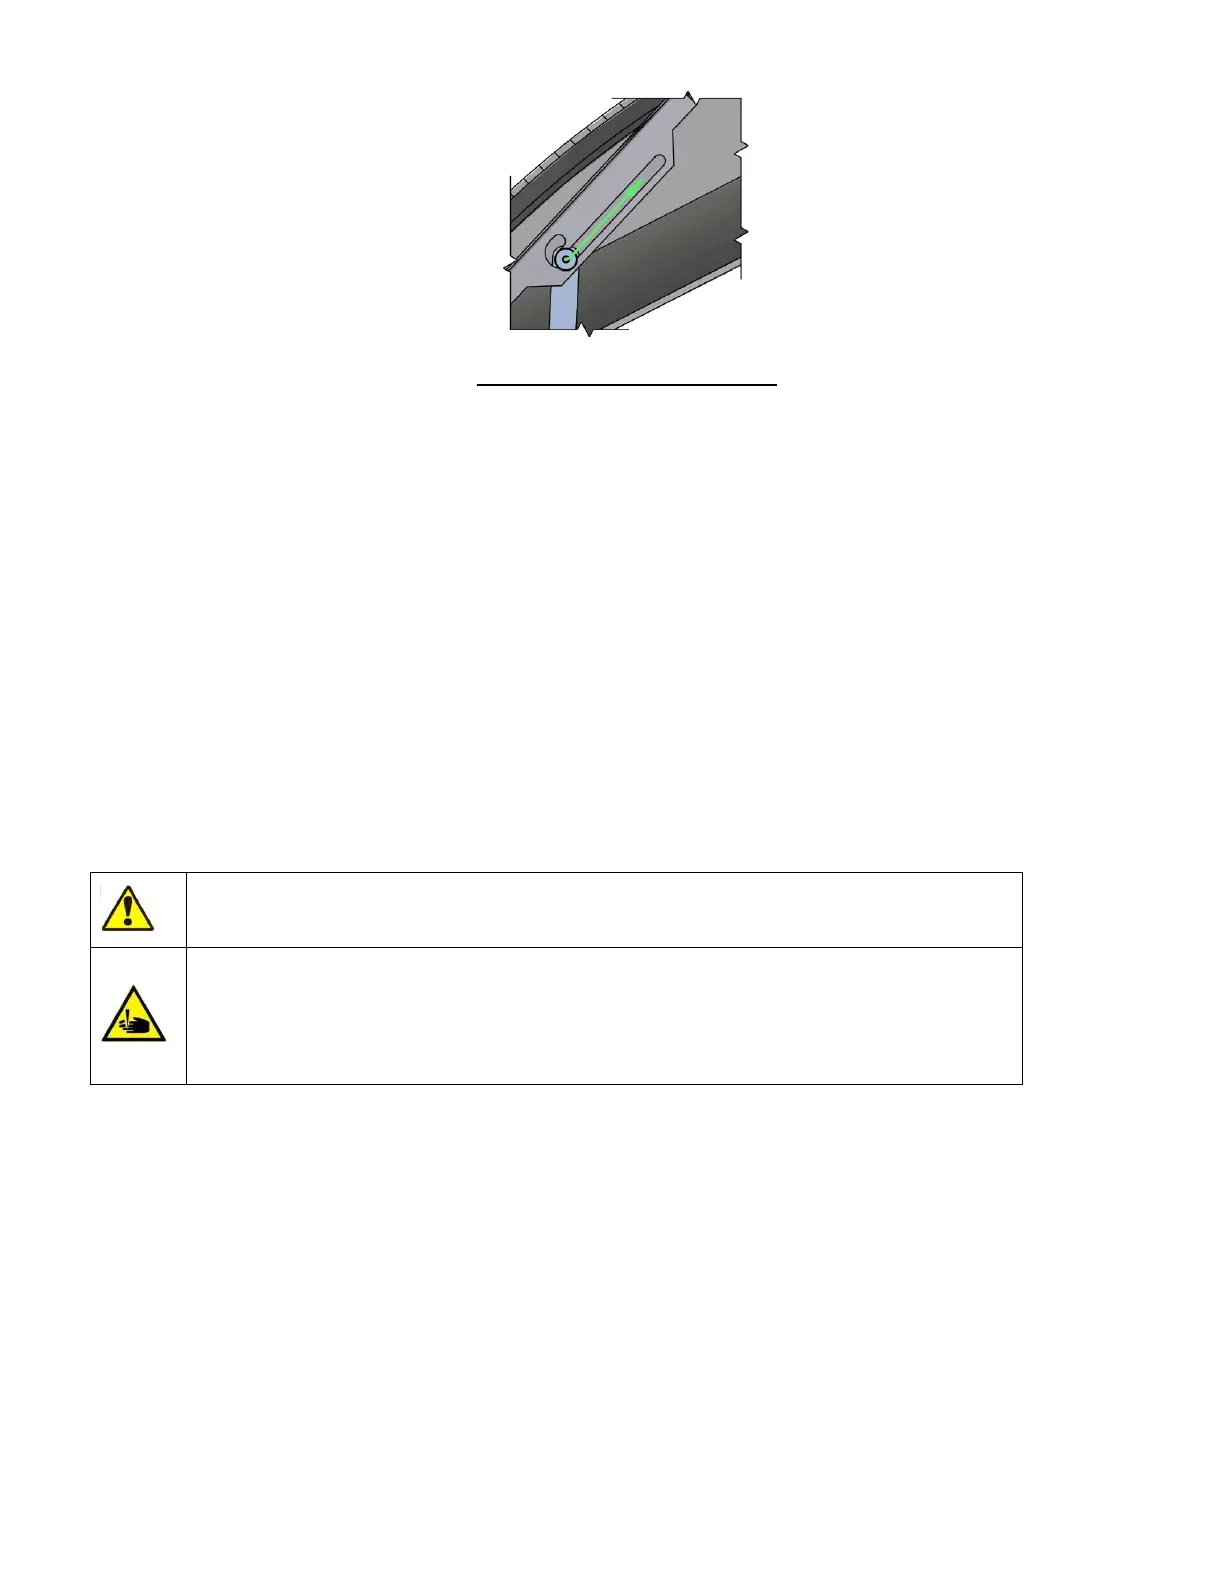
Figure 92. Closing the Front Panel
Gently lift the front panel so that the security support lever can be moved to the free position.
Gently lower the front panel. When it reaches its lowest position, gently push on the front side to click the lock-levers
in place.
17.3 Removing the Side Panels
With the front panel open and secured in the upright position, thumb screws become visible that fix the side panels
to the instrument: 2 in the front and 2 in the back. The screws are designed to stay on the analyzer to avoid losing
them.
The system valves and measuring chambers are behind the left side panel. Open the left side panel if chamber
cleaning is requested by the analyzer.
The sampling unit, wash head and sampling needle are behind the right side cover. Open the right side cover if the
wash head needs to be cleaned or replaced.
When closing the side panels, always make sure to re-tighten the thumb screws.
After removing the covers potentially hazardous parts become accessible such as
electronic boards, motors, moving parts, the sampling needle, chambers, tubes and valves.
The sampling needle and other components inside the analyzer may cause injury or can be
damaged if handled incorrectly. Use extreme caution when operating the analyzer with
the front cover open. Running measurements with an open cover is not recommended due
to the risk of injury. Always wear safety gloves while performing maintenance actions.
17.4 User Maintainable Parts of the Analyzer
There are three user maintenance points inside the ‘Abacus 5’ analyzer:
Shear valve: this critical component and is responsible for correct sampling and dilution.
Wash head: this component keeps the sampling needle clean ensuring reliable piercing and sampling.
Measuring chambers: contamination induced problems such as noise or high blank values can usually be
resolved by cleaning the plastic measuring chambers.
Always wear protective gloves when working on internal parts of the analyzer.