126
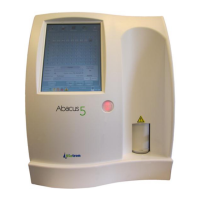
4. Gently clean the mating surfaces of the disks of
the shear valve, the housing of the valve and the
tube connections.
5. Remove any salt build-up. Use tweezers to push
in the dampened and the dry cloths. Apply a few
drops of water to soften any hardened deposits.
6. Use a tooth pick to remove any salt crystals from
narrow places. Do not use any sharp metal or
hard objects which can scratch the smooth
surfaces of the shear valve.
7. Clean the outside of the shear valve and the
housing and mounting parts of the shear valve.
Pay attention to clean the aligning surface.
8. Ensure that no lint or fibers remain on the
smooth mating surfaces of the ceramic disks.
Figure 98. Cleaning the Shear Valve
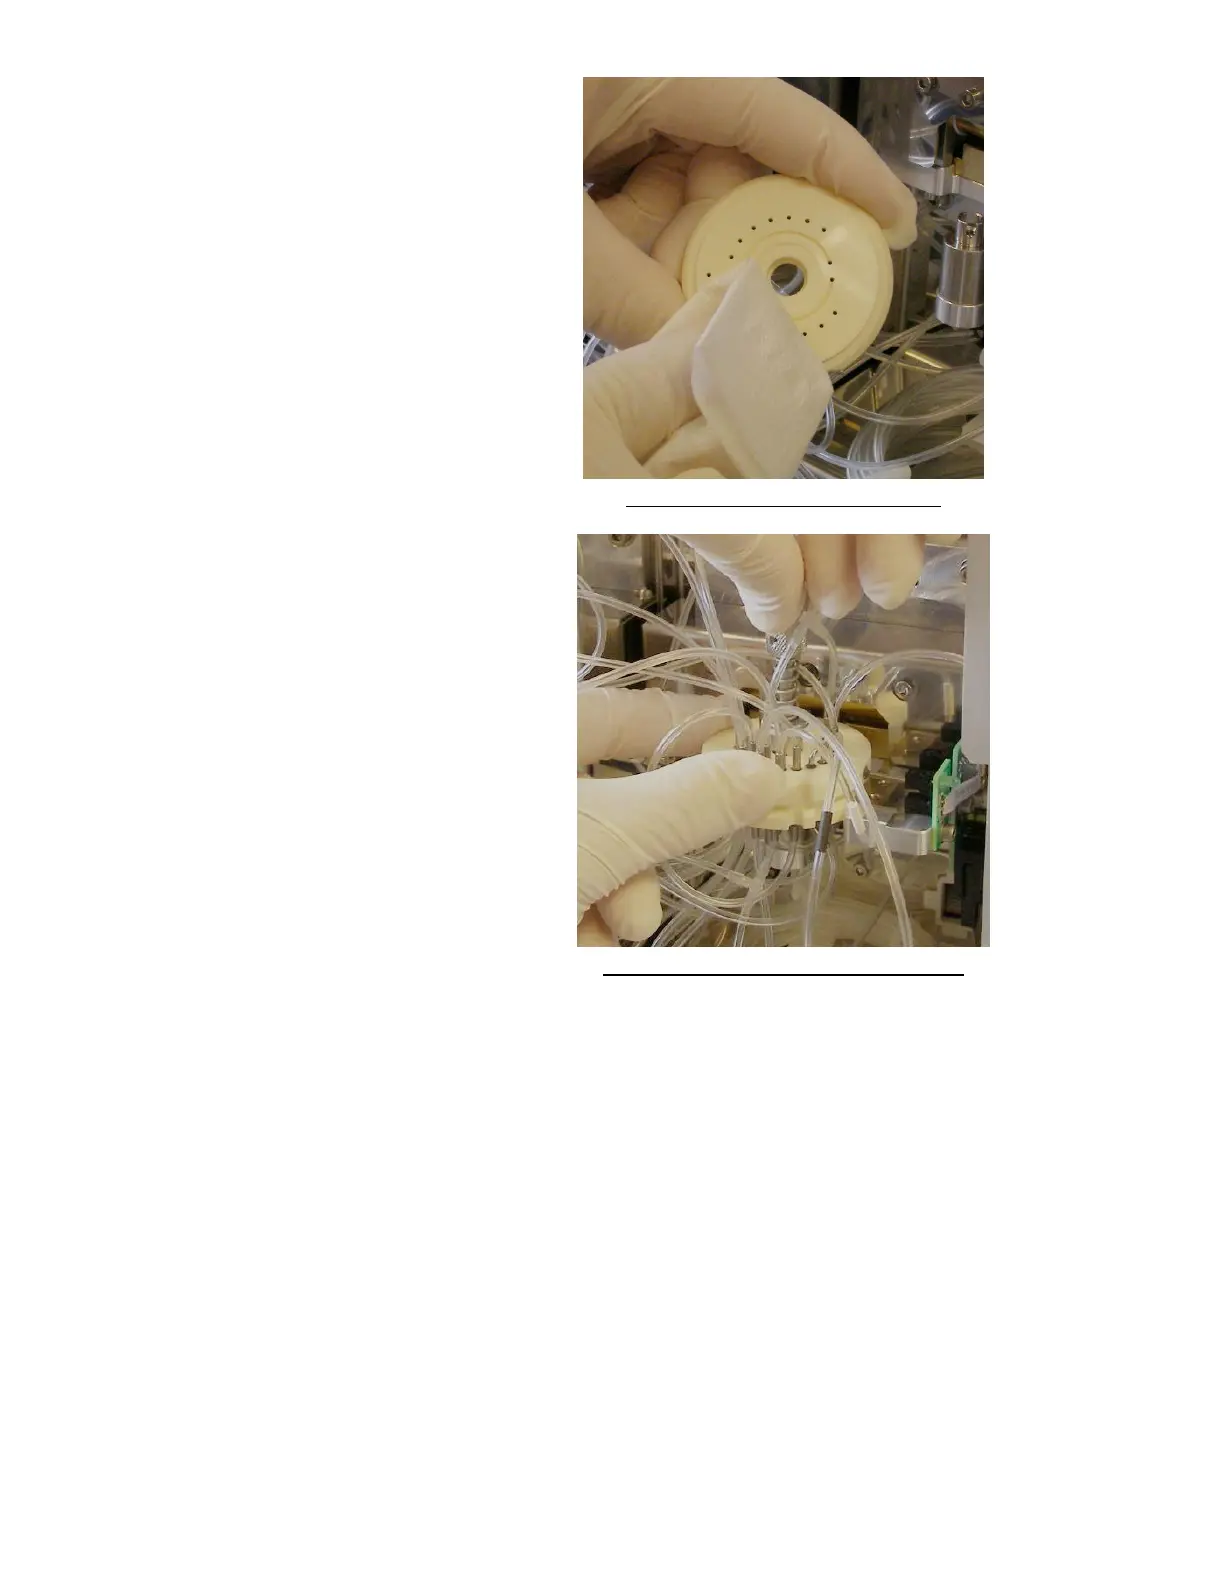
9. After cleaning the shear valve, housing and
surrounding area, gently put the two disks
together.
10. Put the axis thumbscrew back into the center of
the upper disk. The spring on the axis
thumbscrew guarantees the necessary closing
force for the two disks. Gently press down and
rotate the axis thumbscrew clockwise until it
clicks into the lower part.
11. Twist the axis thumbscrew until it stops. The
mechanical design of the thumbscrew prevents
over-tightening.
Figure 99. Reassembling the Shear Valve
12. Clean the area surrounding the shear valve again. You can let salt crystals and other small debris fall down.
Sweep any particles laying on bottom of the ‘Abacus 5’ though the ventilation holes. Close the front door and
remove the gloves.
13. Click/ tap the ‘OK’ button to inform the ‘Abacus 5’ software that you completed the cleaning of the shear valve.
The shear valve cleaning maintenance function will check the movement and end positions of the shear valve.
17.7 Cleaning the Washing Head
The washing head cleans the outer surface of the tip of the sampling needle with diluent. This is a critical function
that protects the integrity of sample results by preventing contamination with previous blood samples. Salt build-up
on the lower surface of the washing head may cause a malfunction during operation. In order to clean the washing
head, it must be removed from the needle assembly.
The following materials are required to clean the washing head:
A clean, soft, damp cloth
Q-tips