52
Use the ‘Prepare for shipment’ tube set included with your ‘Abacus 5’ analyzer to perform this step. The system will
prime and fully rinse the tubing and pneumatic system with distilled water. This step takes approximately 7 minutes.
Do not turn the analyzer off during this step.
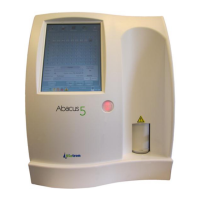
Step 3: The analyzer will ask you to disconnect the ‘Prepare for shipment’ tube set from the reagent connectors on
the back panel except for the waste connection. Leave the waste container tubing connected to the analyzer.
Figure 28. Remove Reagent Tubing Panel
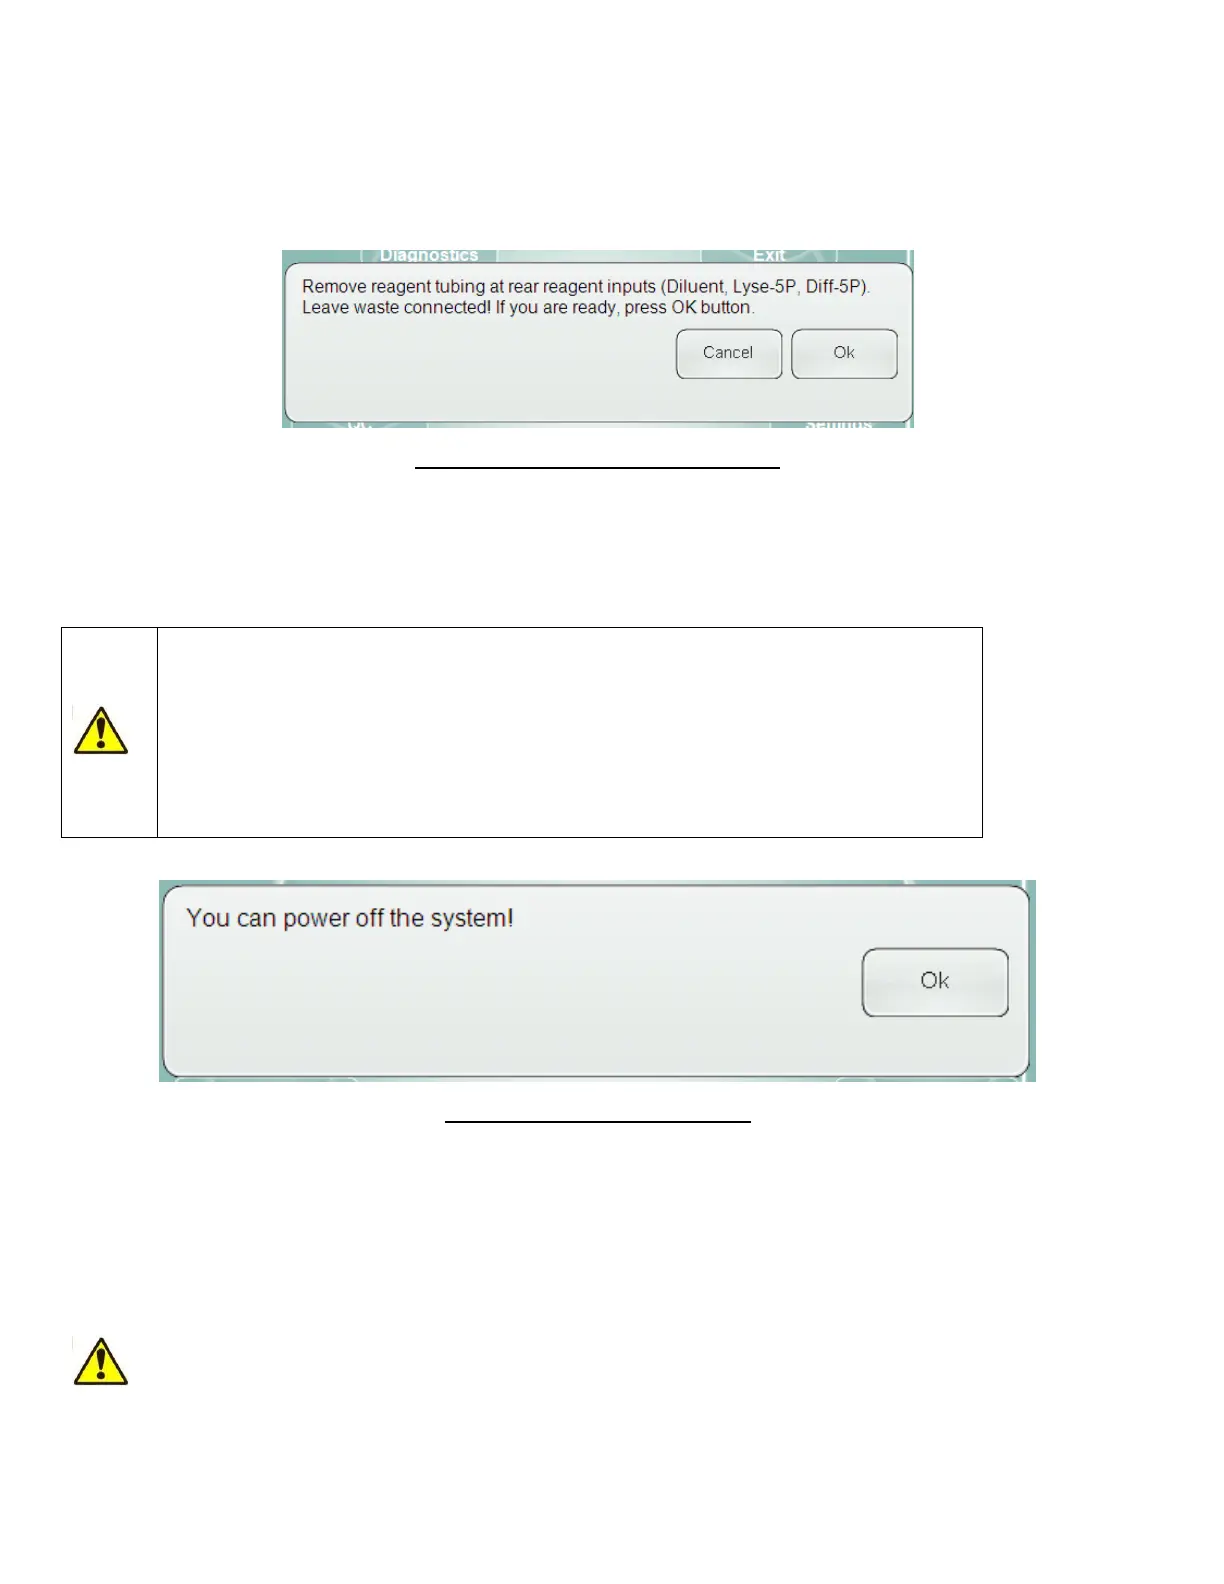
The analyzer will drain all liquids from the instrument. This step takes approximately 10 minutes. Do not turn the
analyzer off during this step. When the process is over, the system will notify you about switching off the instrument.
Click or tap the ‘OK’ button on the notification panel and wait until the Windows® XP® Embedded exits and power off
the user interface computer.
Do not turn off power of the ‘Abacus 5’ at this stage. First click or tap the ‘OK’ button,
then wait until the Windows® XP® Embedded operating system exits and shuts down the
internal ‘Abacus 5’ user interface computer.
After the shut down process is completed, you can turn off the main power switch (small
switch) on the rear panel of the ‘Abacus 5’ analyzer near the power connection to the
‘down’ position labeled ‘0’.
Figure 29. Shut Down Ready Panel
Step 4: Disconnect the waste container tubing from the waste reagent connector on the back panel of the ‘Abacus 5’
analyzer.
Small droplets of distilled water may remain in the tubing after the ‘Prepare for shipment’ process completes. These
droplets will not cause any malfunction during transportation or the next start up procedure.
7.3.4 Emergency Shut Down
The procedures described in this section can damage the ‘Abacus 5’ analyzer or cause
data loss or damage to critical system computer files. Use these procedures in case of
emergency only!