Chapter 1
1-19
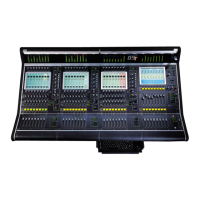
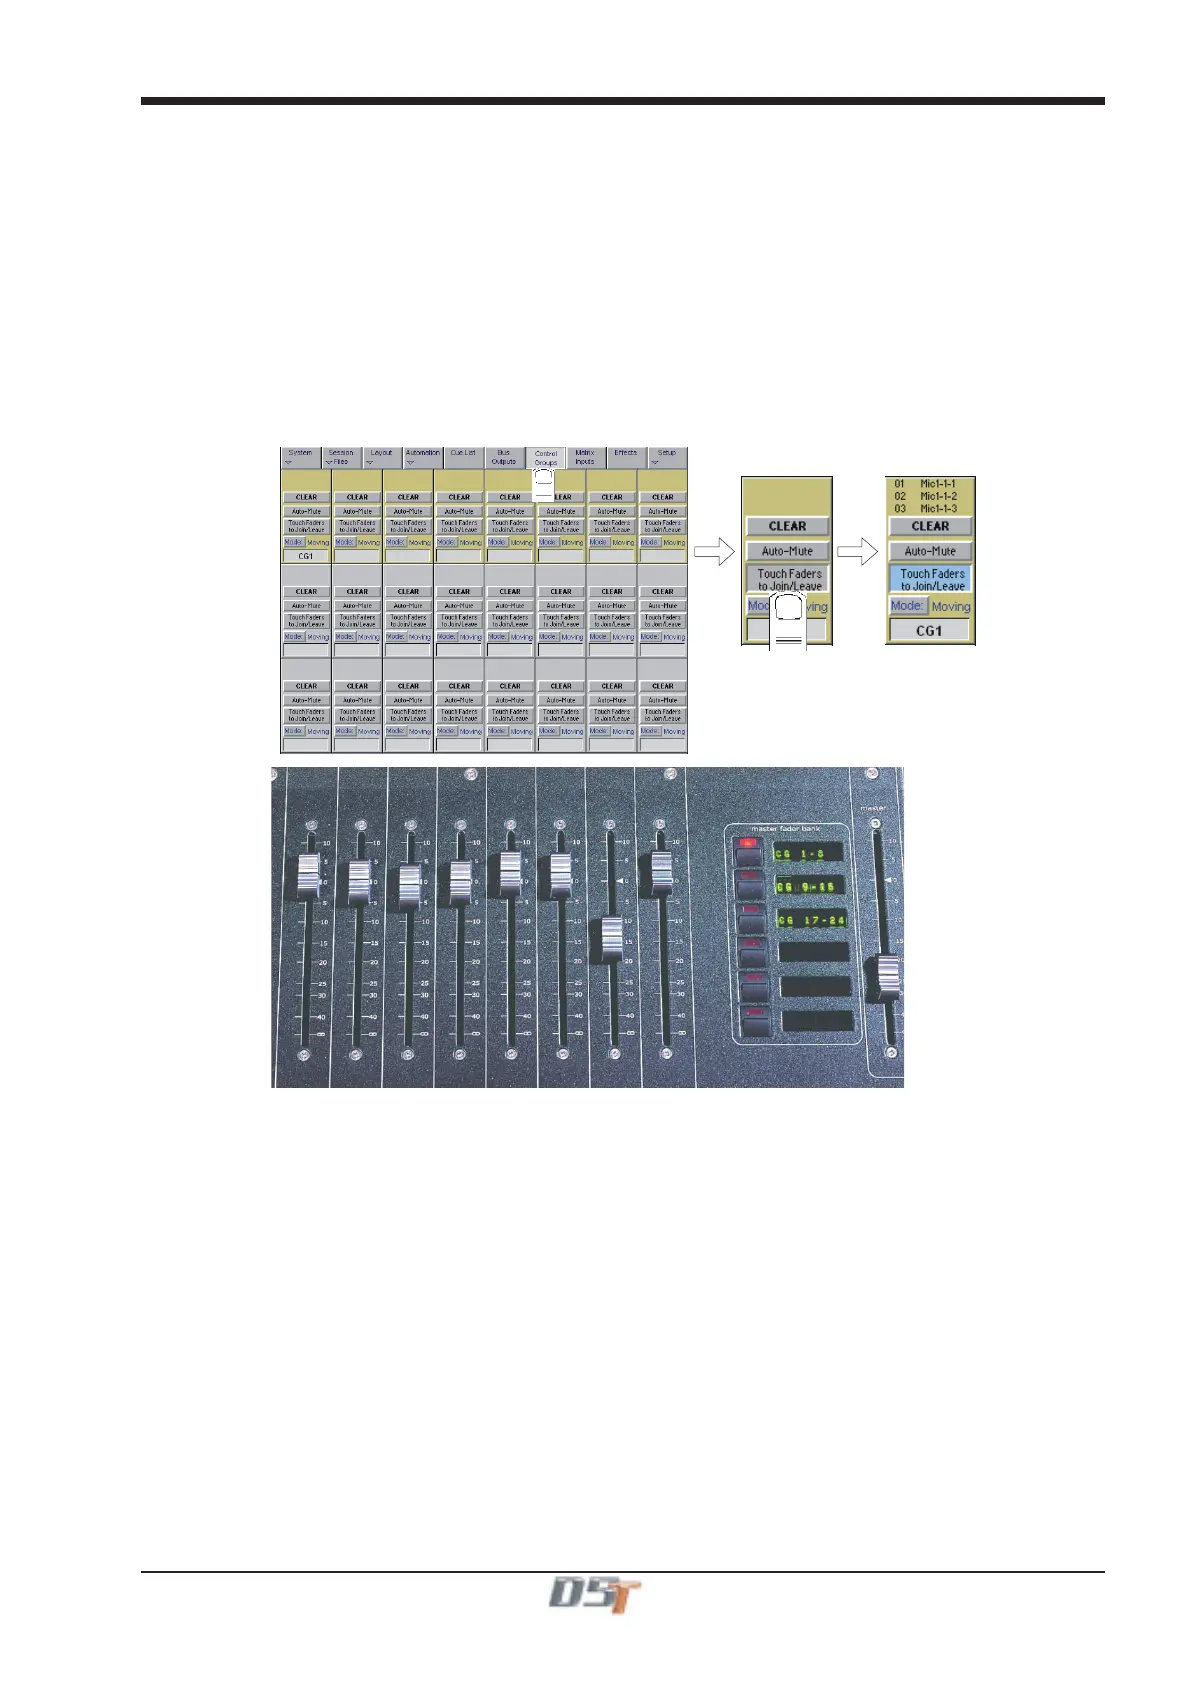
1.3.14 Control Groups ..................................................................
Any number of input channels and output channels can be connected to one or more of the 24 Control Groups. They can then all be
operated from a single worksurface control. Changes to the Control Group fader, mute or solo or controls will affect all channels con-
nected to the group.
To set up Control Groups:
1) Touch the Control Groups button on the Master screen.
2) Touch the Touch Faders To Join/Leave button on the required Control Group (1-24).
3) Touch the faders on the channels that you want to include. (Touching the fader again will remove it from the group).
4) Touch the Touch Faders To Join/Leave button again to turn the function off.
5) Press the on screen Mode button to select Moving faders, VCA style static faders or Mutes only.
6) Press the Auto-Mute button if required to select this mode for the Control Group.
With Auto-Mute on, any Control Group member which is removed from the group will be automatically muted and any member that joins a
group will be automatically unmuted.
7) Use the worksurface fader, mute and solo to adjust settings for the Control Group members.
A list of all the connected channels and their names is displayed above each Control Group display, touch the area above the Clear button
to expand this list.
When a fader is touched it is highlighted in the list.
You can also clear all the channels from a Control Group by pressing Clear.
When a channel is a member of a Control Group, its own controls can still be adjusted independently of the other Group members.
Adjustments to fader levels are transmitted to the Group members as dB changes, so that a level increase of 2dB on the Group fader will
increase all the member levels by 2dB, irrespective of the relative levels of the individual channel faders.