Chapter 4
4-14
4.3.3 The Talkback Mixer ..............................................................
Each output buss has its own level control in the Talkback mixer, along with a switch for connecting each Talkback channel to the buss at
the chosen level.
The level controls can be adjusted using the faders below the screen, with each row of busses assigned to the physical faders by touching
one of the rows of faders in the display.
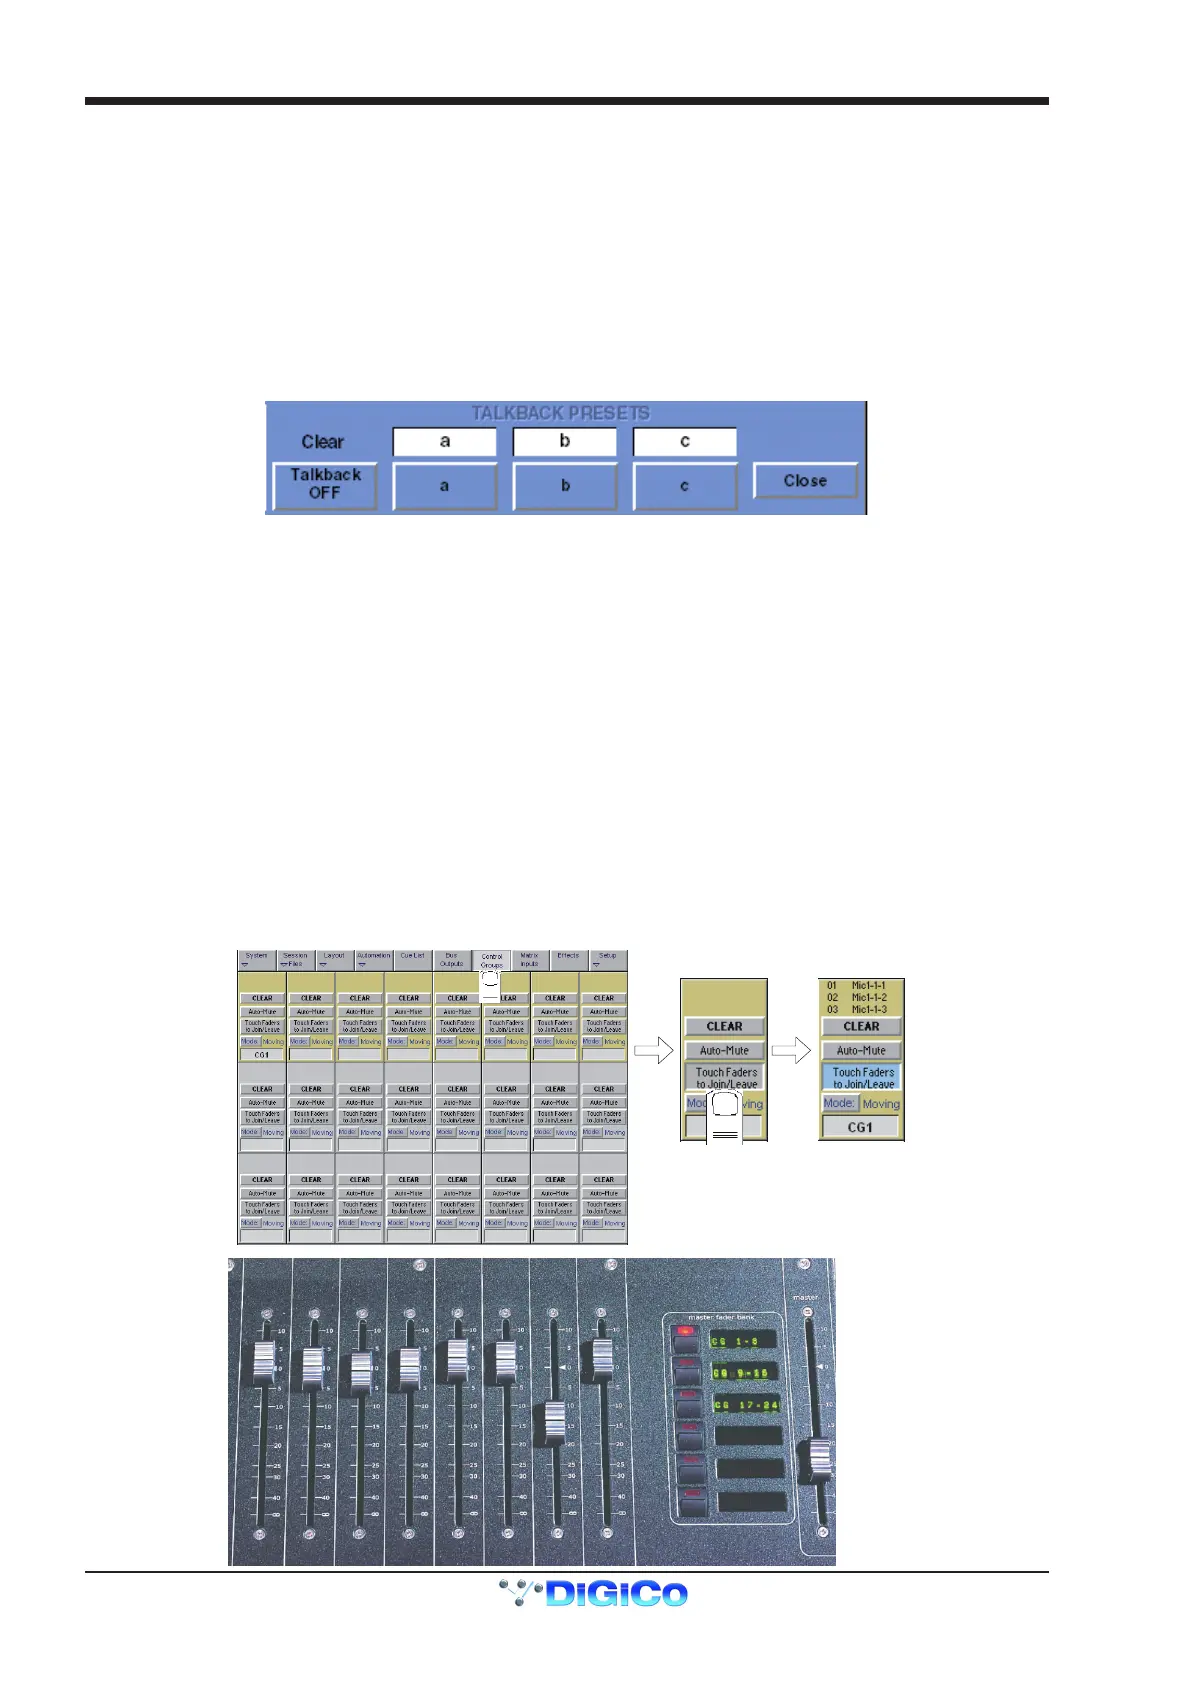
4.3.4 Talkback Presets ..................................................................
You can set up three different Talkback Presets, which specify routing configurations for the talkback channels by storing the settings of
the talkback feed switches for each output buss (though they do not store the mic signal levels sent to each buss).
Once you have one or more stored presets, they are recalled automatically when the corresponding worksurface Talk button is pressed (a,
b or c) which also activates channels A and/or B if they are enabled. You can also switch between them without activating talkback by
touching the buttons at the bottom of the Talkback panel. You can name each routing preset by touching the white label above its button
and typing a name on the keyboard.
Changing Talkback Presets
Any changes you make to the talkback mic routing while a preset is selected is automatically stored as part of that preset.
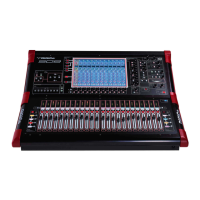
4.4 Control Groups
4.4.1 Creating Control Groups .....................................................
Any number of input channels and output channels can be connected to one or more of the 24 Control Groups. They can then all be
operated from a single worksurface control. Changes to the Control Group fader, mute or solo or controls will affect all channels con-
nected to the group.
To set up Control Groups:
1) Touch the Control Groups button on the Master screen.
2) Touch the Touch Faders To Join/Leave button on the required Control Group (1-24).
3) Touch the faders on the channels that you want to include. (Touching the fader a`gain will remove it from the group).
4) Touch the Touch Faders To Join/Leave button again to turn the function off.
5) Press the on screen Mode button to select Moving faders, VCA style static faders or Mutes only.
6) Press the Auto-Mute button if required to select this mode for the Control Group.
With Auto-Mute on, any Control Group member which is removed from the group will be automatically muted and any member that joins a
group will be automatically unmuted.
7) Use the worksurface fader, mute and solo to adjust settings for the Control Group members.