Using Auto-SYNC for Digital Input Connections
TIMS MVP™ Setup and Configuration Guide 233
After the Auto-SYNC Wizard is Finished
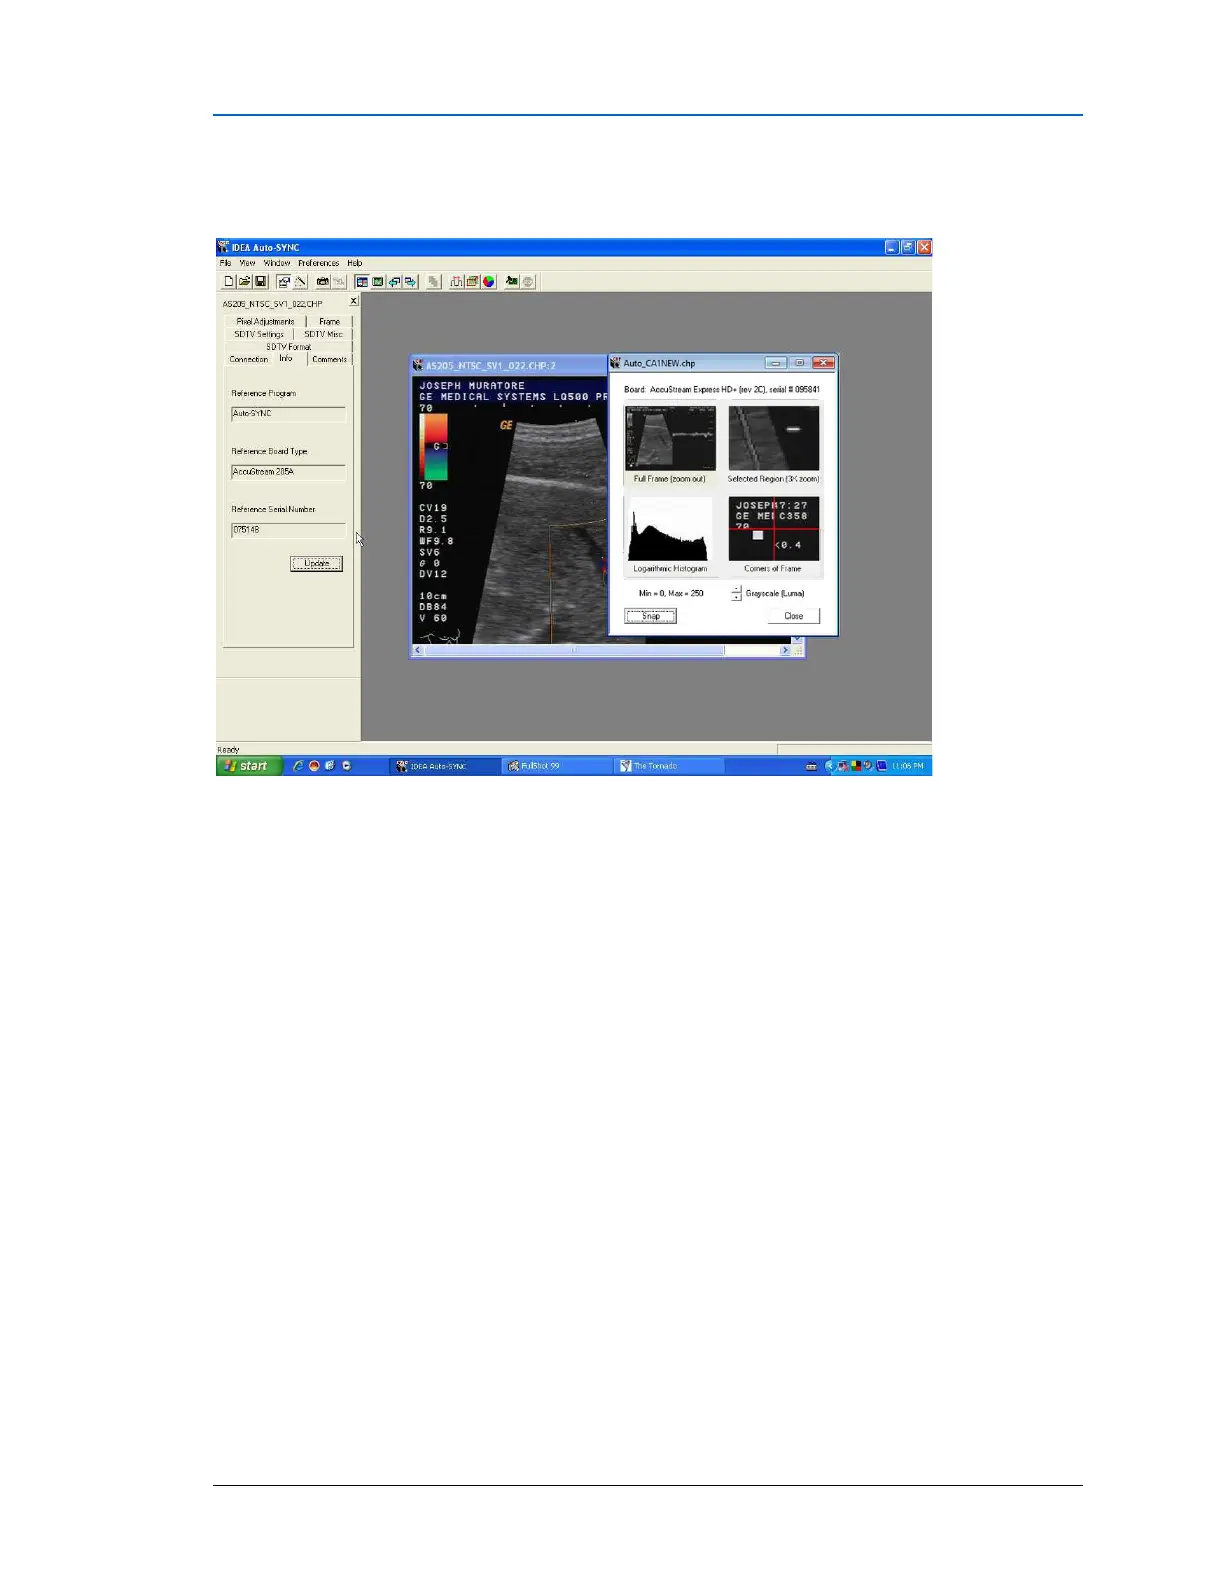
Once you finish running the IDEA Auto-SYNC Wizard, the Video Setting controls are displayed.
Figure 128: IDEA Auto-SYNC screen after completing Auto-SYNC Wizard.
The window on the right side is the same “Multi-view window” used by the Auto-SYNC Wizard.
To open a new full-size window:
▪ click the “Full-size image window” icon from the toolbar or
▪ click View > Full-size image window (<F10>).
The Full-size image window will be RGB or Monochrome for DVI-Analog connections or NTSC/PAL Video
composite for S-Video Composite connections.
Once you get to this point, you may now either make changes to your Video settings or exit IDEA
Auto-SYNC and use a sample Example program.