Get Connected
2 TIMS MVP™ Setup and Configuration Guide
Typical TIMS MVP™ System Installation
These are the necessary preparation and installation steps you need to take for a typical TIMS
MVP™ installation. You may have a configuration that requires additional steps not listed here.
Here is a checklist with all recommended steps.
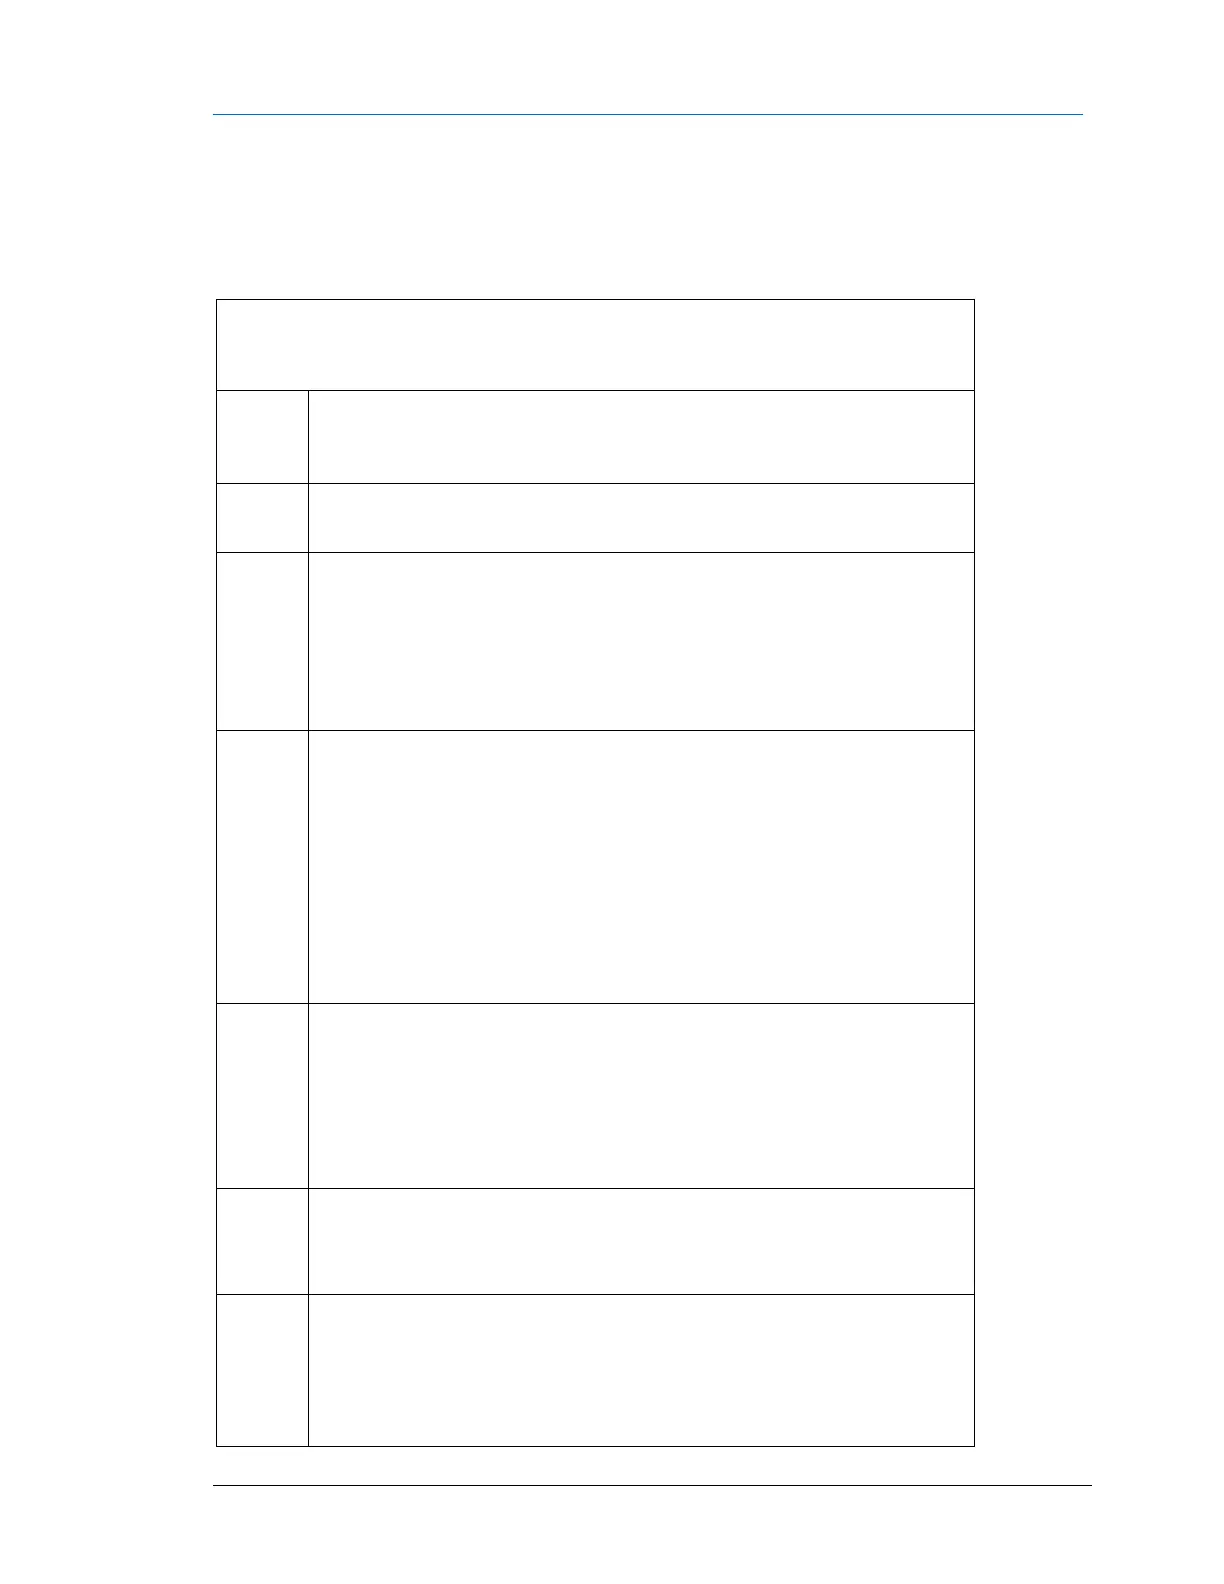
TIMS MVP™ System Checklist
(site option) means you site may not have or require the step listed.
TIMS MVP™ System serial number: _____________________________
TIMS MVP™ System Rev: _____________________________
Unpack TIMS MVP™ System from its shipping boxes.
Determine the mounting location – usually in a control room.
• Requires three AC outlets (TIMS MVP System, LCD & Isolator-
Splitter)
• Requires network connection
• Modality video & Trigger
Install the TIMS MVP™ System.
• Connect LCD, Keyboard, Mouse, network, audio cables
• Set the TIMS MVP™ System Windows system name
• Set TIMS MVP™ System IP Address/Subnet/Gateway
• Set verify region and time settings.
• Calibrate touchscreen. (site option)
• Install anti-virus software (site option)
Make the TIMS MVP™ System connections.
• Connect TIMS MVP™ System to the network.
• Connect Isolator video and trigger to TIMS MVP™ System.
• Connect Modality video and trigger to Isolator.
• Connect room monitor to the Isolator.
Install and configure microphone/speakers. (site option)
• Omni or wireless microphone.
• Configure microphone and speaker levels in Windows.
TIMS MVP™ System Auto-SYNC to image.
• Adjust image aspect ratio and quality.
• Adjust framing.
• Adjust black/color level and gain. (site specific)