5 Scan
208
Scan
5
Scan to Mailbox
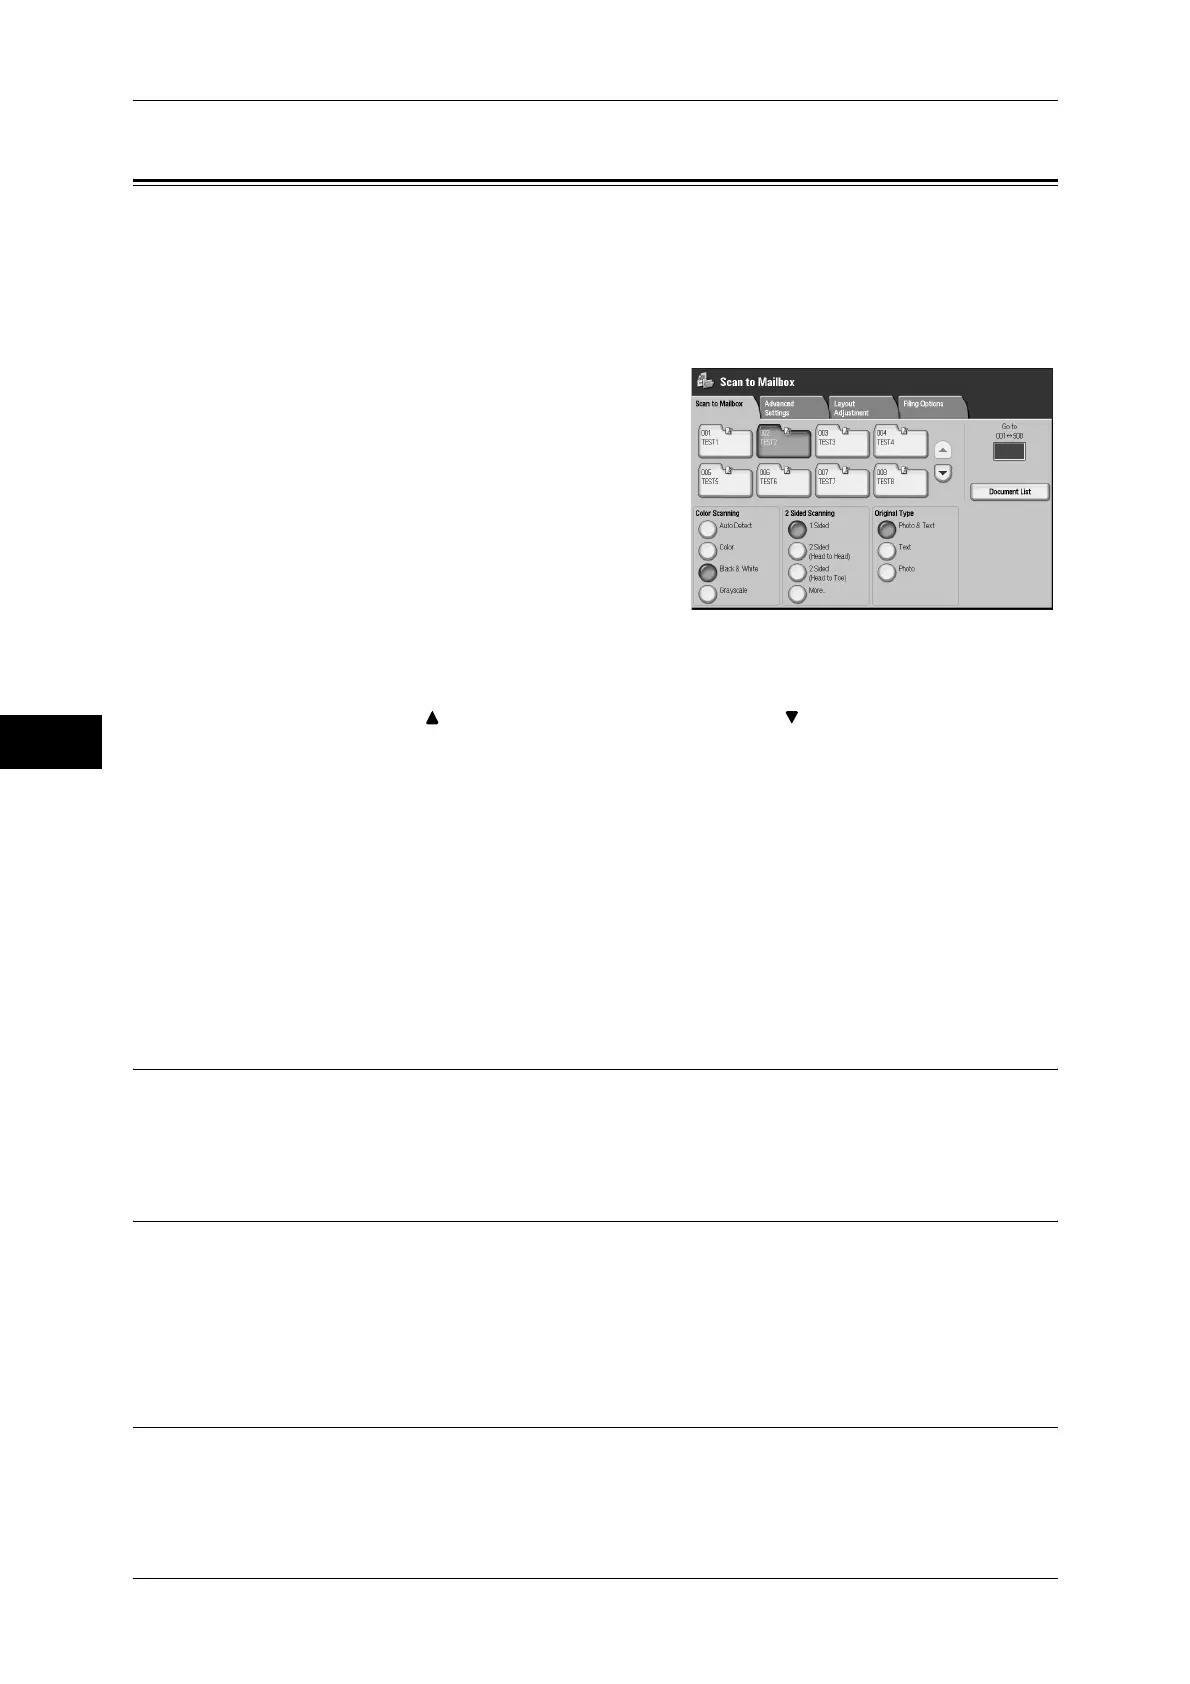
The following describes the procedure to select features on the [Scan to Mailbox]
screen. You can scan documents and save the scanned data into a mailbox of the
machine. The following explains the [Scan to Mailbox] screen.
A mailbox needs to be registered beforehand. For more information on registering a mailbox, refer to "5
Tools" > "Setup" > "Create Mailbox" in the Administrator Guide.
1
Select [Scan to Mailbox] on the [All Services]
screen.
2
Select a feature on the [Scan to Mailbox]
screen.
Note • If a passcode is set for the mailbox, the
passcode entry screen may appear. Enter
the passcode and select [Enter]. If you
have forgotten the passcode, set the
mailbox passcode in the System
Administration mode again.
Mailbox
Select a mailbox to save the scanned data in.
Note • Select [ ] to return to the previous screen and select [ ] to move to the next screen.
Go to
Use the numeric keypad to enter a 3-digit mailbox number. The mailbox then appears
at the top of the list.
Document List
Select a mailbox and then select this button to display the [Document List] screen. You
can confirm or delete documents stored in the mailbox.
For more information on the [Document List] screen, refer to "Step 3 Checking/Selecting Mailbox
Documents" (P.241).
Color Scanning (Selecting an Output Color)
You can set the output color to scan a document.
For information about the feature, refer to "Color Scanning (Selecting an Output Color)" (P.215).
2 Sided Scanning (Scanning Both Sides of a Document)
You can automatically scan both sides of a 2-sided document.
By setting the binding style, both sides are scanned in the same orientation.
For information about the feature, refer to "2 Sided Scanning (Scanning Both Sides of a Document)"
(P.216).
Original Type (Selecting the Document Type)
You can select the type of the document.
For information about the feature, refer to "Original Type (Selecting the Document Type)" (P.217).
 Loading...