12 Computer Operations
310
Computer Operations
12
E-mail Printing
You can send e-mail attaching TIFF, PDF, JPEG (JFIF), or XPS documents from a
computer to the machine. Received e-mail is automatically printed. This feature is
called "E-mail Printing".
Note • If the machine is in the authentication mode, received E-mails will not be printed
automatically.
• This feature does not appear for some models. To use the feature, an optional package is
necessary. For more information, contact our Customer Support Center.
Setup
To use the E-mail Printing feature, the following setup is necessary. Check with your
system or network administrator whether these settings have been completed.
Network Environment Settings
In order to use E-mail Printing, an e-mail account must be registered.
E-mail Environment Settings
Settings for the port activation, machine's e-mail address, TCP/IP environment, e-mail
server, etc.
For information on E-mail Environment Settings, refer to "8 E-mail Environment Settings" in the
Administrator Guide.
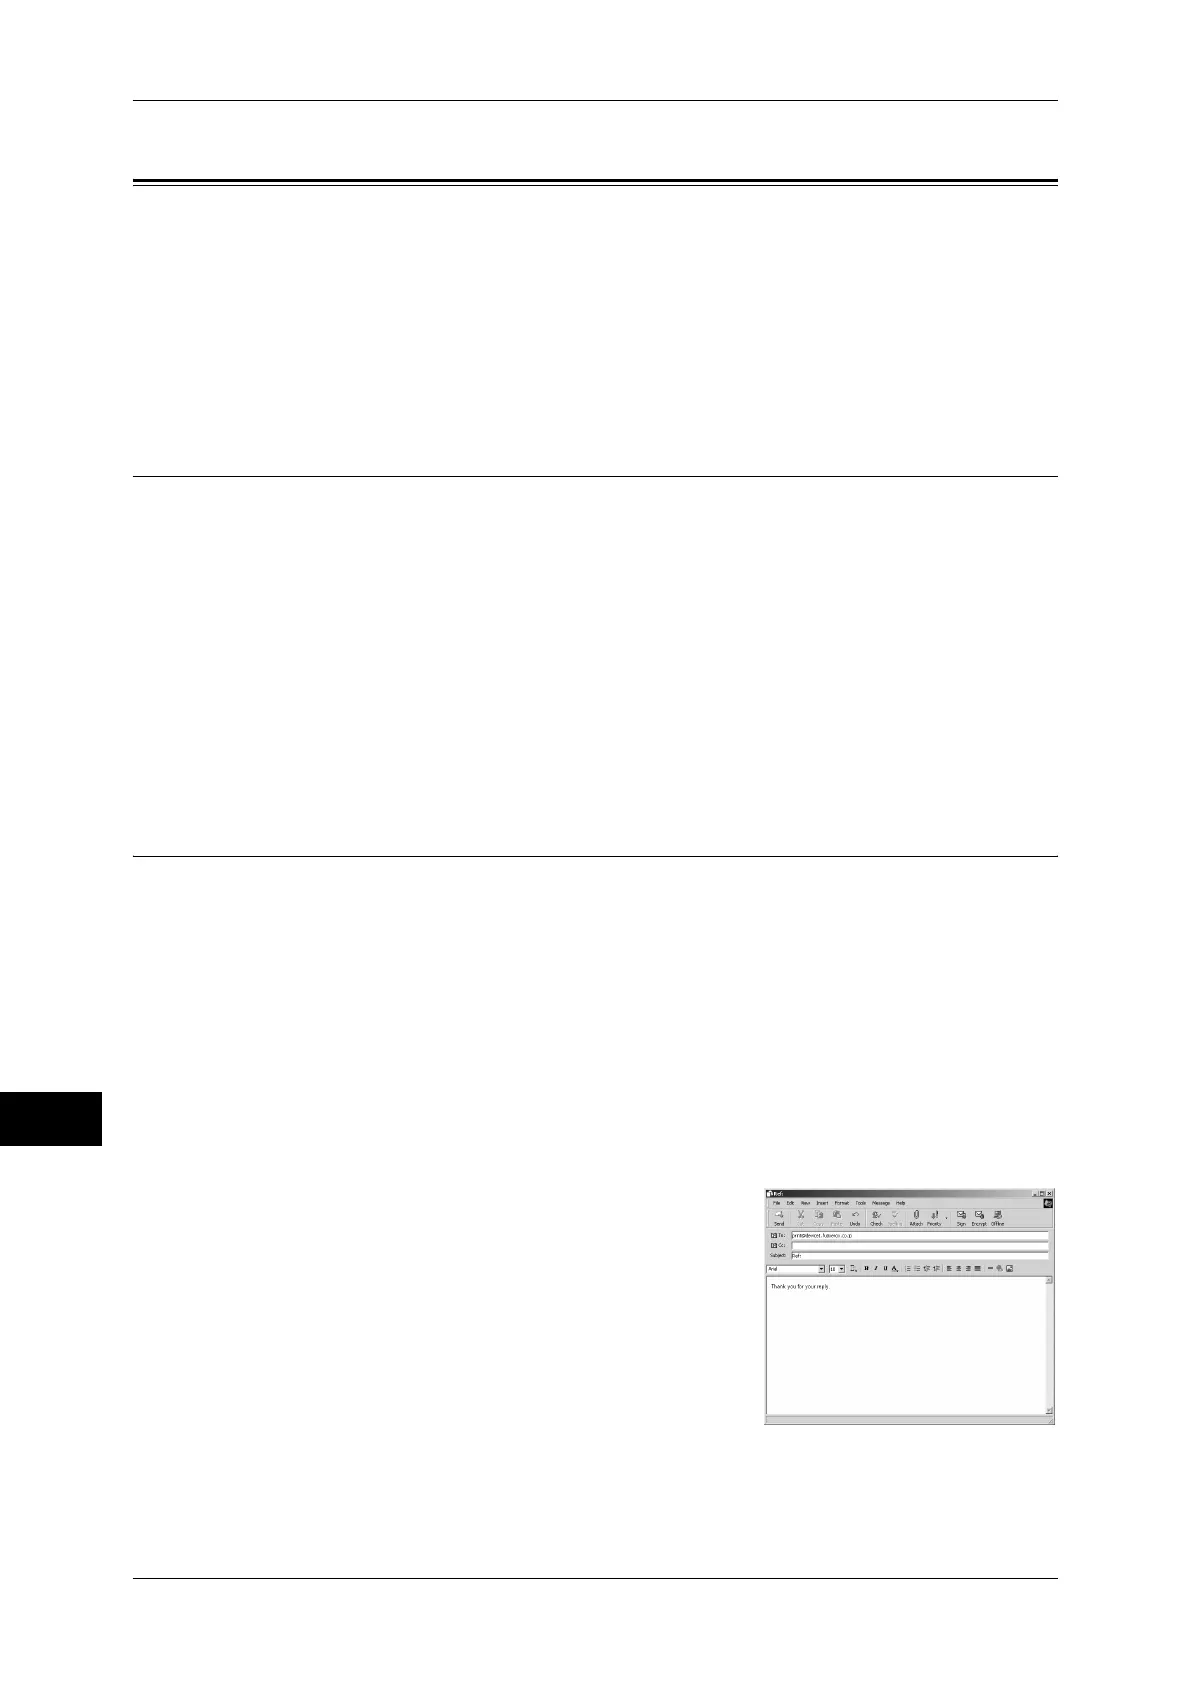
Sending E-Mail
The following describes how to send e-mail from the computer to the machine, using
Outlook Express as an example.
1
Use your e-mail software to create an e-mail body, and then attach a document to the
e-mail if necessary.
Important • Only plain text is permitted for the e-mail body. Change the body text format to plain text by
the e-mail software setting.
• Any forwarded e-mail (that is attached to another e-mail) cannot be printed.
Note • If the extension of the attached files is other than ".tif", ".tiff", ".pdf", ".jpeg", ".jpg", ".jpe",
".jfif", and ".xps", the file may not be printed correctly.
• Up to 31 documents can be attached.
2
Enter the machine's e-mail address as a
recipient.
3
Send the e-mail.
Note • The printer prints the e-mail body and the attached documents according to the following
settings. The offset output setting is disabled in all cases.
 Loading...